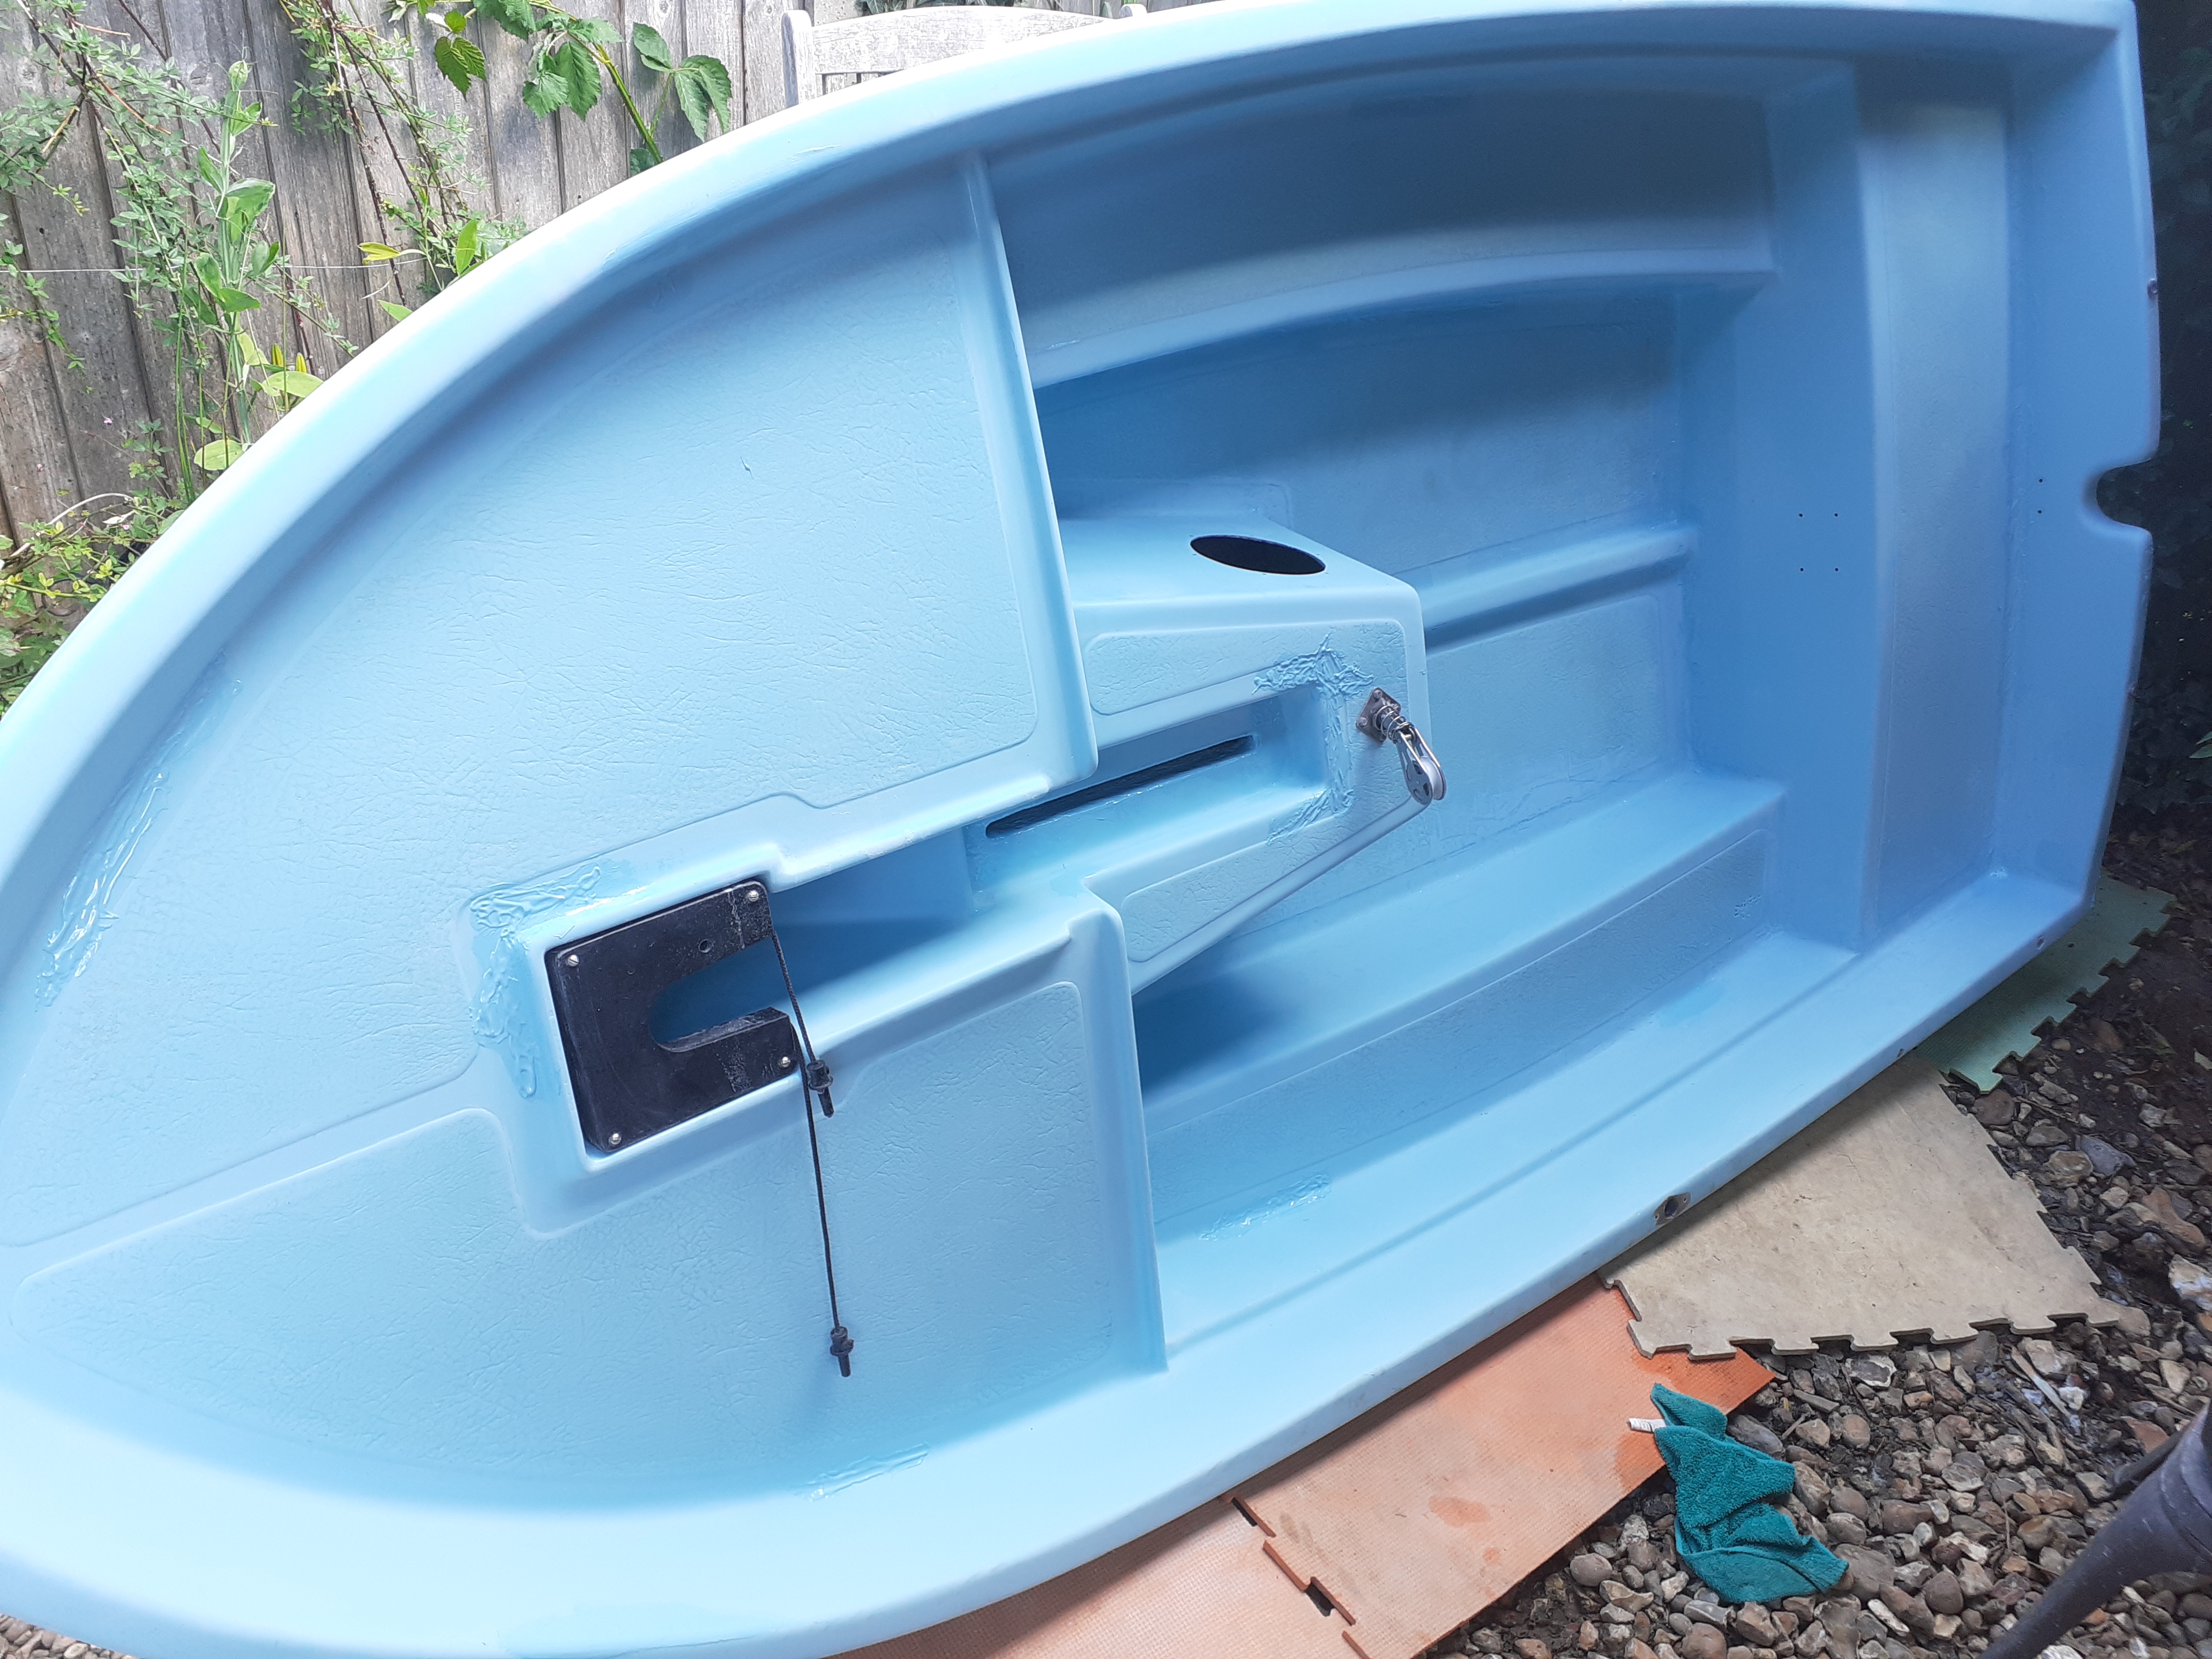
Blue Peter Dinghy - Gel coating

I found that the colour matching was a nightmare - My problem was my technique.
I had sanded the boat down all over to 120 (80 in places), then 240 grit. To get a spot for colour matching, I then sanded an area to 320, 400, 600, and 1200. I didn't spend to long on this as it'll end up sanded back to 240 or less after applying the gelcoat I expect.
After sanding a patch smooth, I applied a colour restorer with PTFE. This brought up the colour and gave me something to match to. So far, all was well, and, if you go to the trouble of sanding the entire boat down, this is a good way.
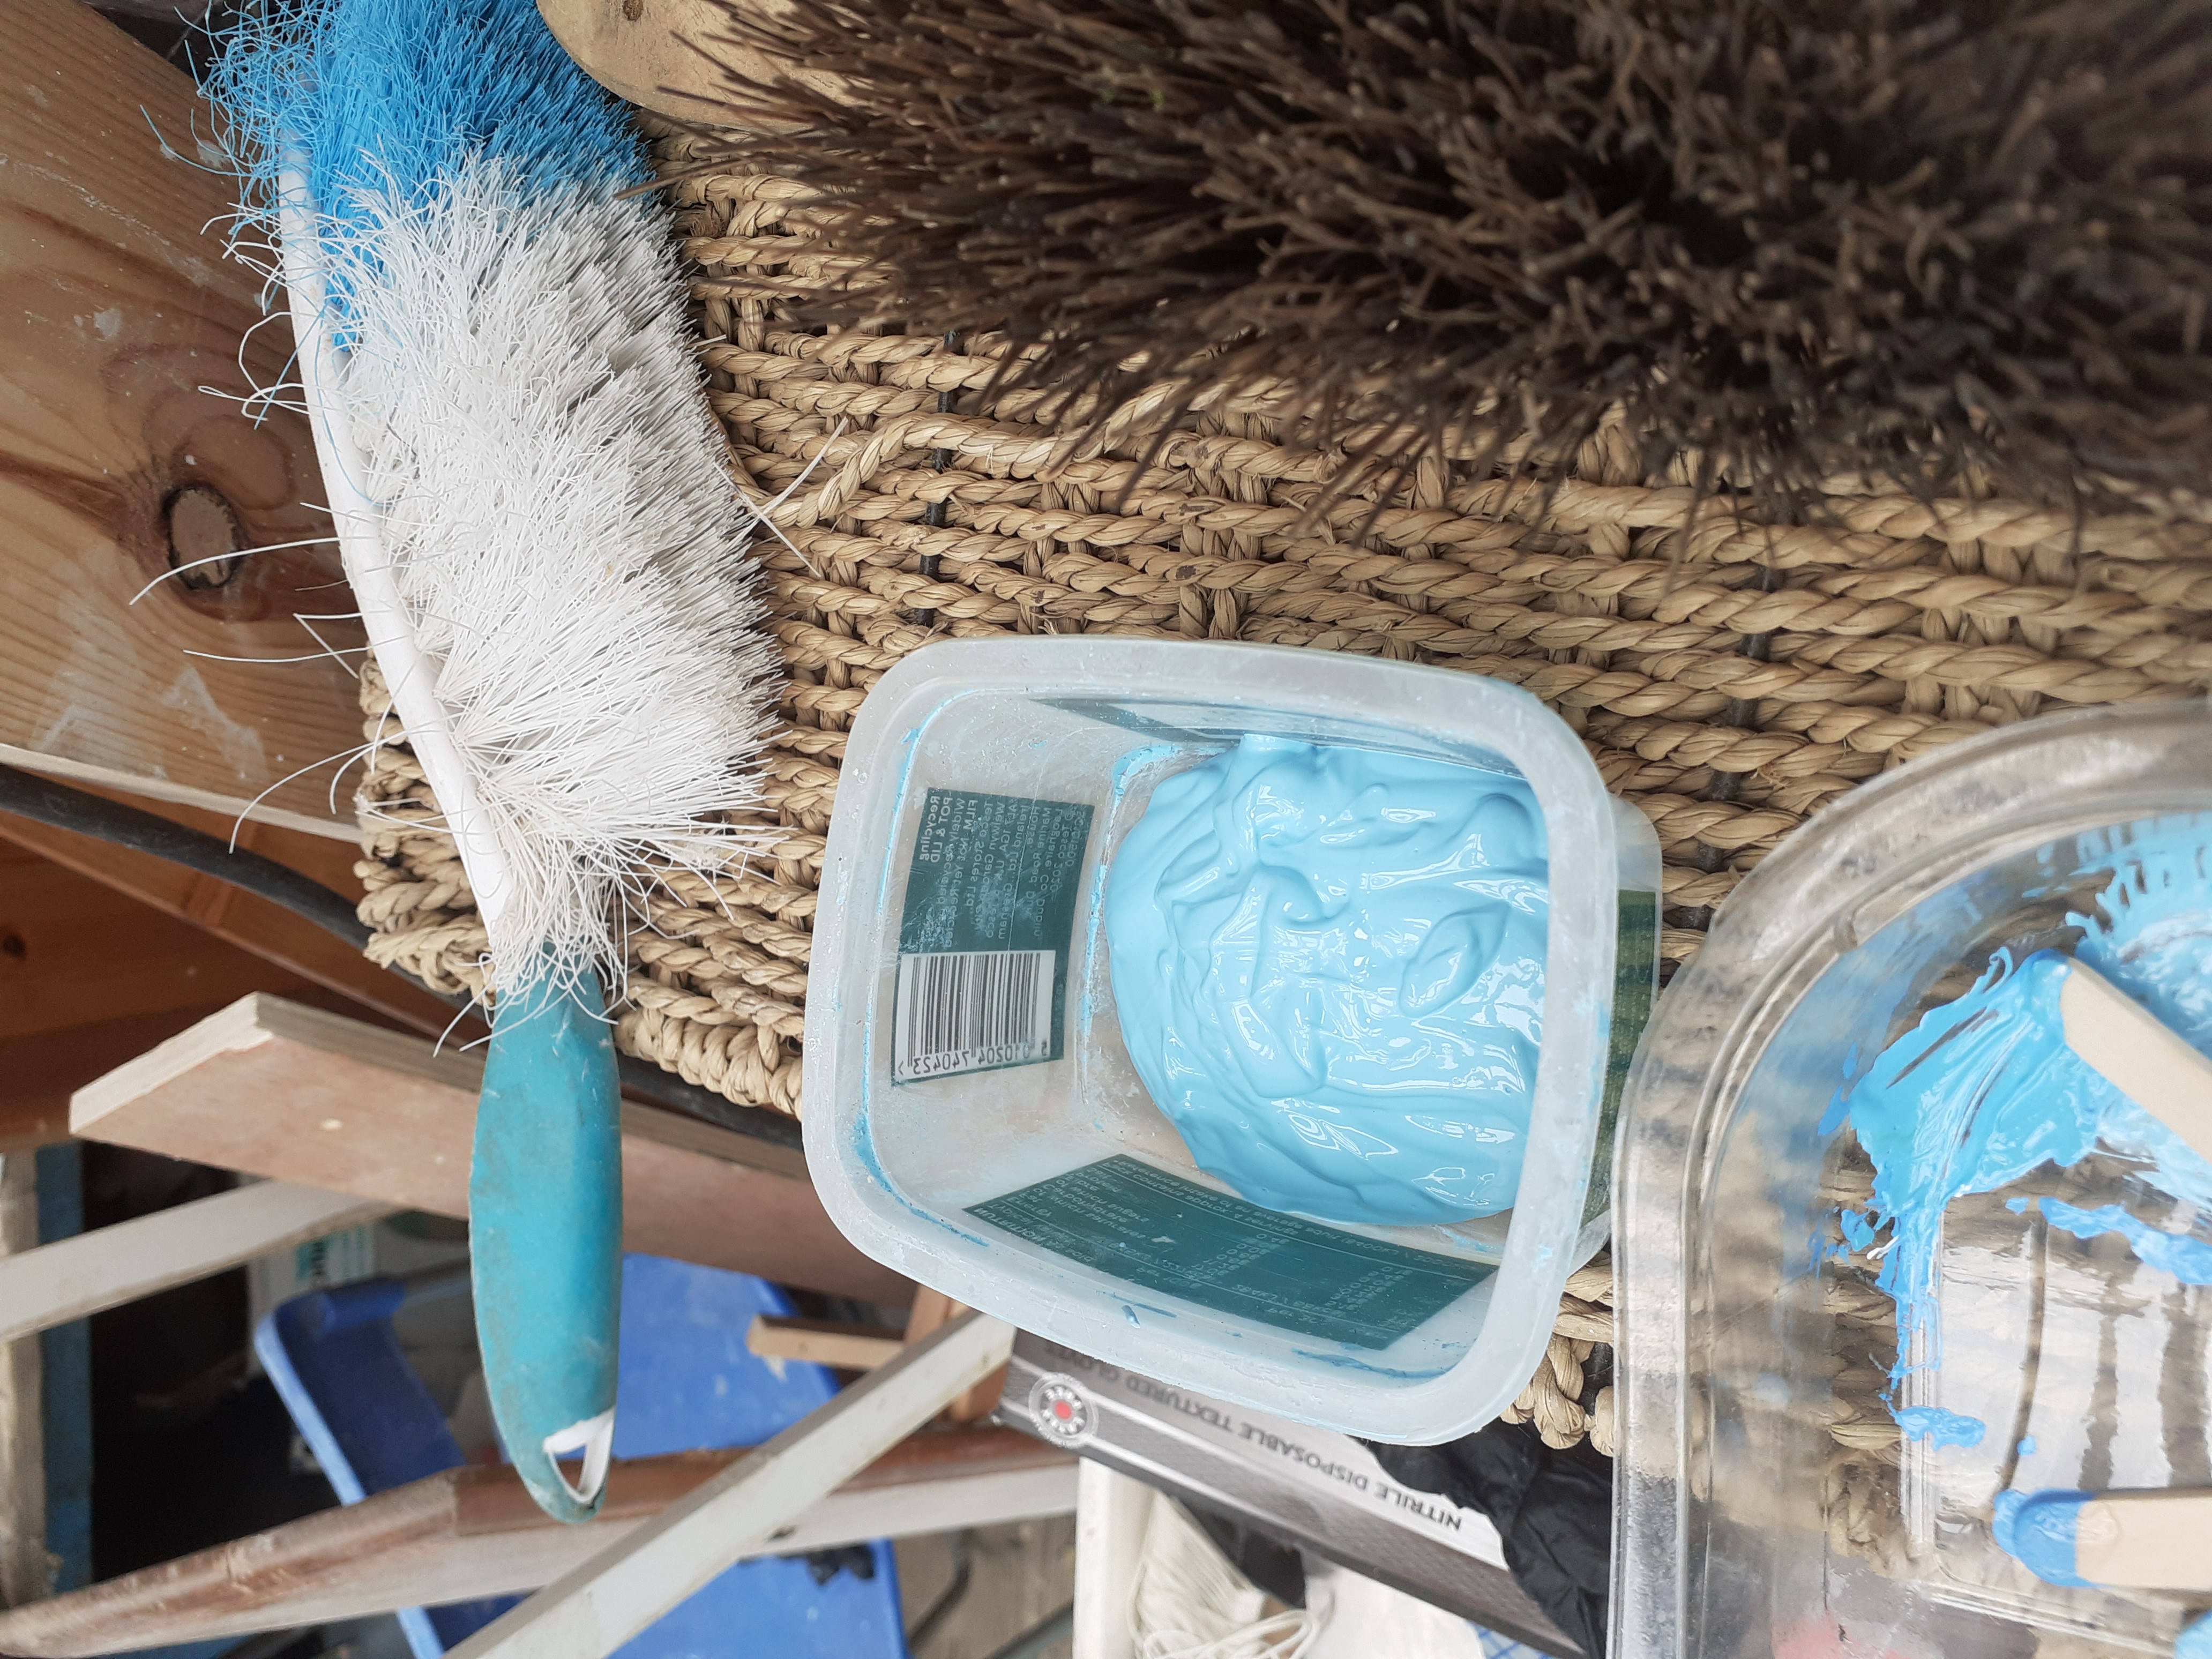
Where I went wrong was I was colour matching pigment. I mixed some pigment up and got the colour I wanted. It wasn't easy because it always looked glossy (it was wet) and the patch was shiny(ish), but not to the same degree. I eventually achieved a decent match, so got the gelcoat (clear) and started to mix the pigment batch I'd made - DOH! The colour changed RADICALLY. I had to add a LOT more color as it washed out totally.
If you have to colour match, mix the pigment straight into the gelcoat.
Once the clear gelcoat looked about right, tests on the boat began. I got a tiny bit on a lolly stick and wiped a bit on, adjusted, repeated. This went on for a while until I was fed up pretty much, but the colour was okay. I should have spent longer on this as I could have got a really good match, but my patience was certainly running low.
With an adequate quantity for the top half of the boat (I thought) mixed, I got a teaspoon sized amount and added butanox and a drop of wax in styrene, mixed and filled a small hole. When dry, I sanded this back to the same height as the boat and looked. My eye was clearly off, it was too blue. I thus adjusted the blend of pigment in the gelcoat a bit and tried again. This time it was a success - it looked acceptable.
I had so much to apply, that I mixed up the gelcoat in 50gram quantities at a time. This gave me barely sufficient time to apply it. Frustratingly, the gelcoat does not go on as well as I hoped. I think possibly that I am adding too much butanox hardener, though it is nowhere near the 2.5% by weight, the weather is really warm (24c) and I'm working in a shed, so air could be as high as 30c. The bonus is that I know the air is low humidity so water isn't getting in to the mix to taint it.
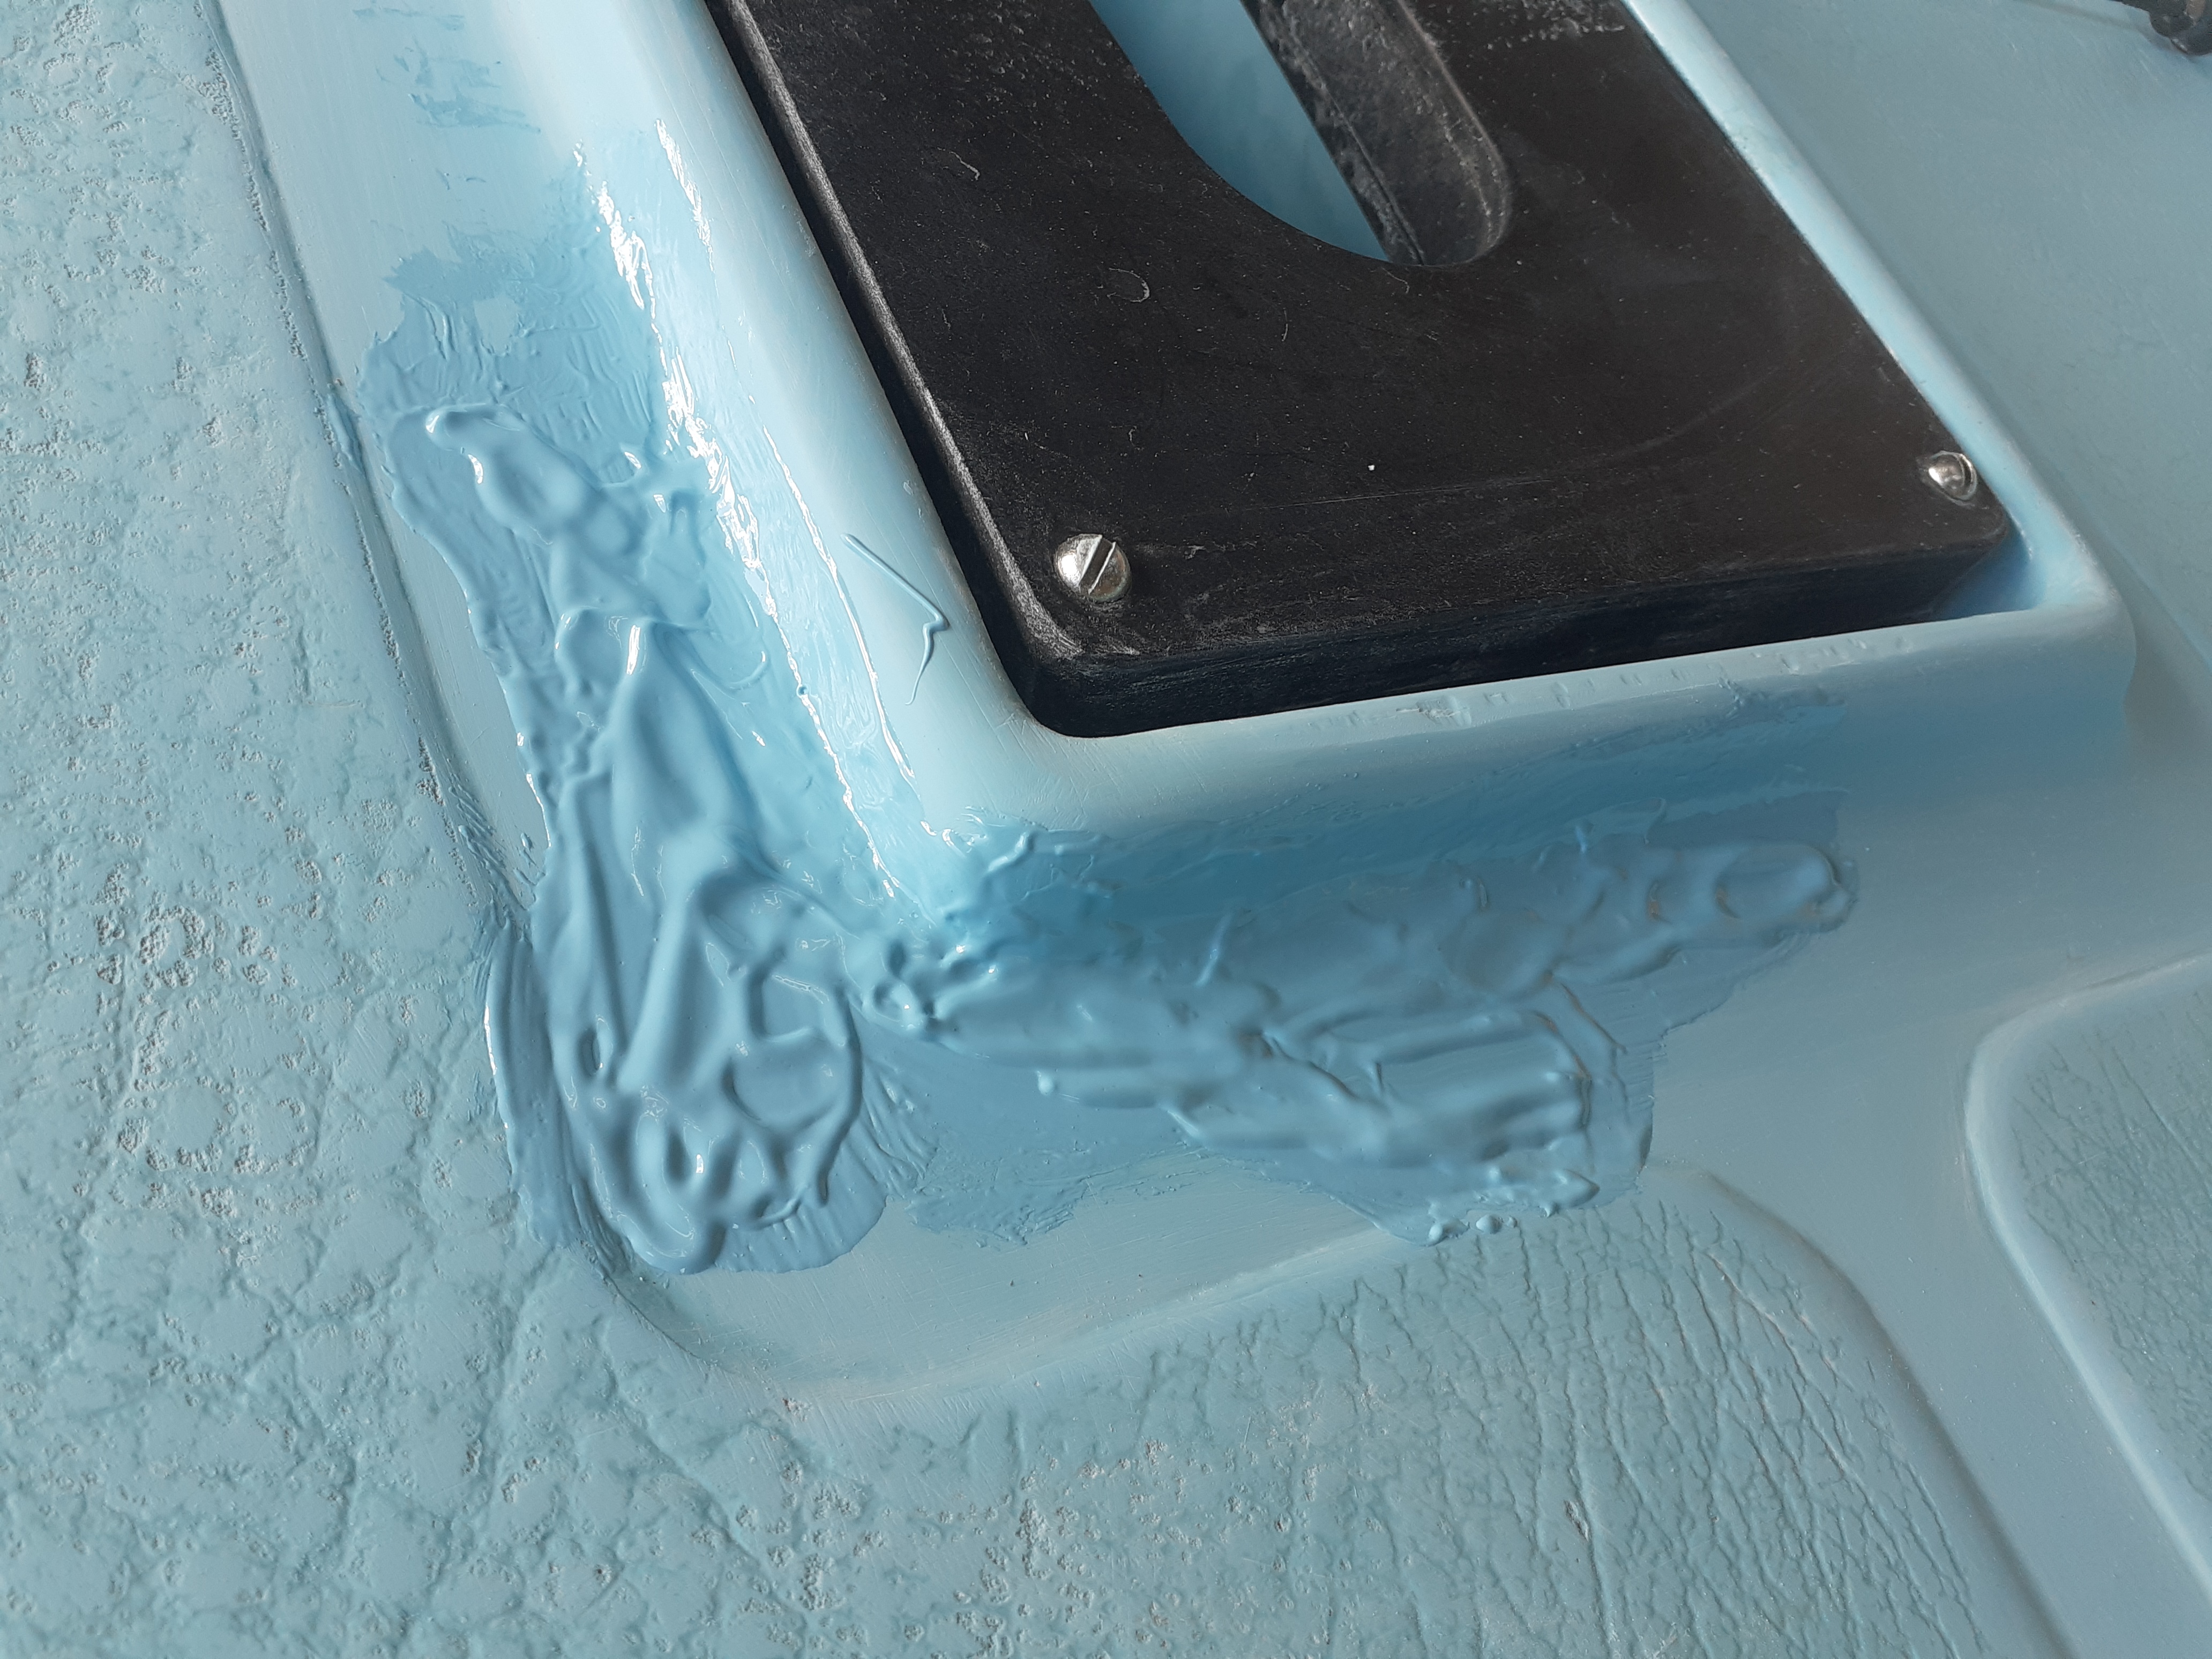
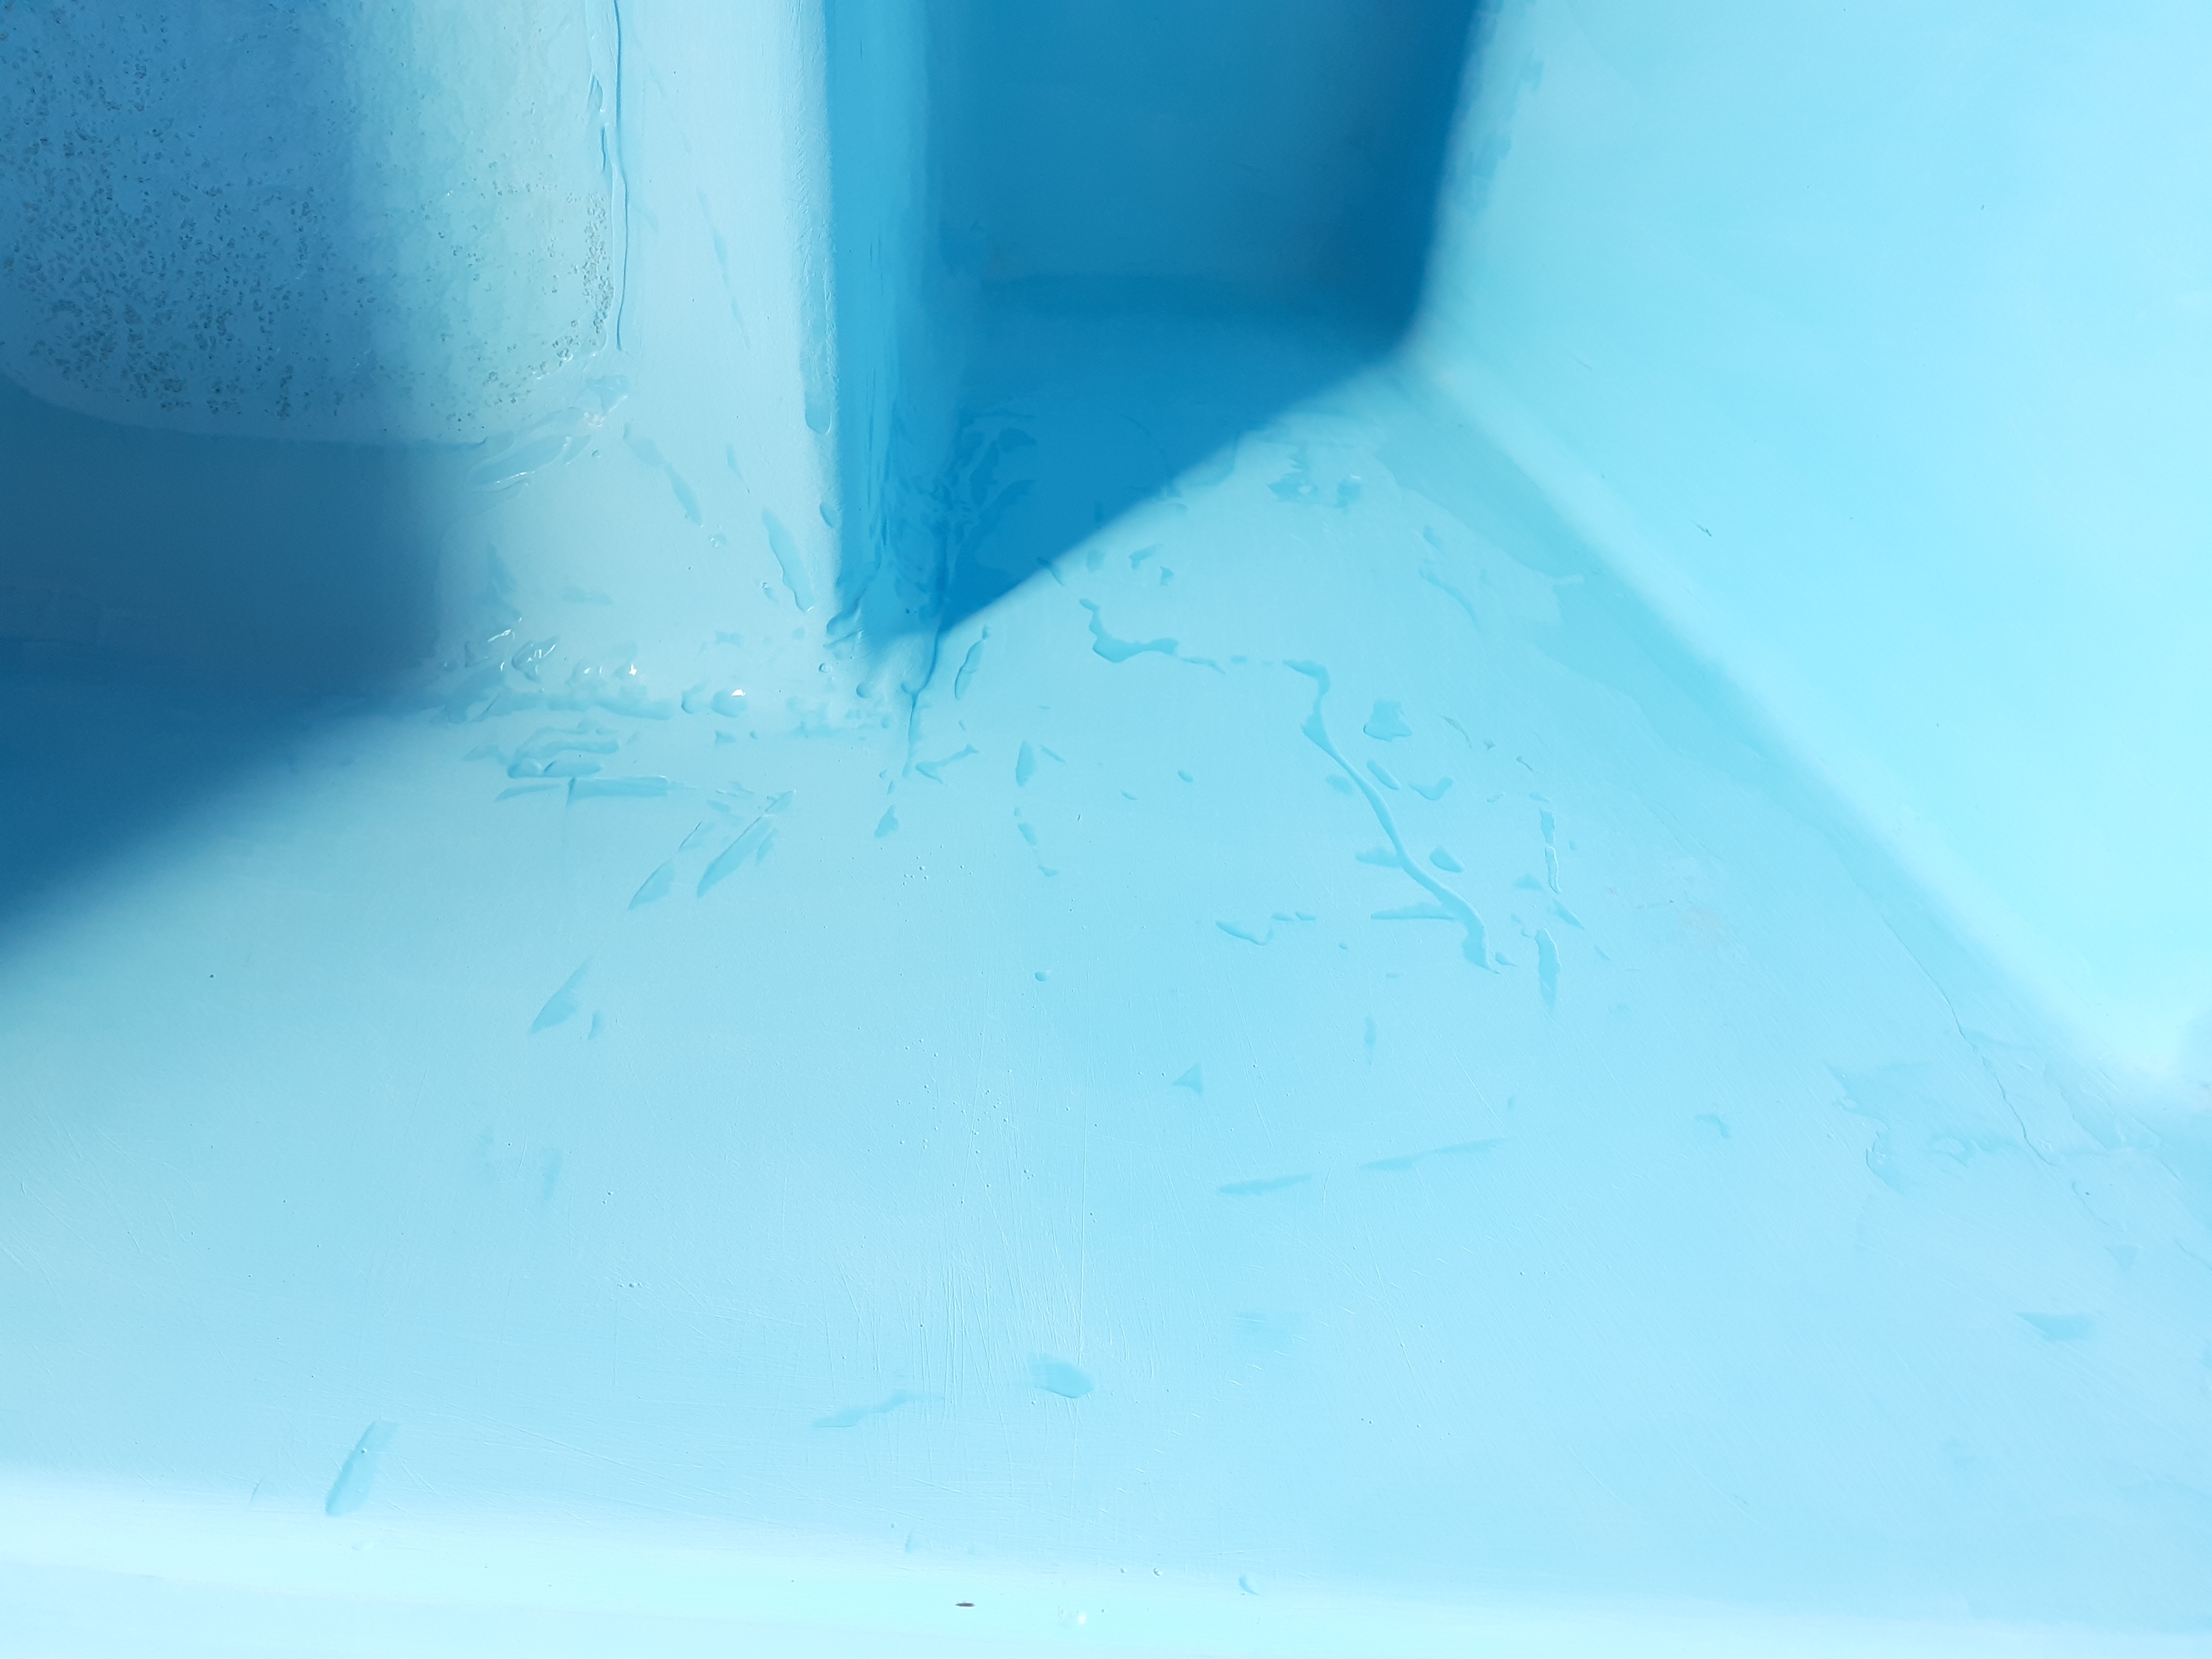
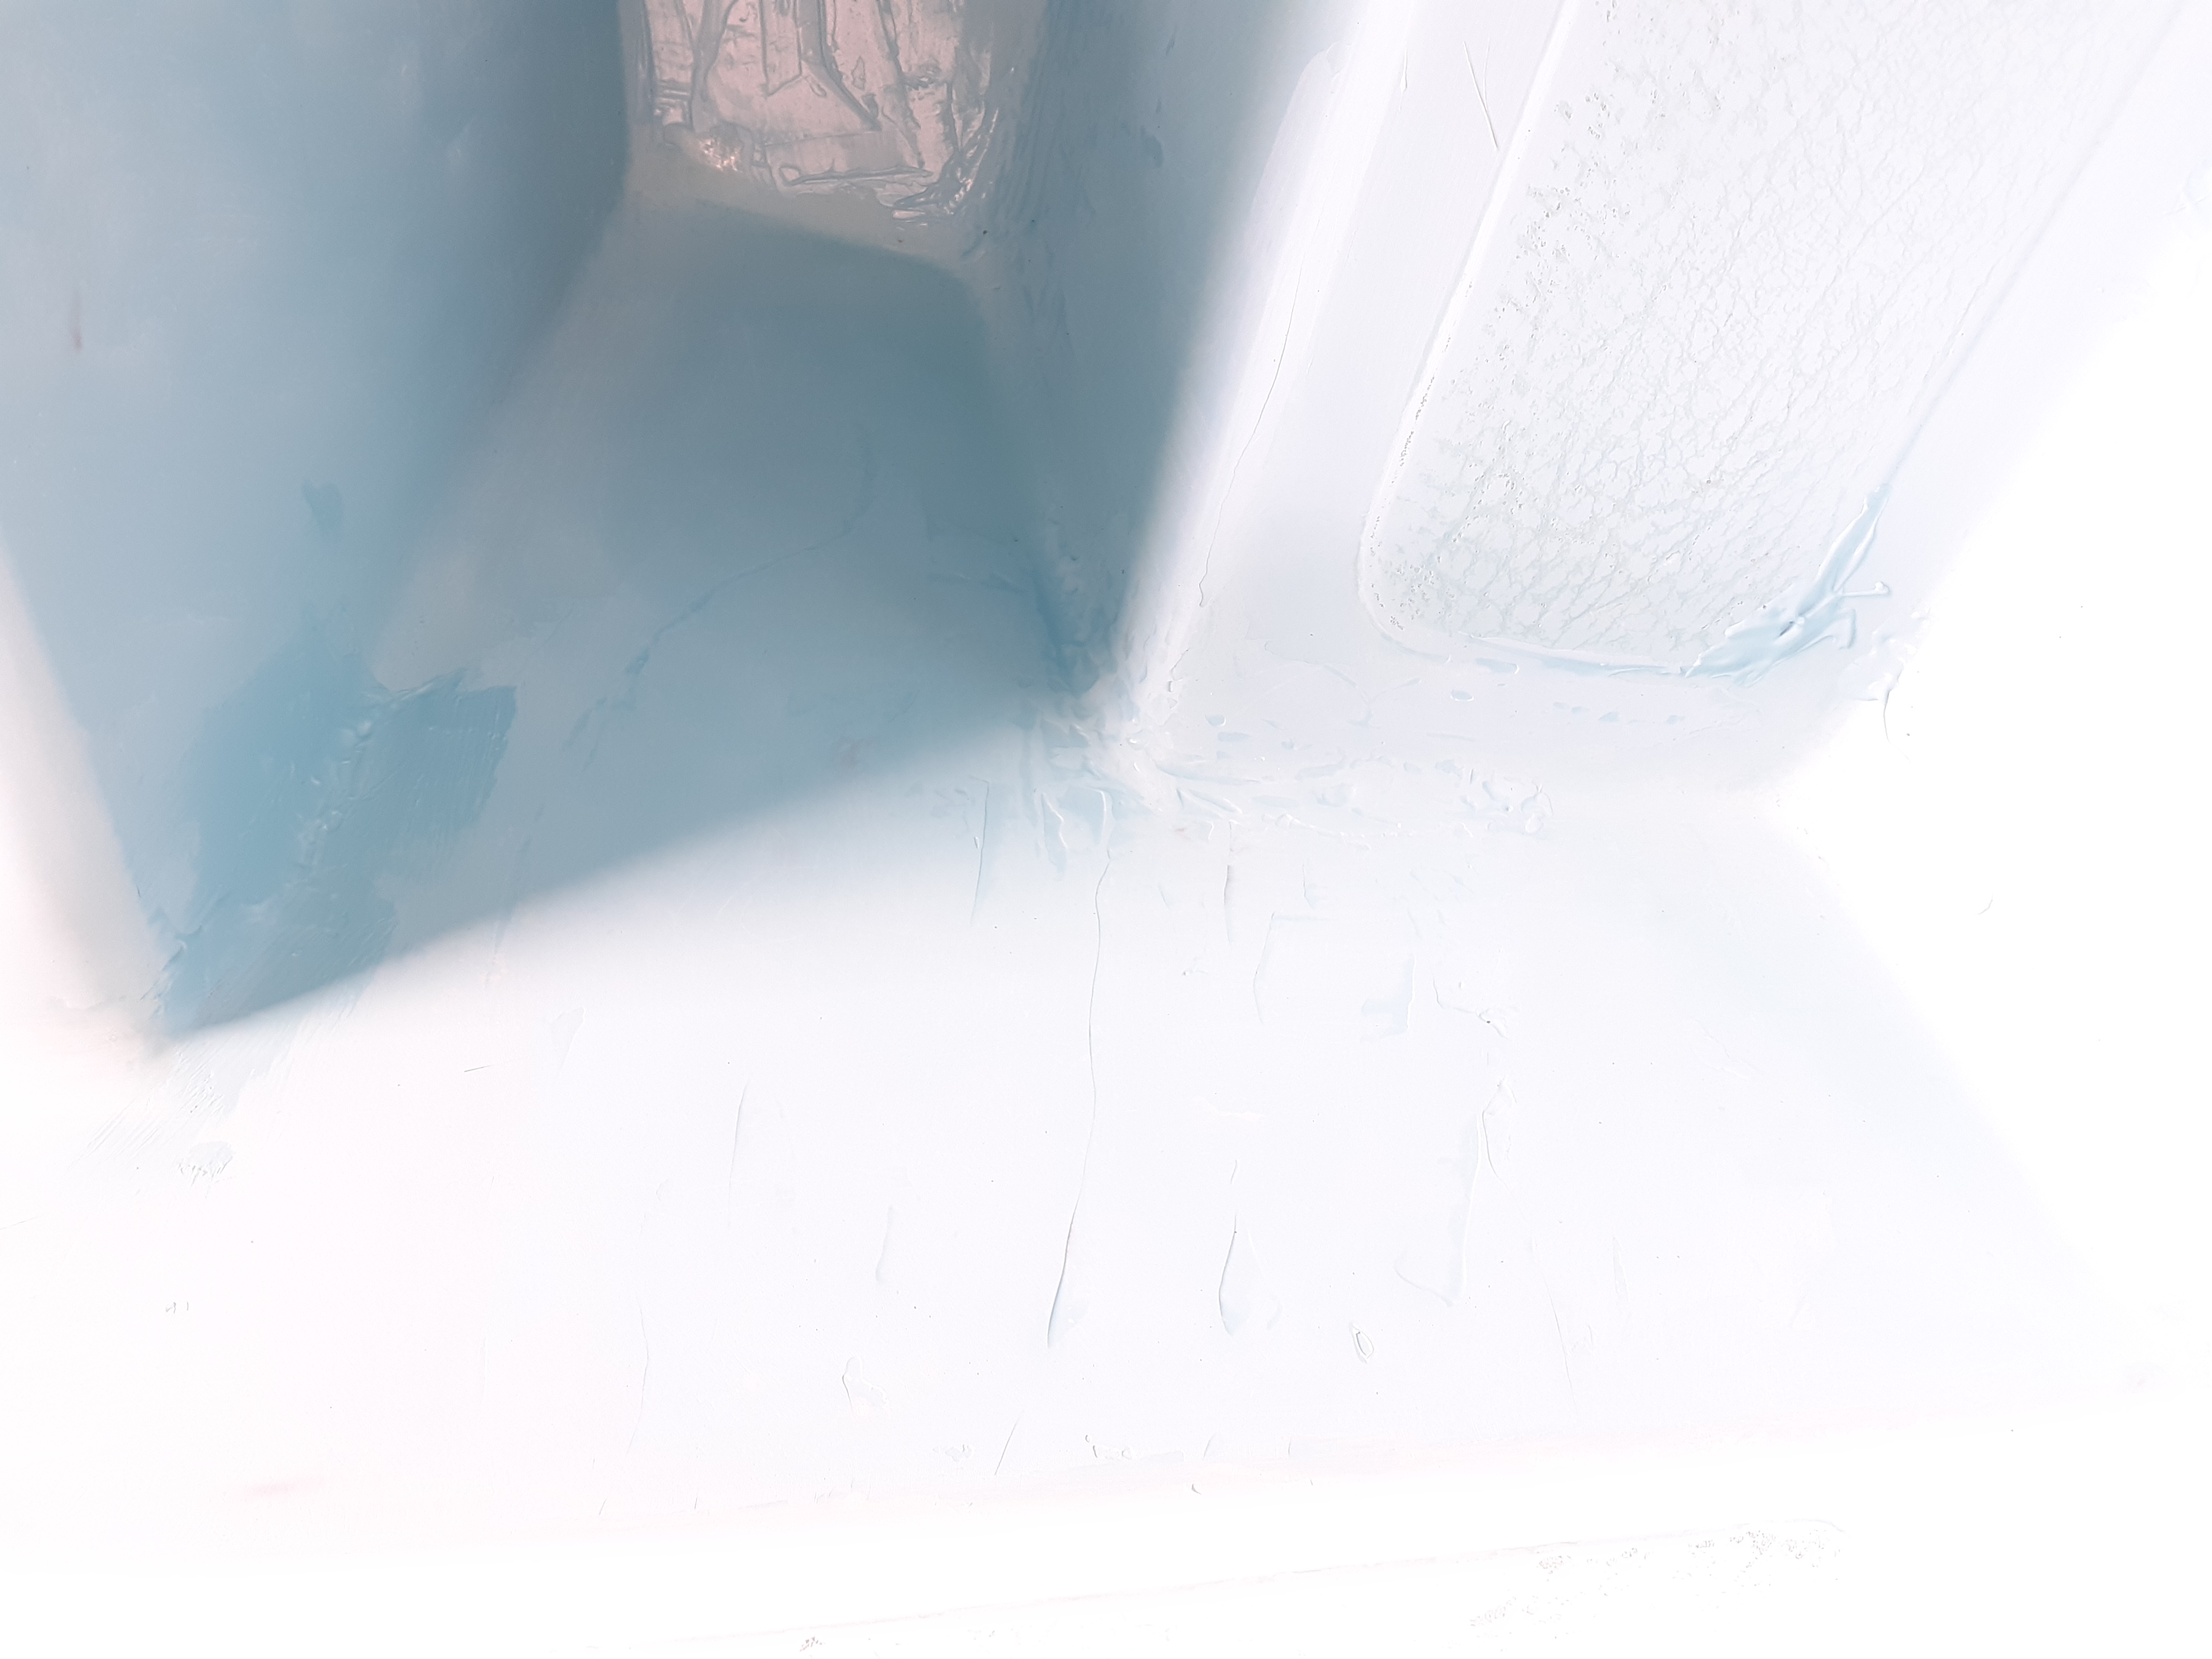
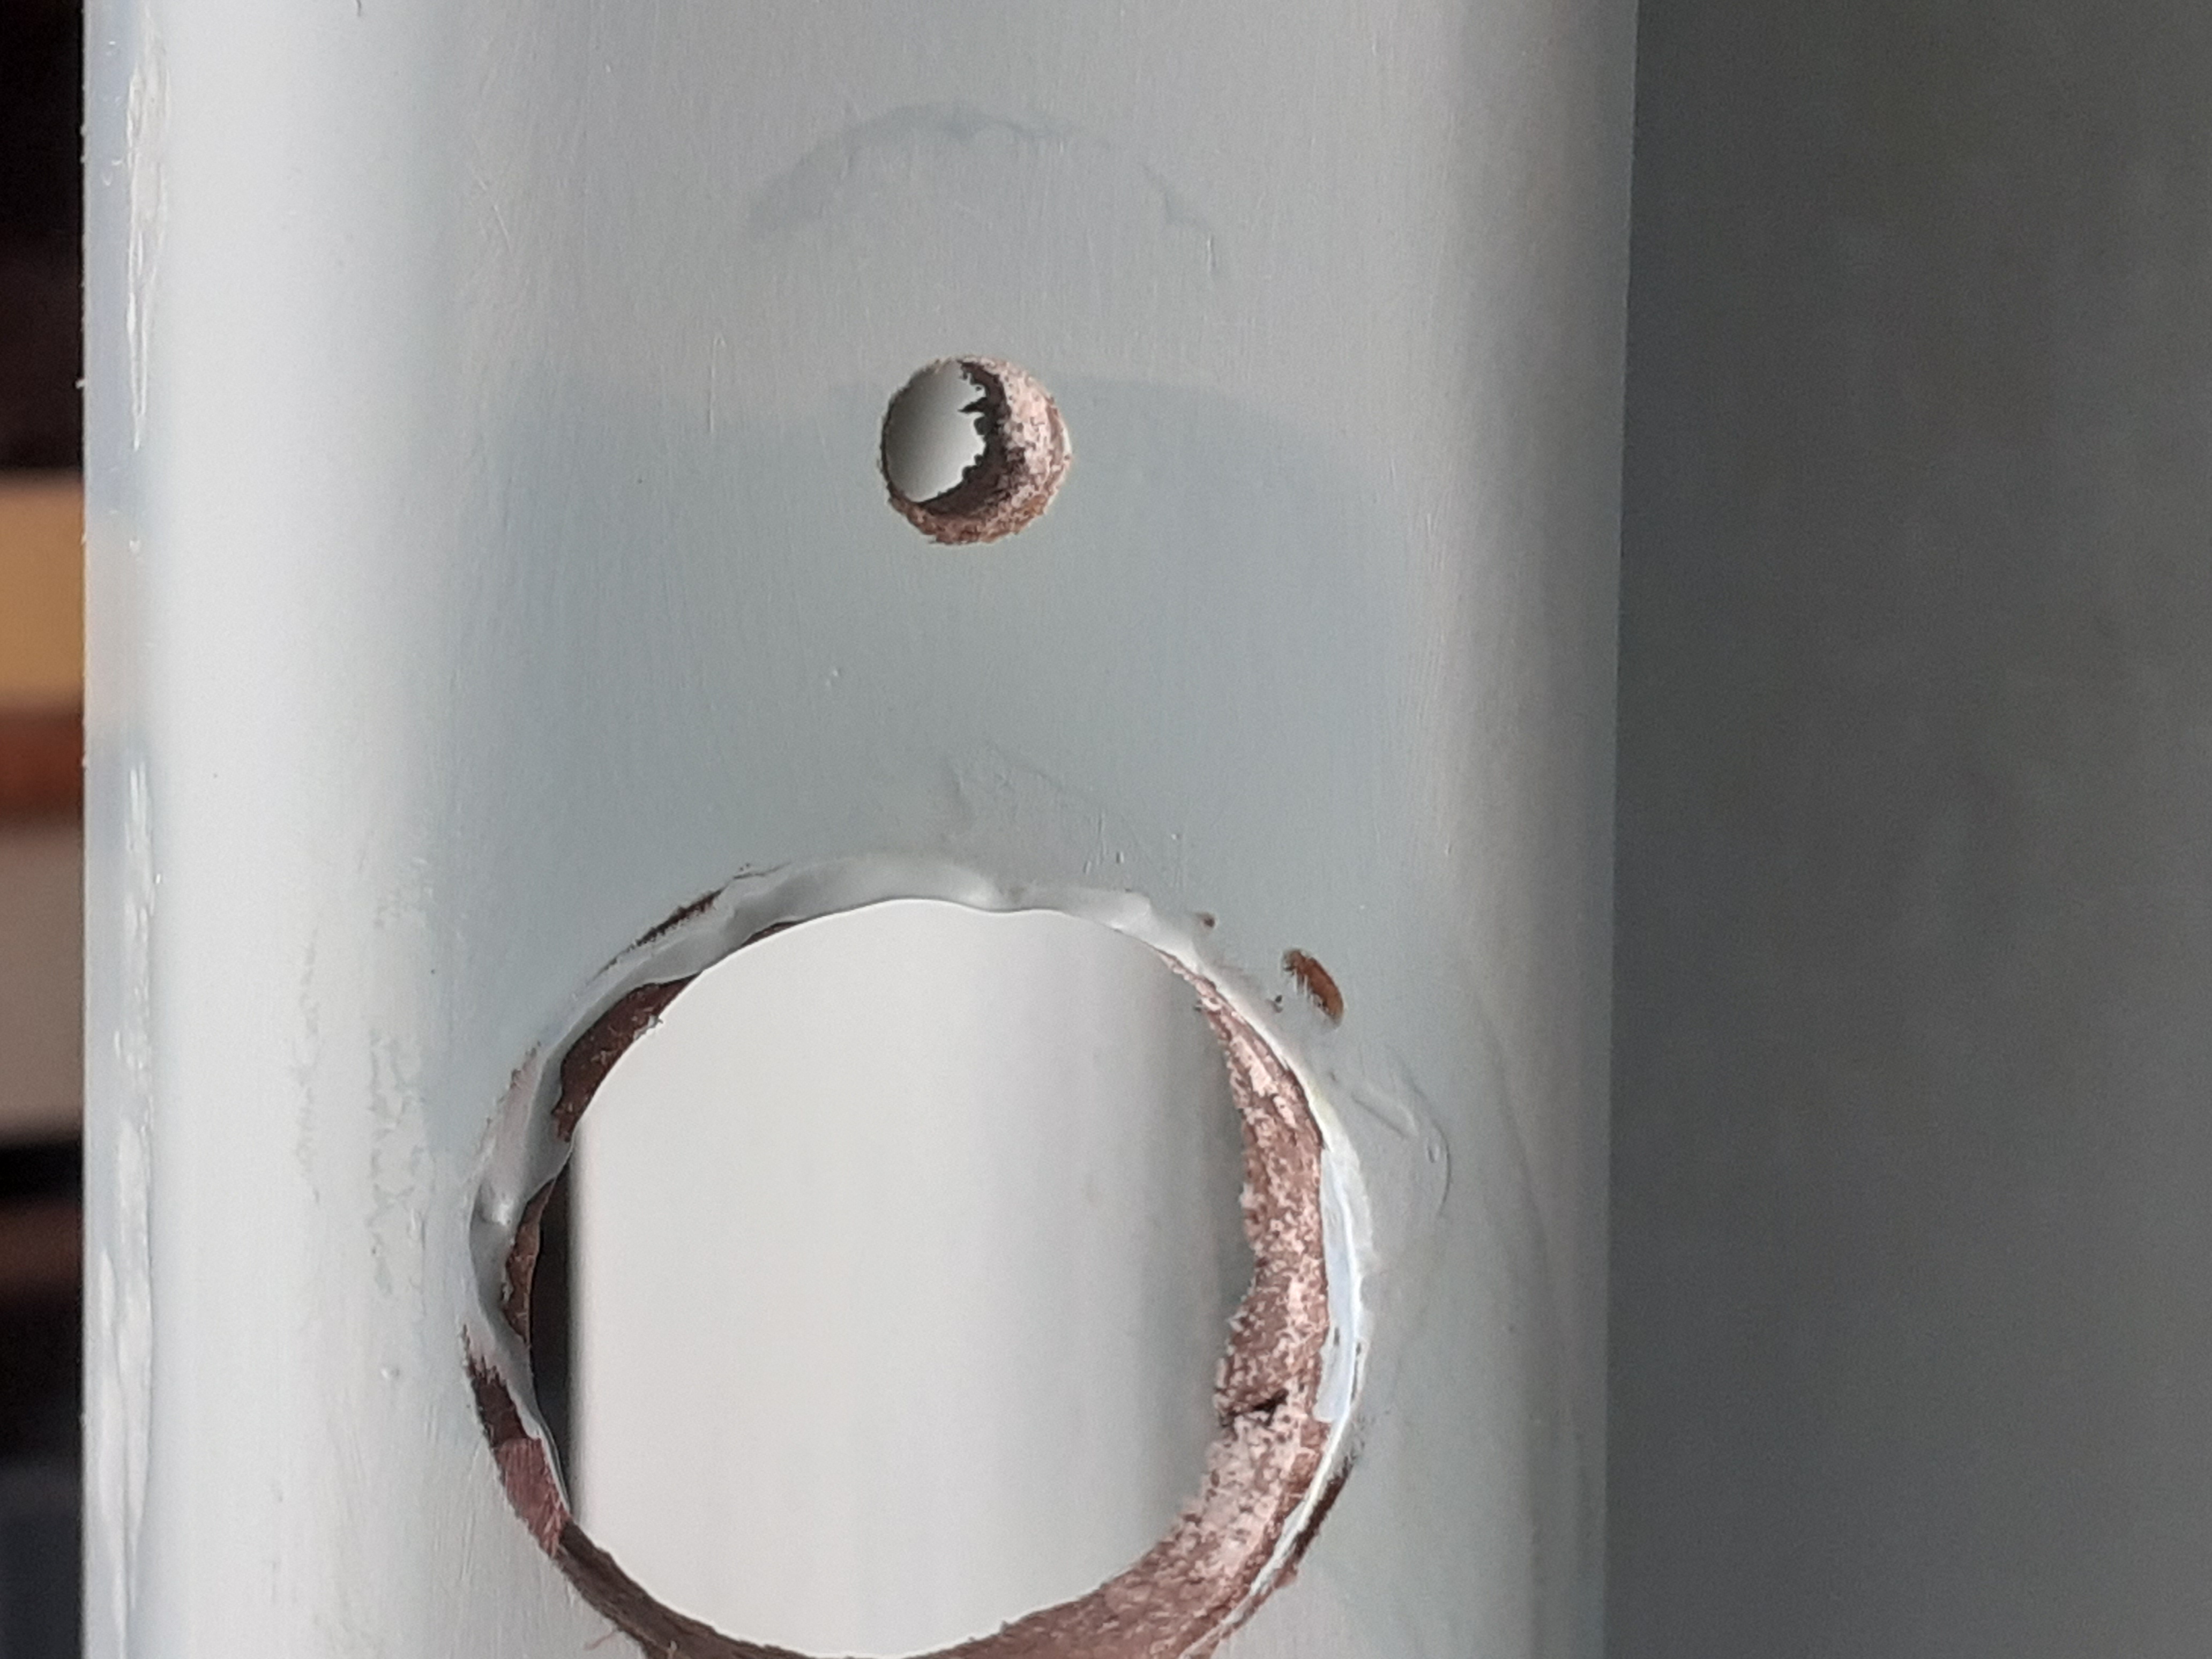
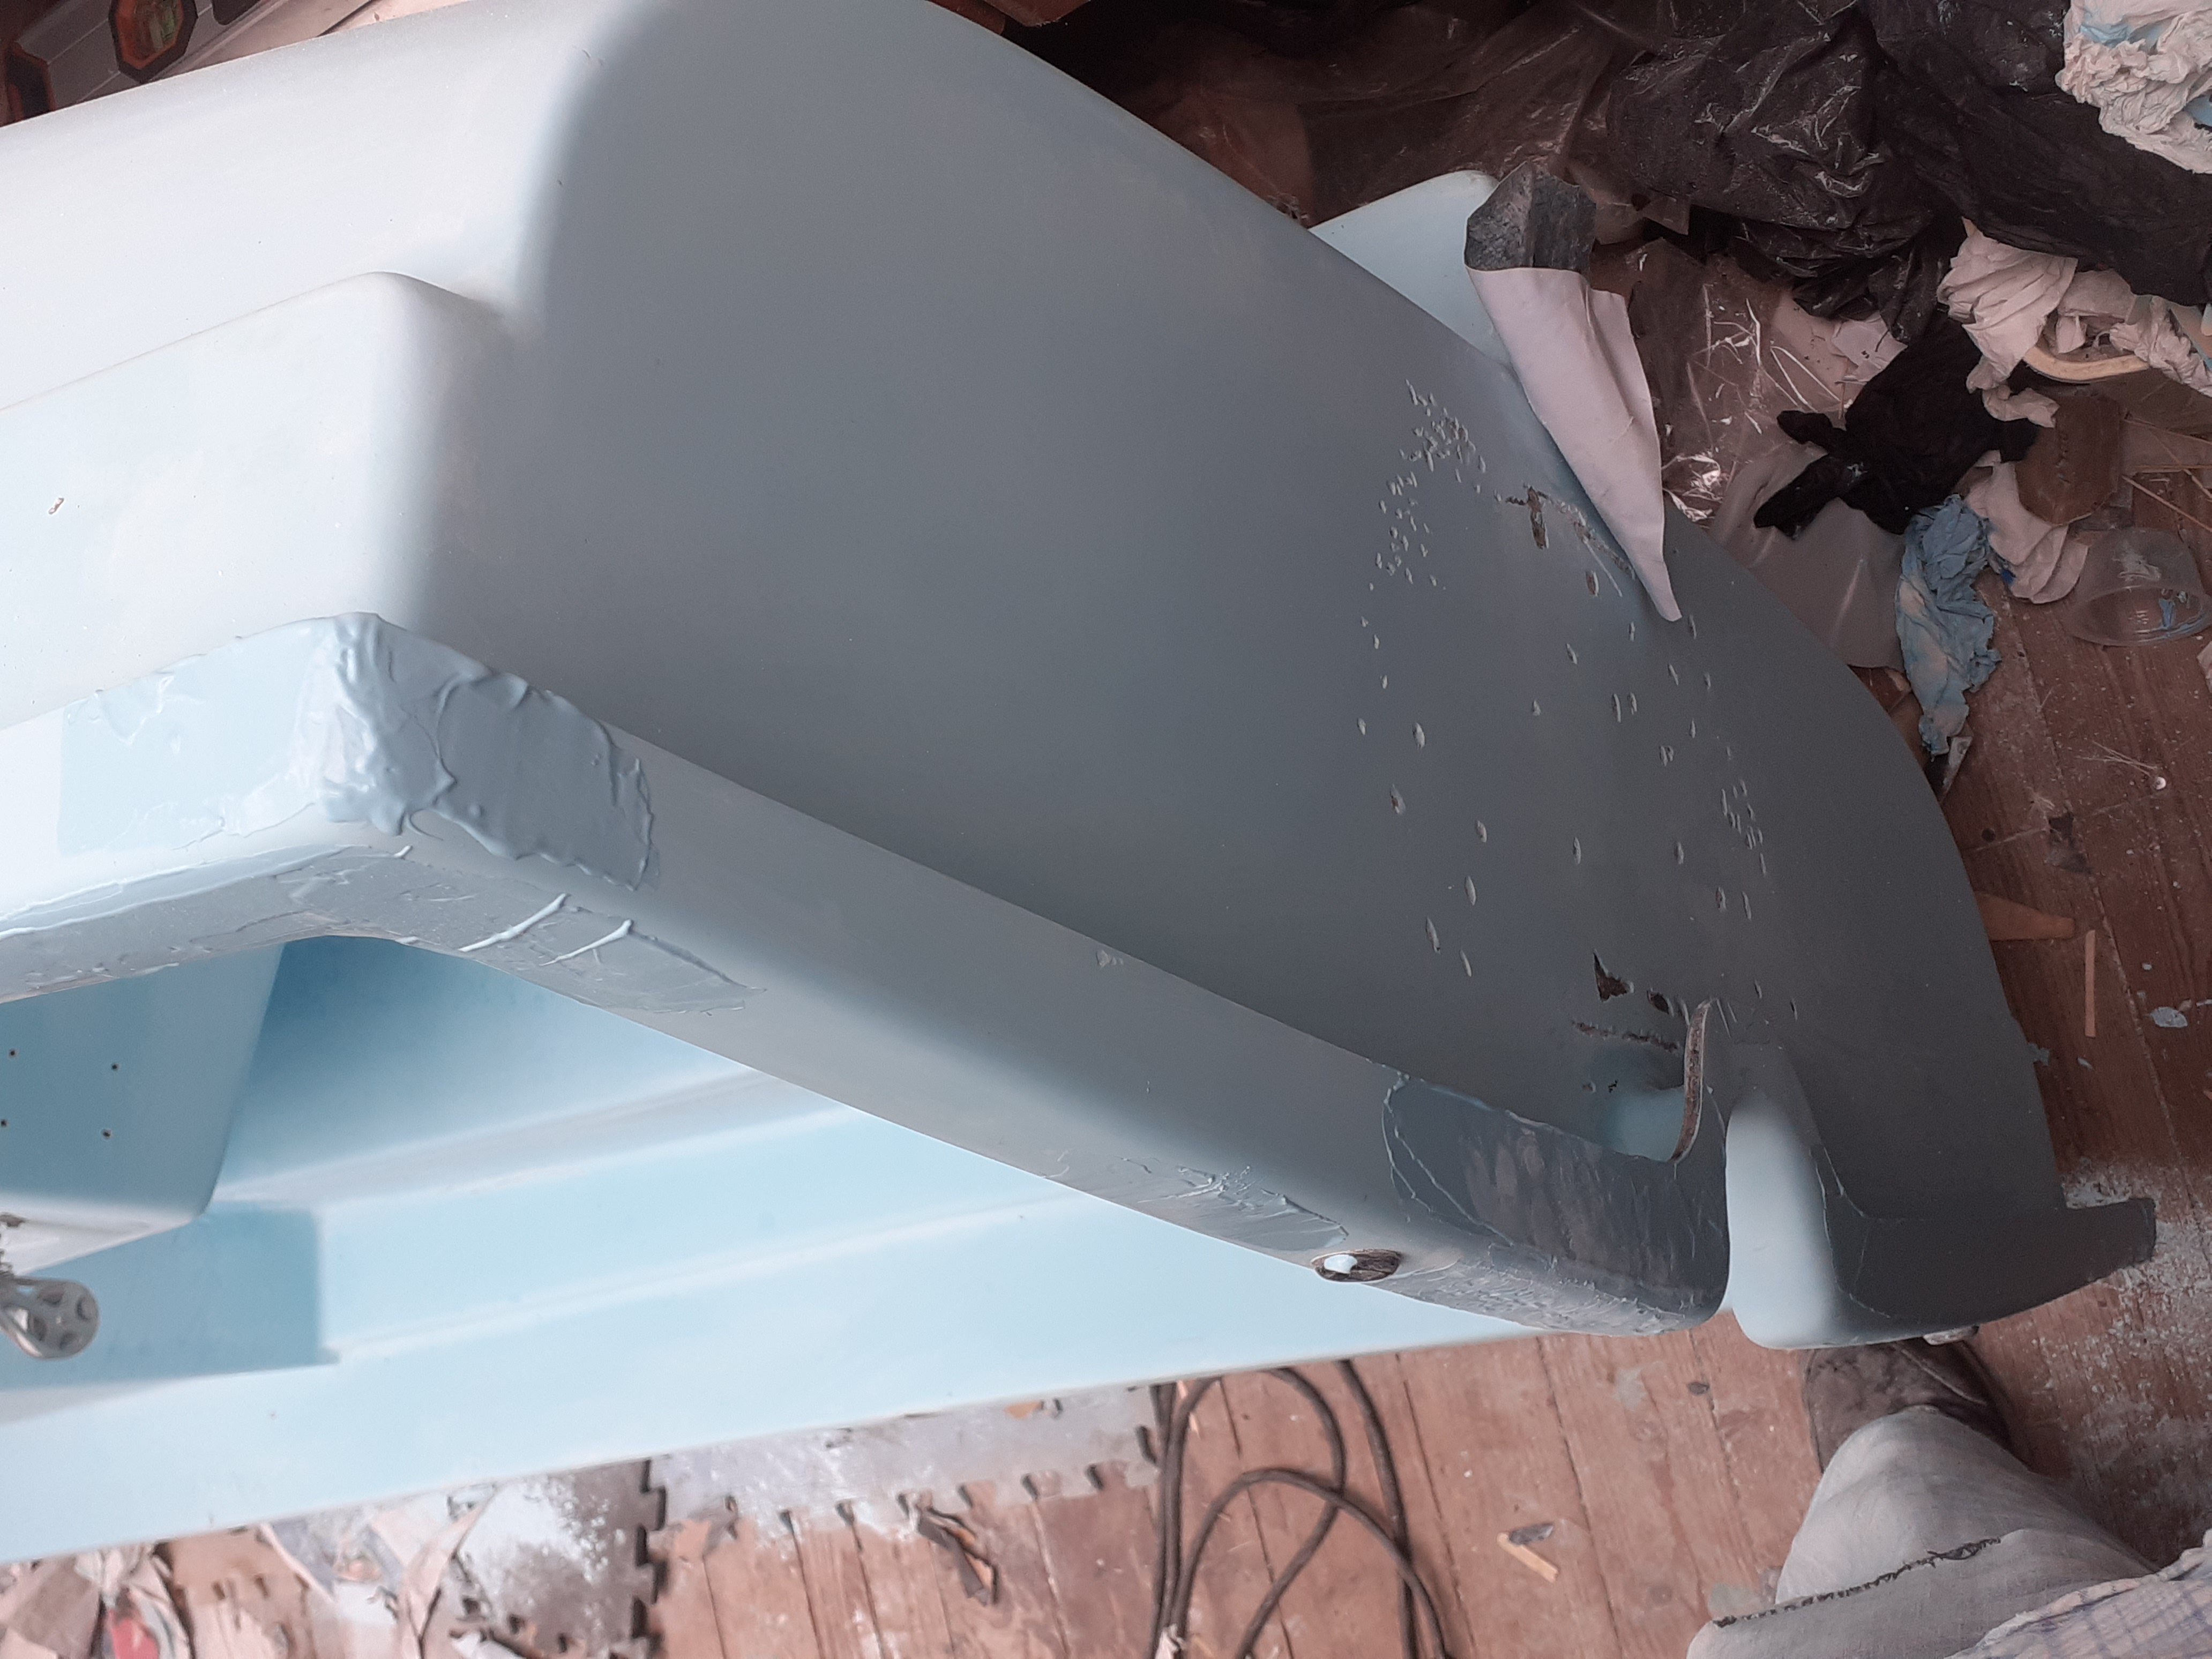
What I've found is that when filling cracks, it is effective to fill using a lolly stick. I used a stainless spreader to smooth it, but, I find that though it is happy to make a mess around the crack, the crack itself is exceedingly likely to end up with a slight concave hollow along its length. I'm sure this is to do with the surface tension of the product reacting to the edges of the crack, but it's a pain! I find I am now adding more product to ensure it domes above. The first area I did, I discovered all the holes were now pits and I'm going to have to go back and sand them each out so a second layer will stick - very laborious.
One huge issue I've found is that a lot of the cracks are in internal 90degree curves. These are a pig to sand out anyway, so I'm not looking forward to sanding these back but, I may well resort to 60 grit paper to speed things along a bit.
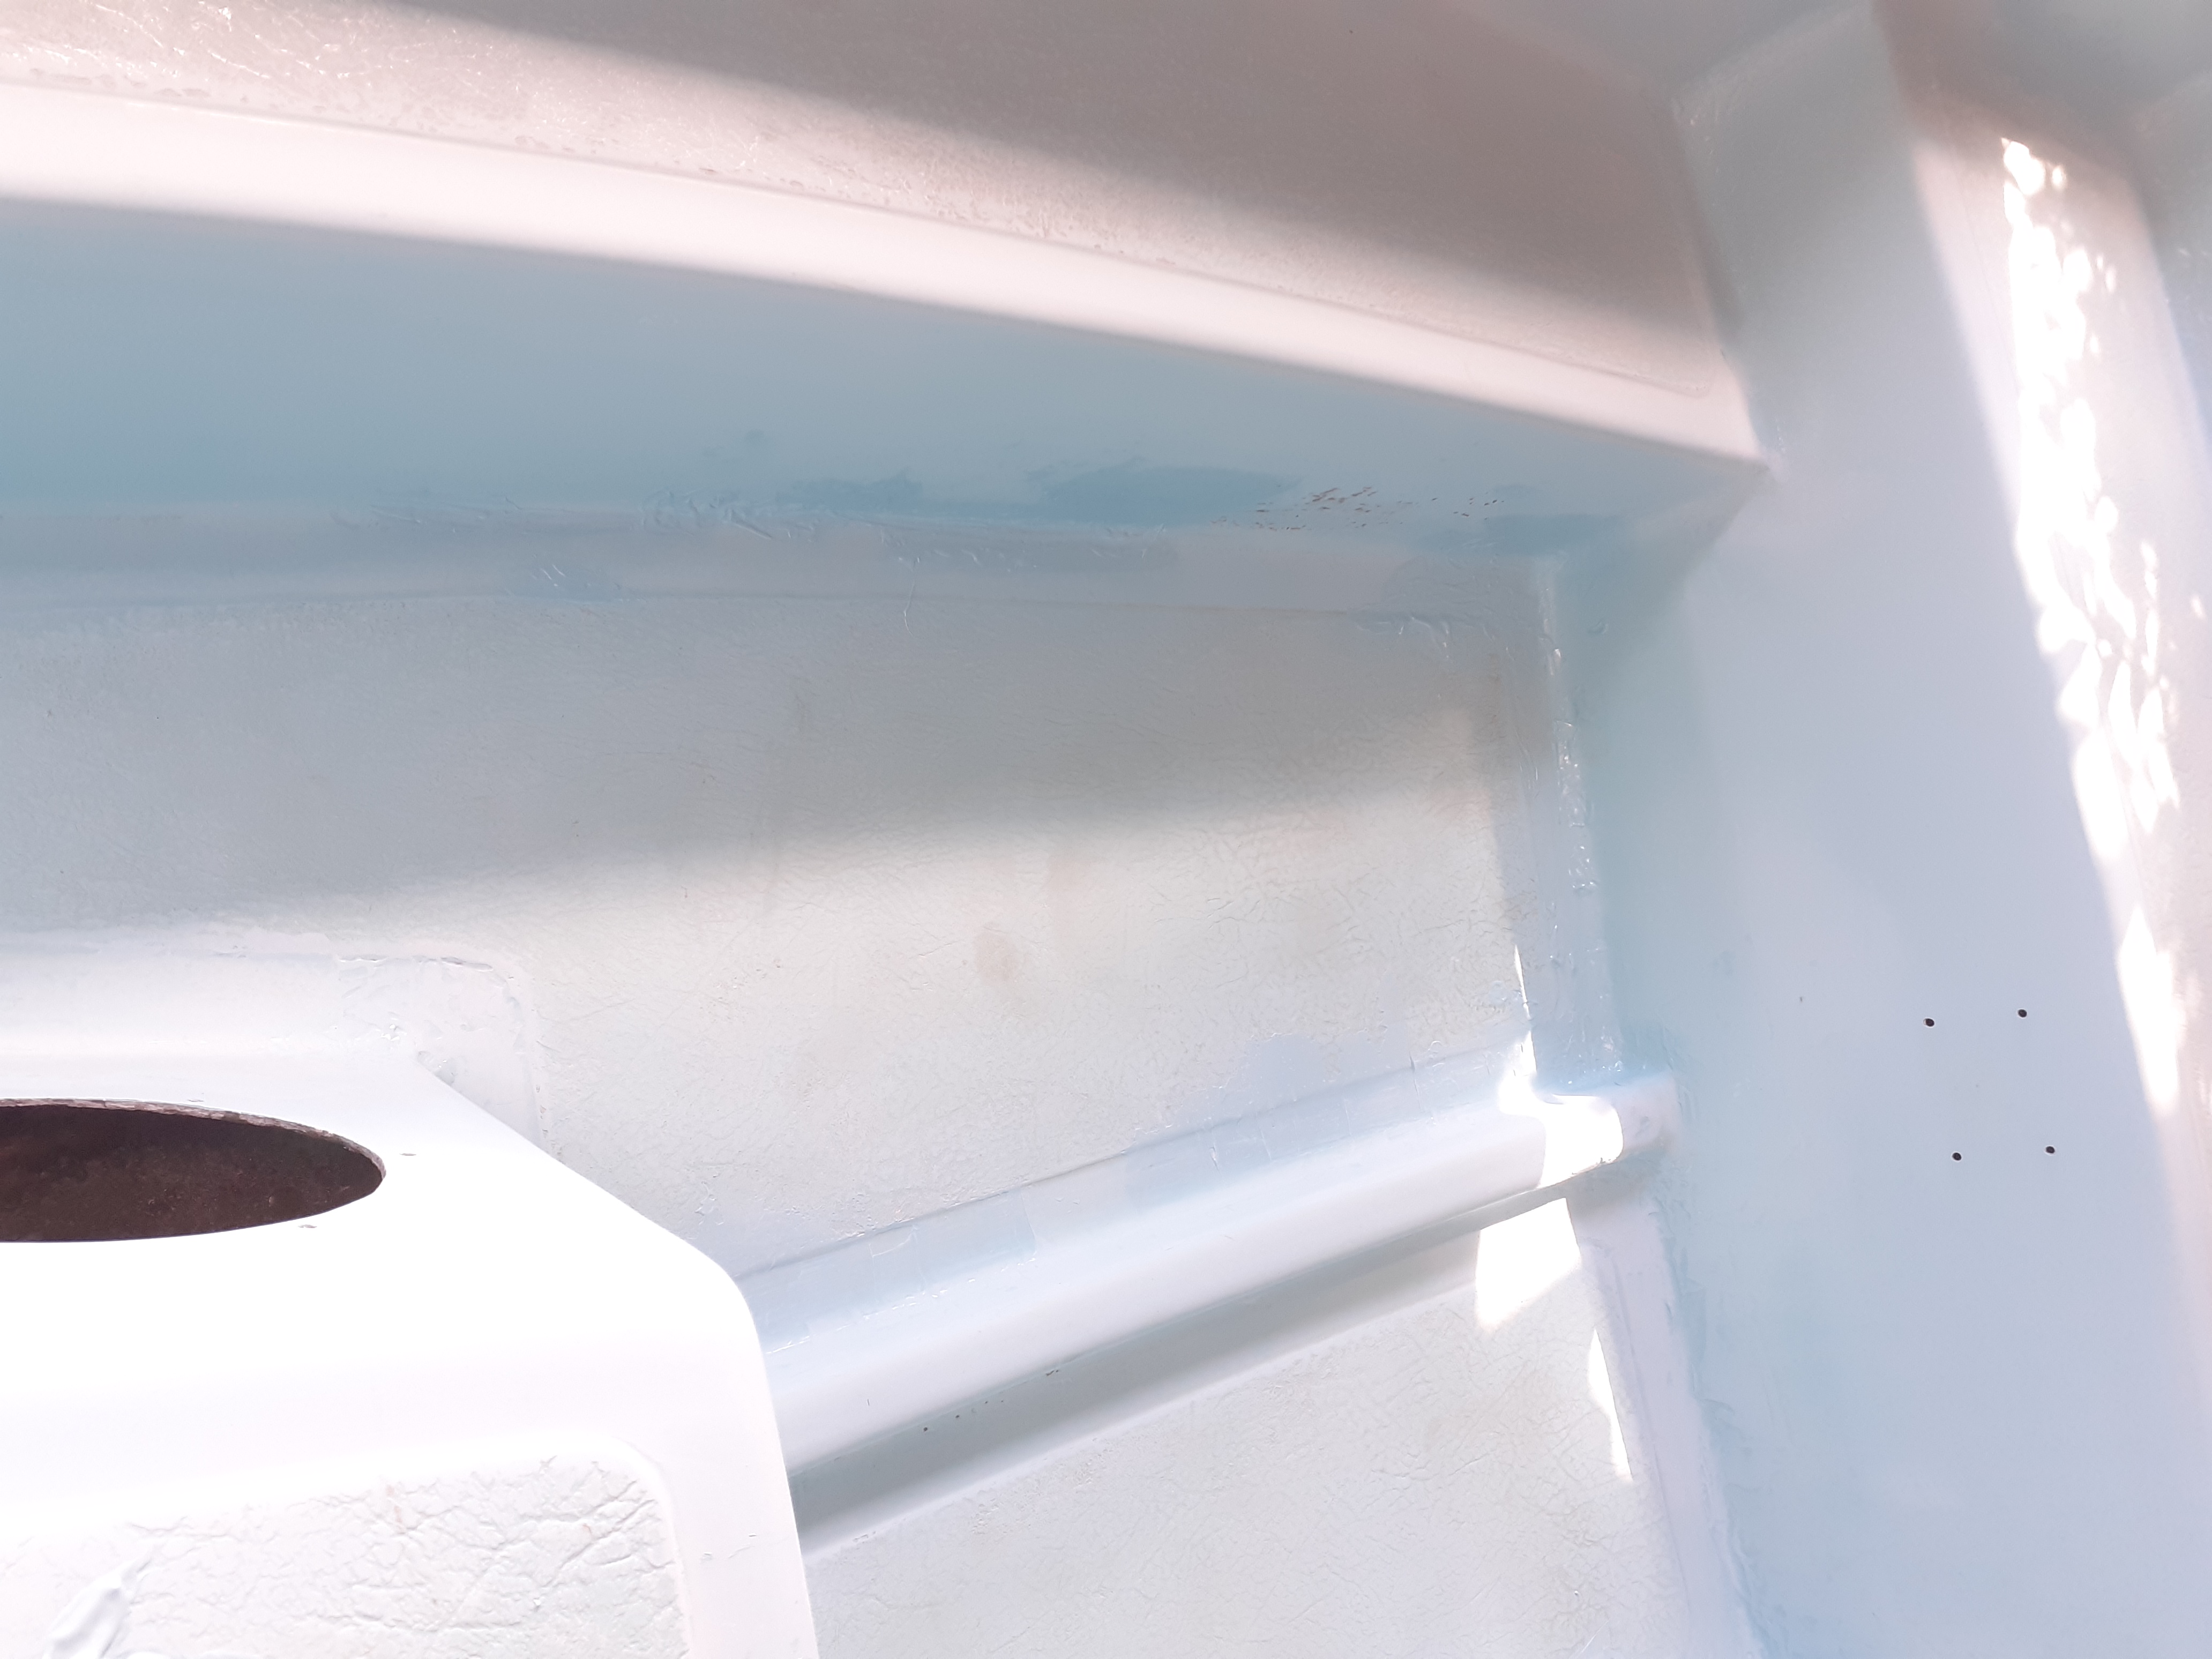
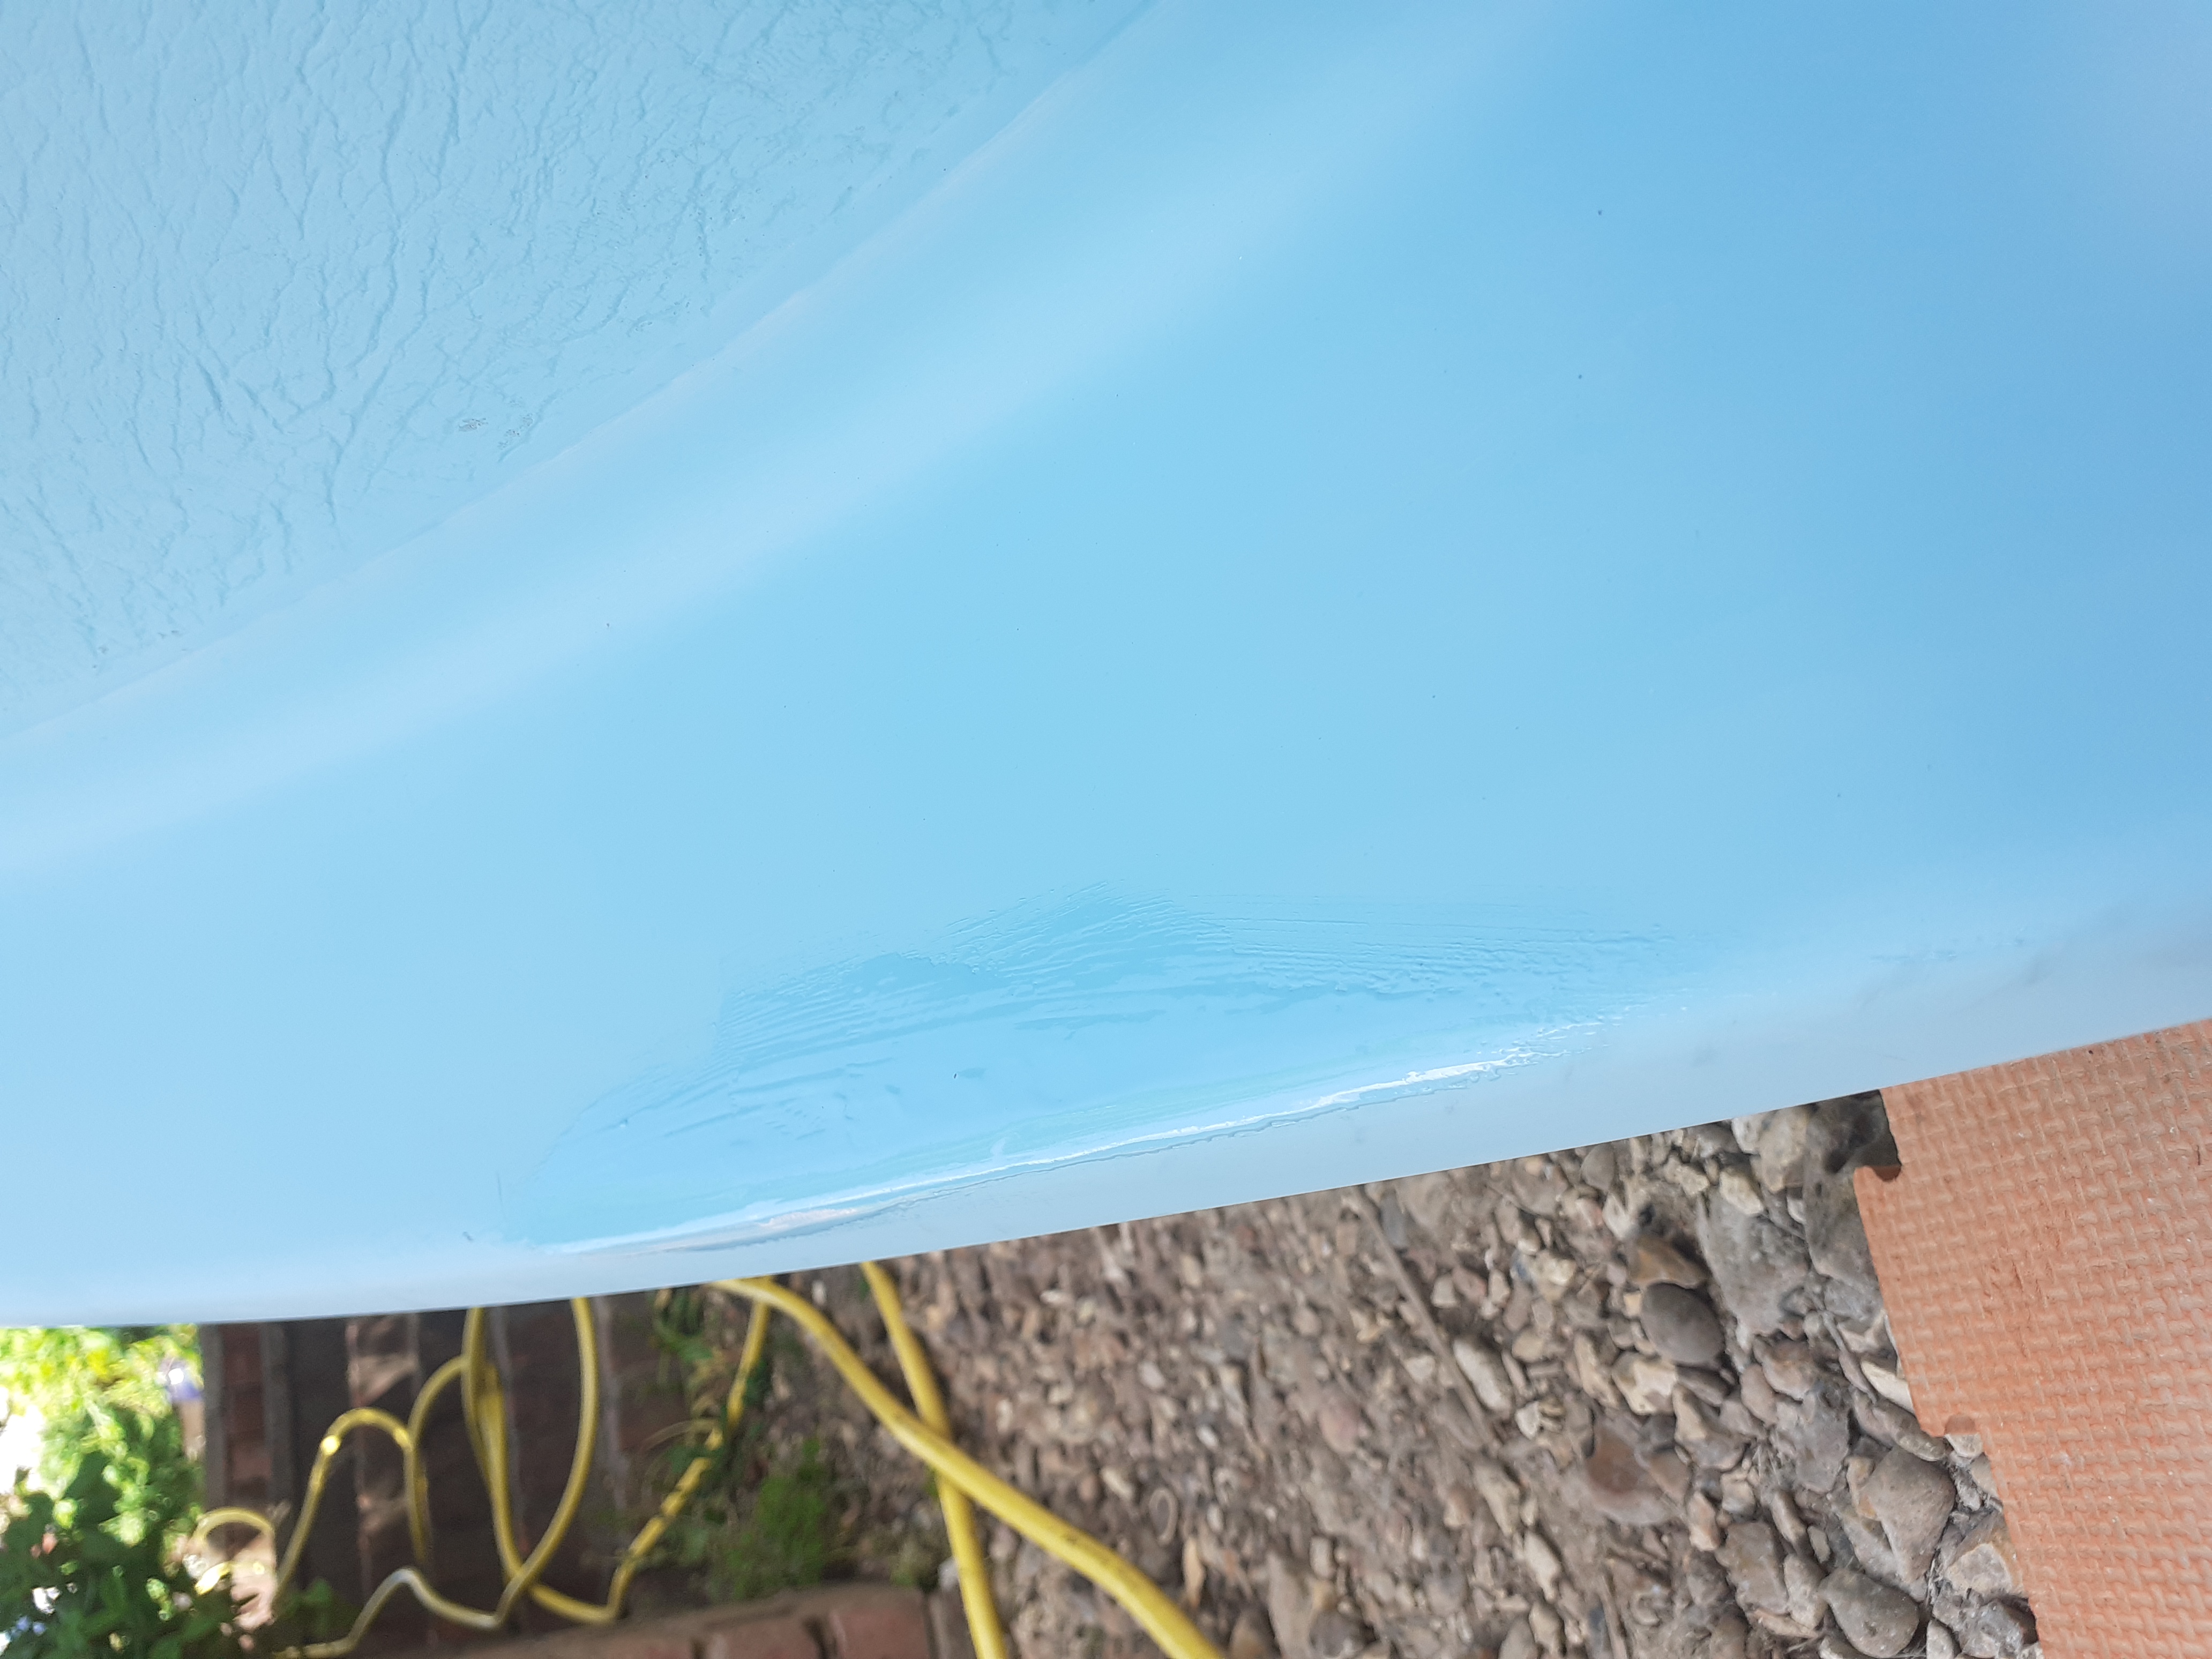
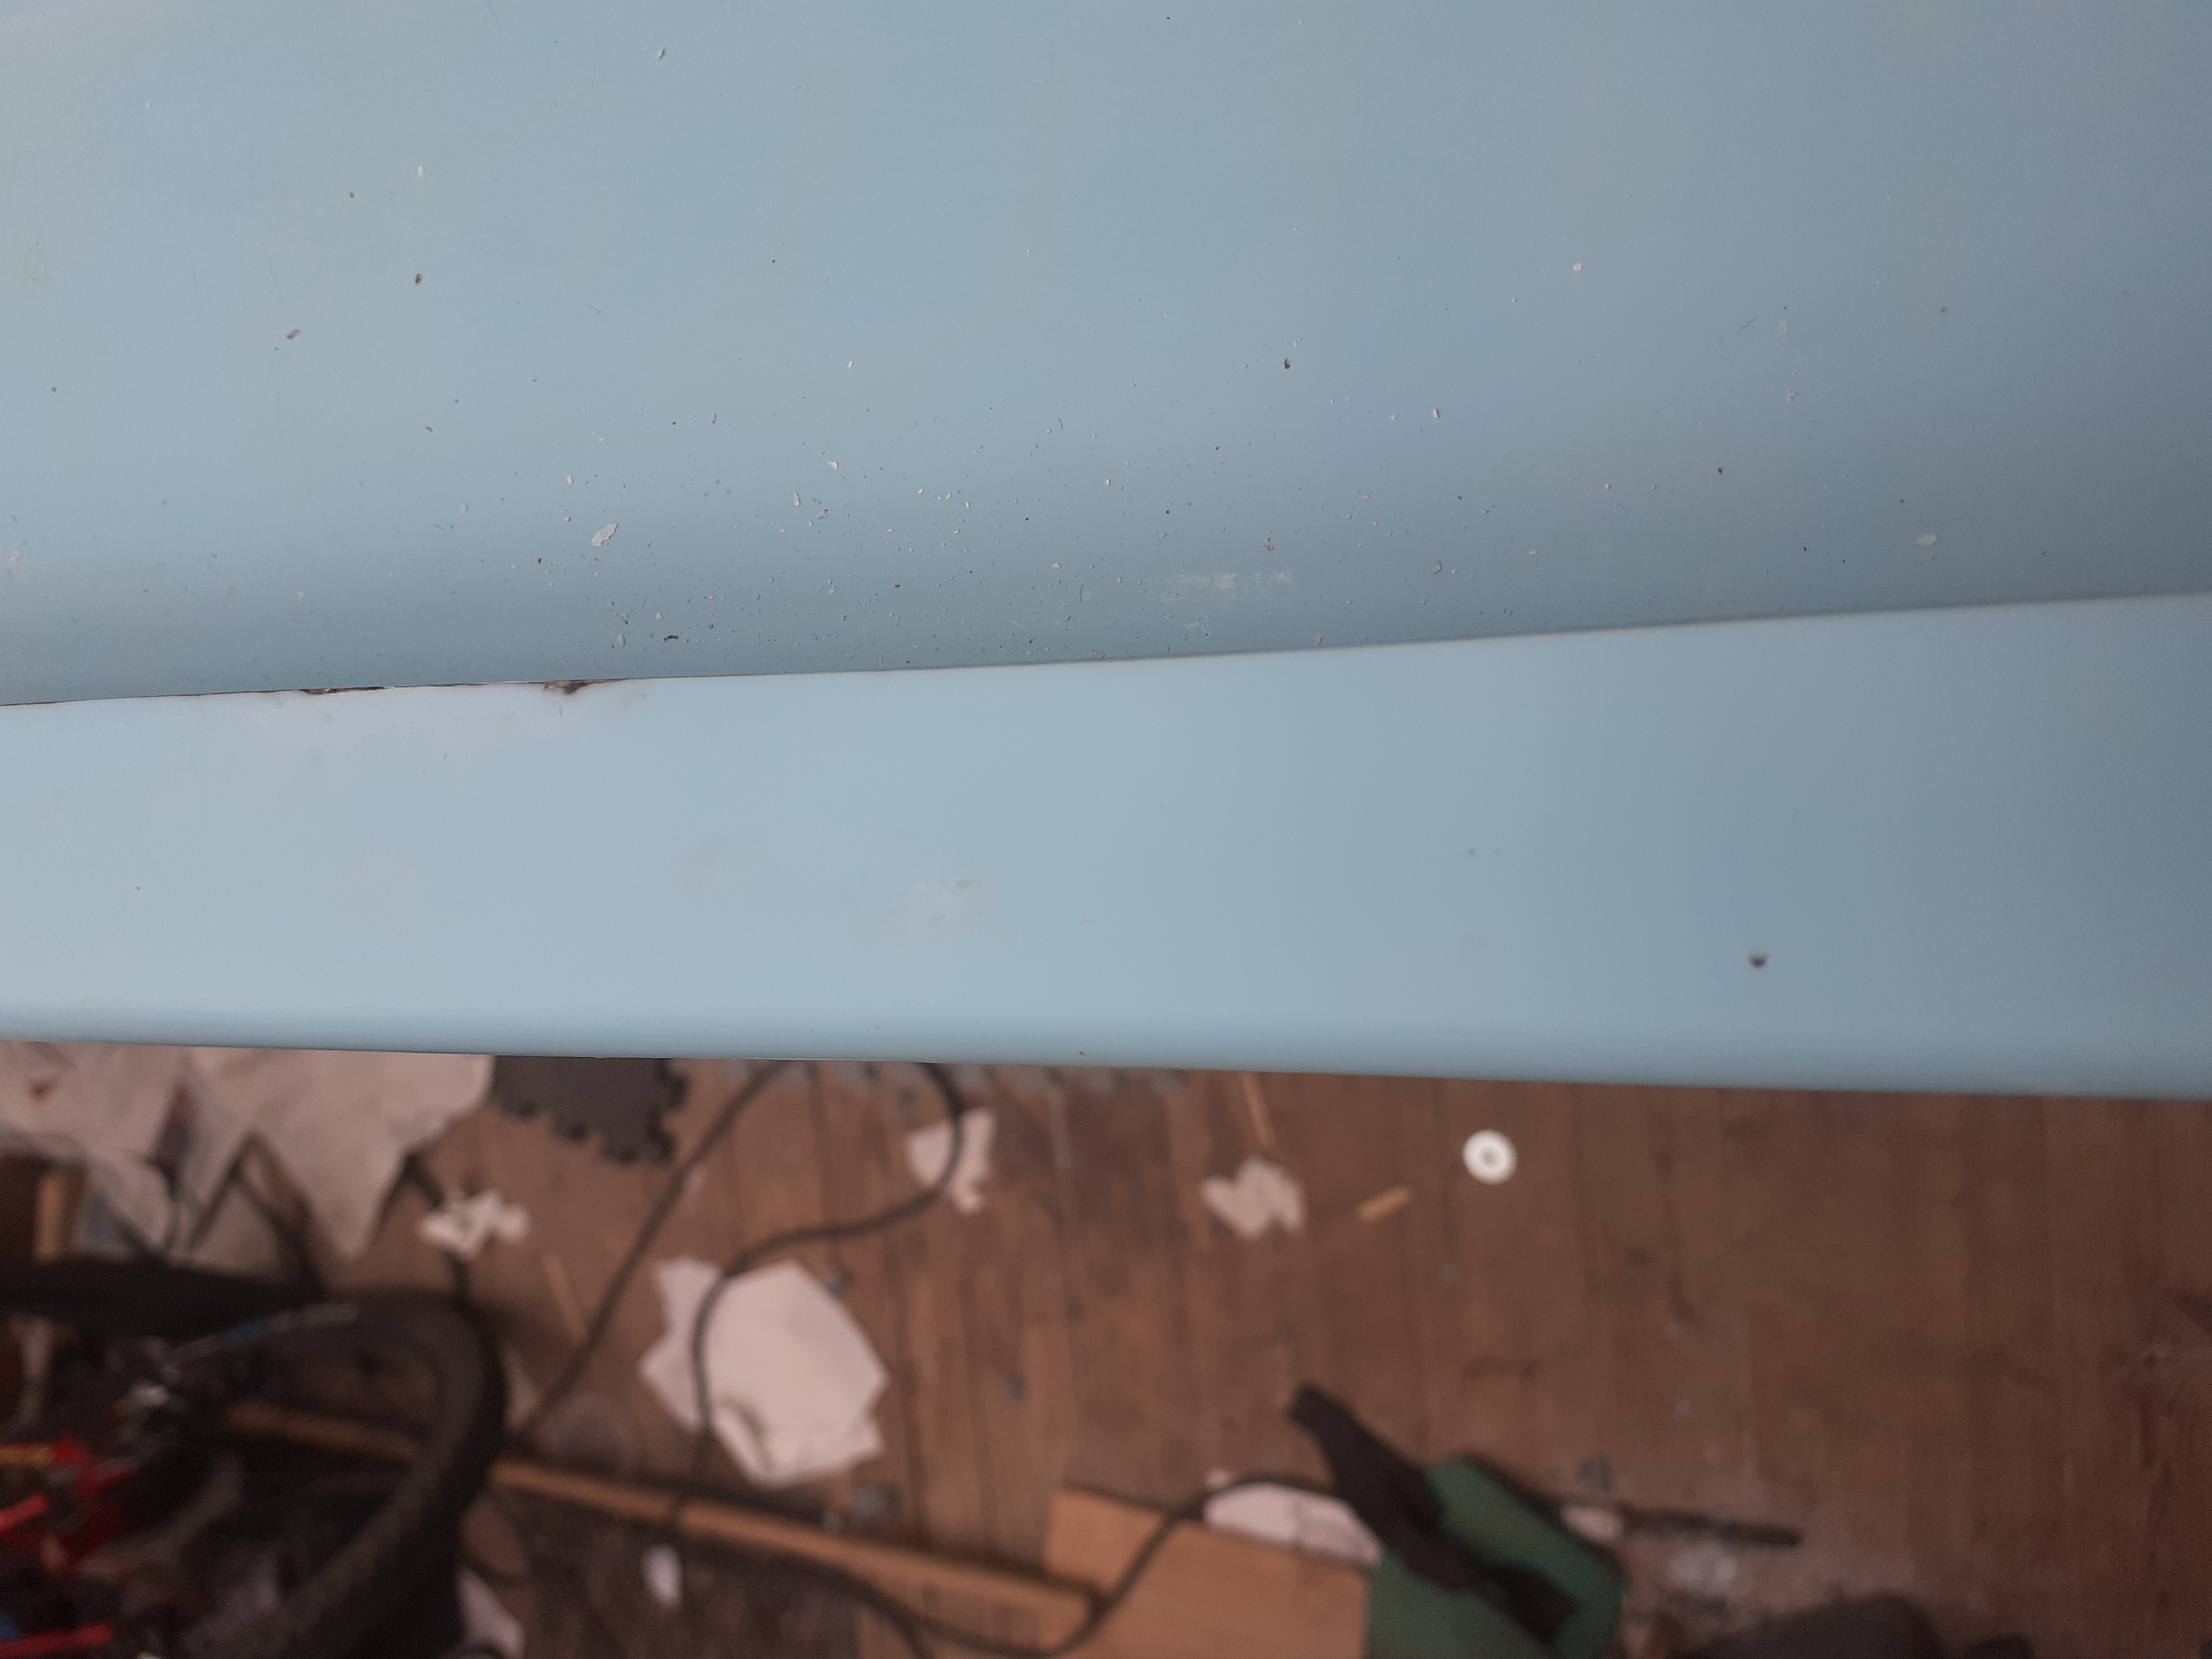
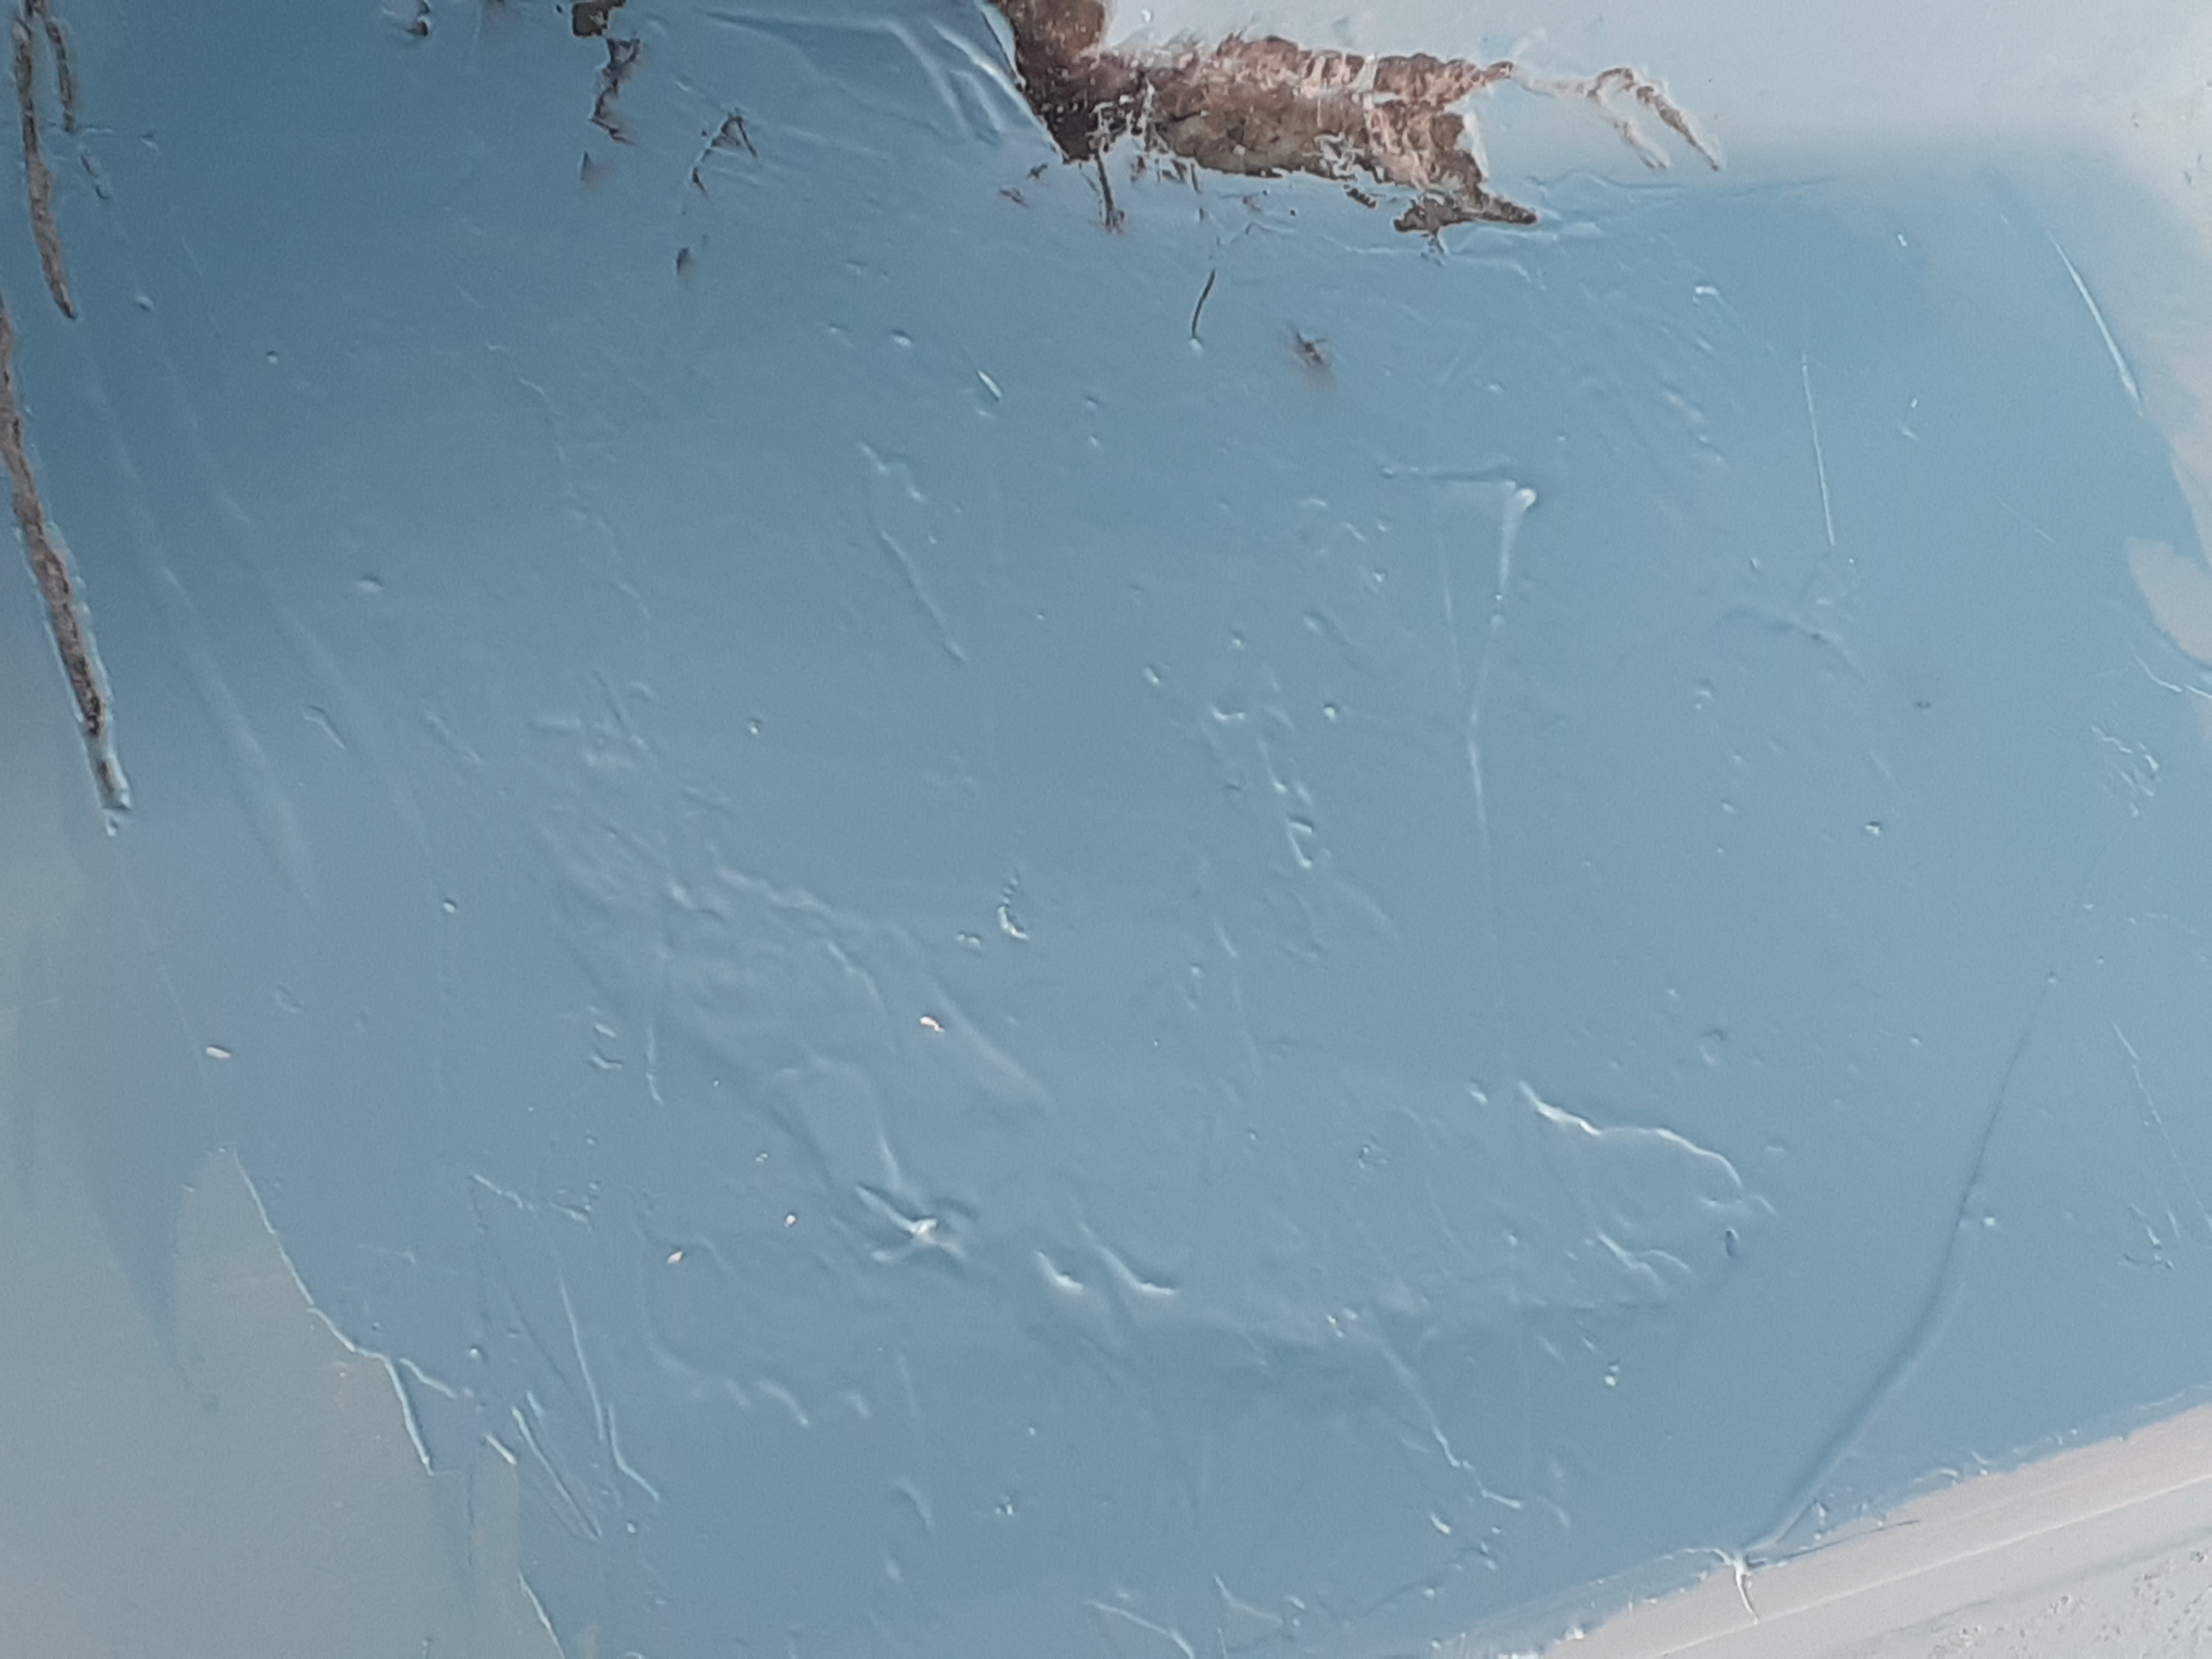
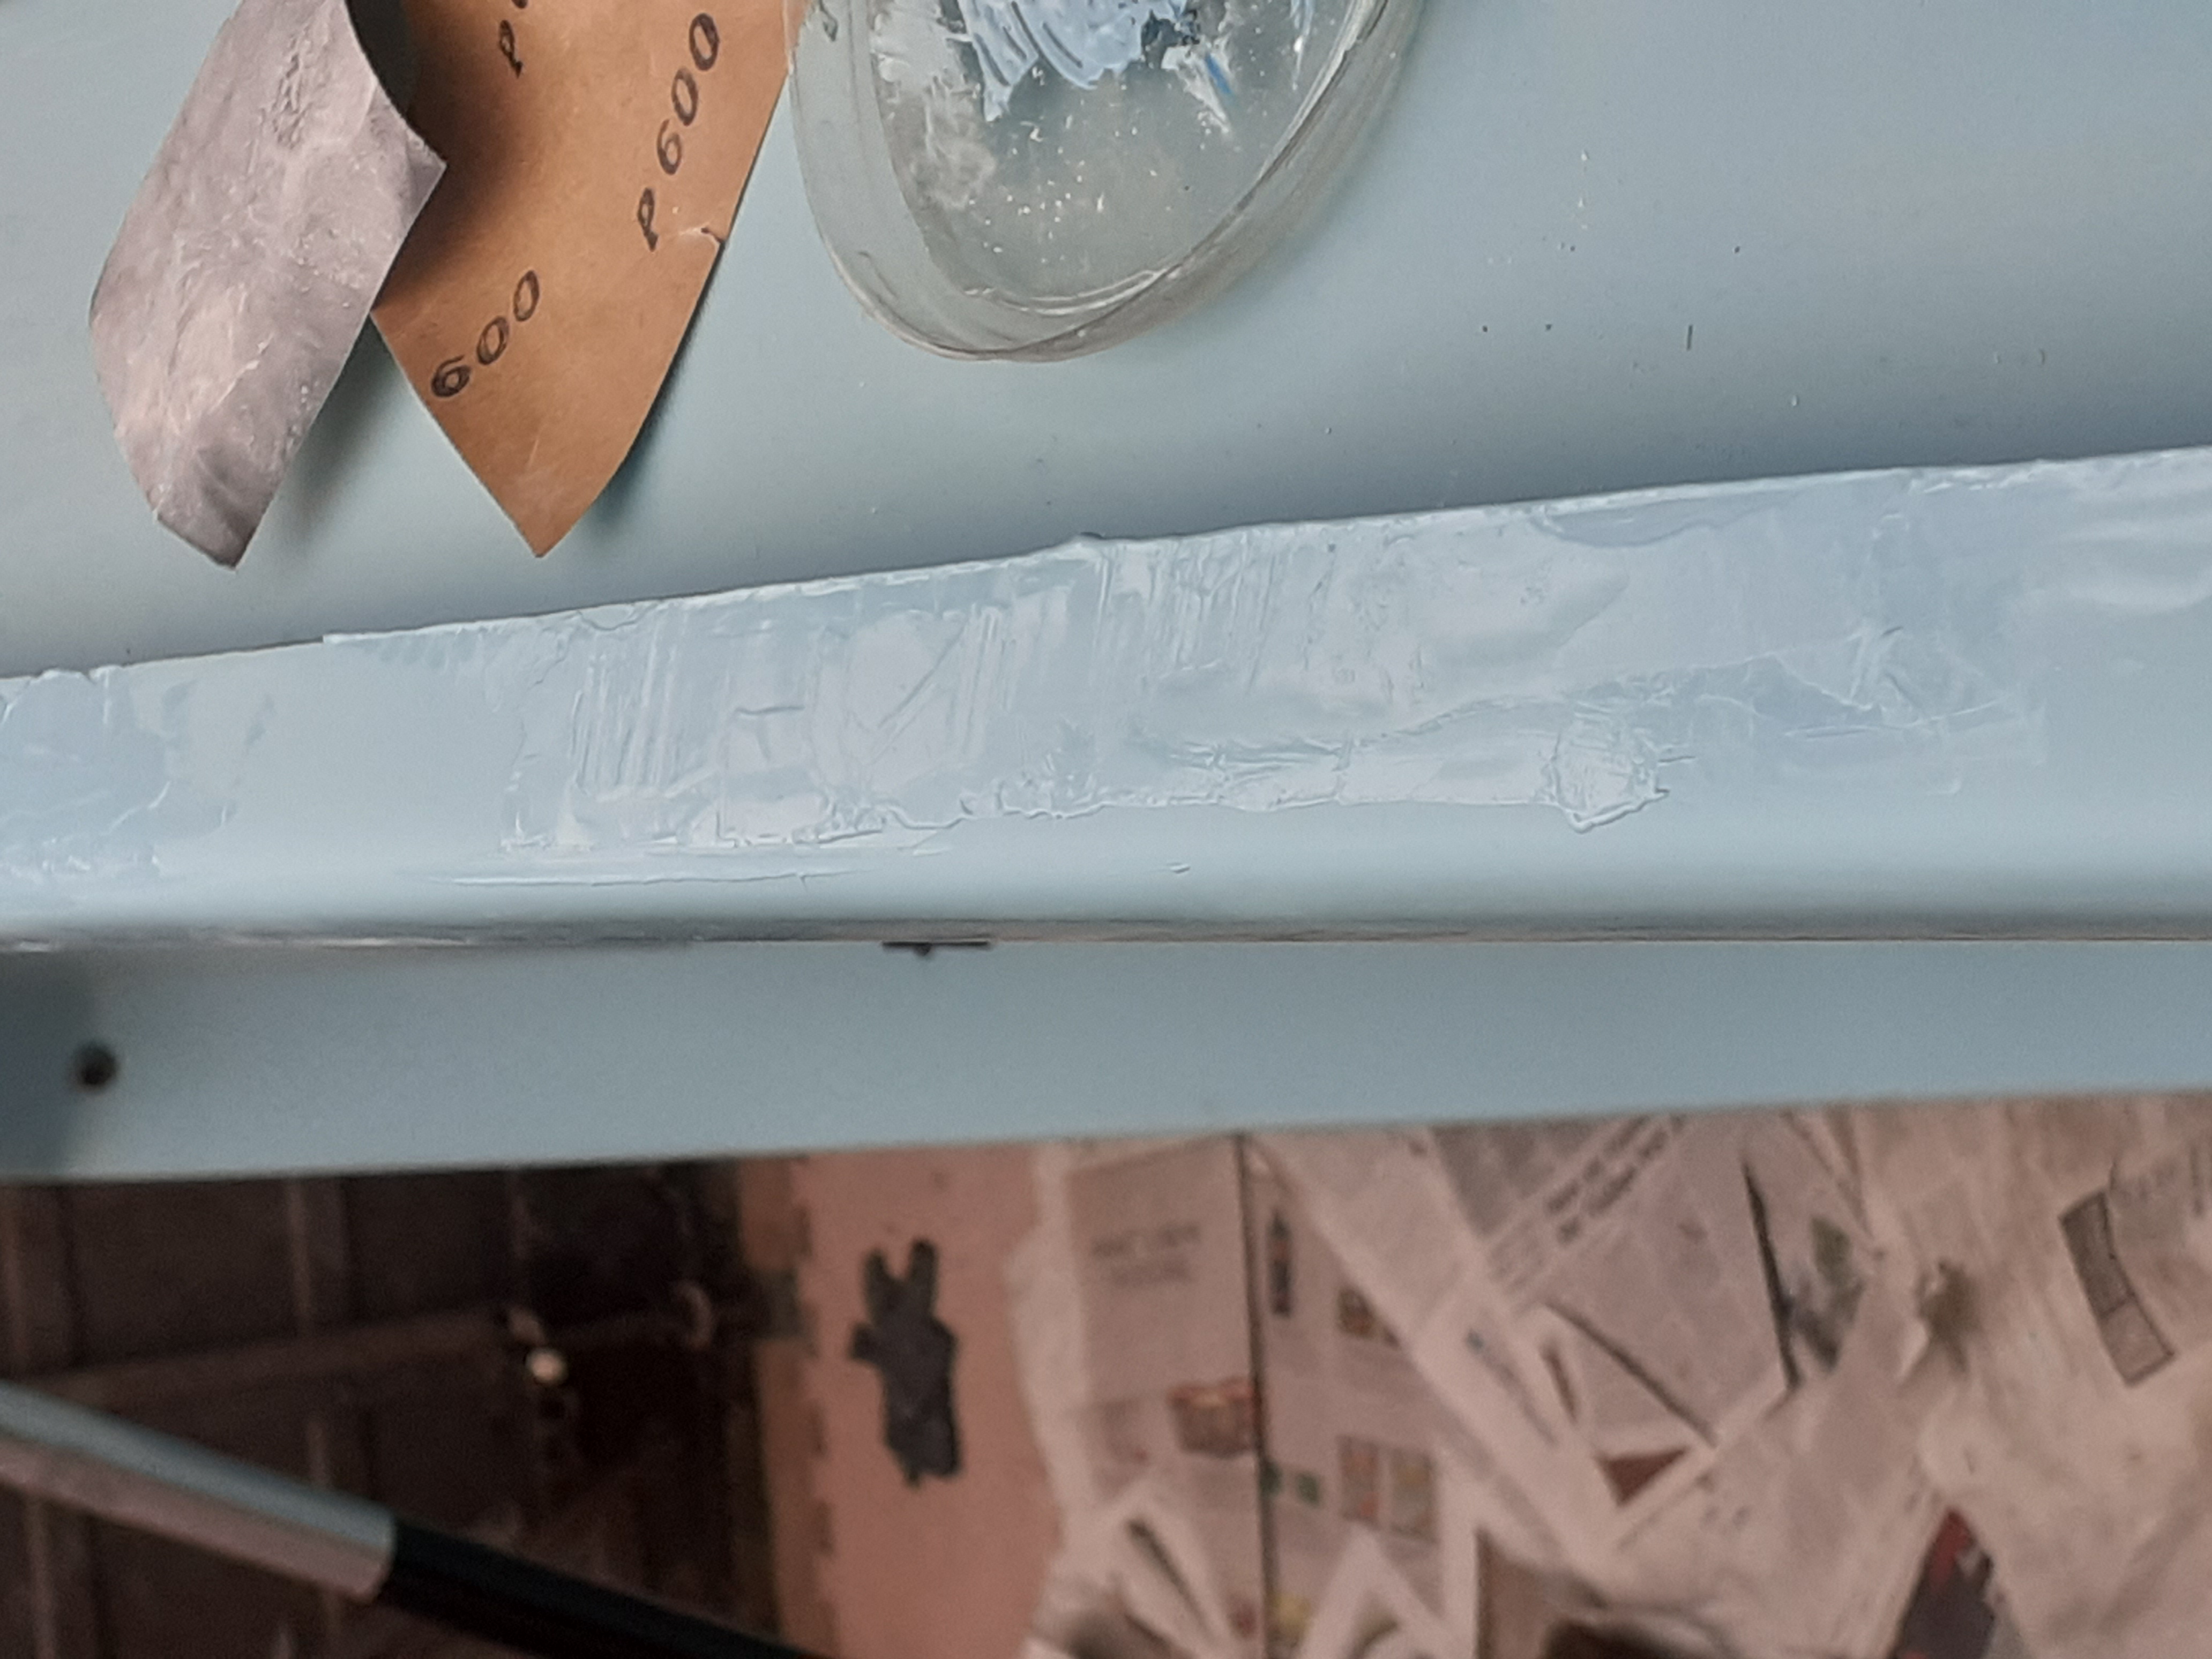
Here's some pictures showing progress. The new gelcoat looks darker where I haven't sanded it due to the wax coating I presume. Once sanded it looks too similar to pick out on camera (generally).
One thing I tried was adding a piece of plastic over the top on one area - it smoothed the bumps out, but overall I don't think it helped much. The bumpiness isn't really an issue (other than waste) as it sands off really quickly, it's getting a nice flush finish that's harder. The edges tend not to feather nicely. Perhaps I'm sanding before it's dry enough. It's touch dry after an hour, but maybe it needs another.
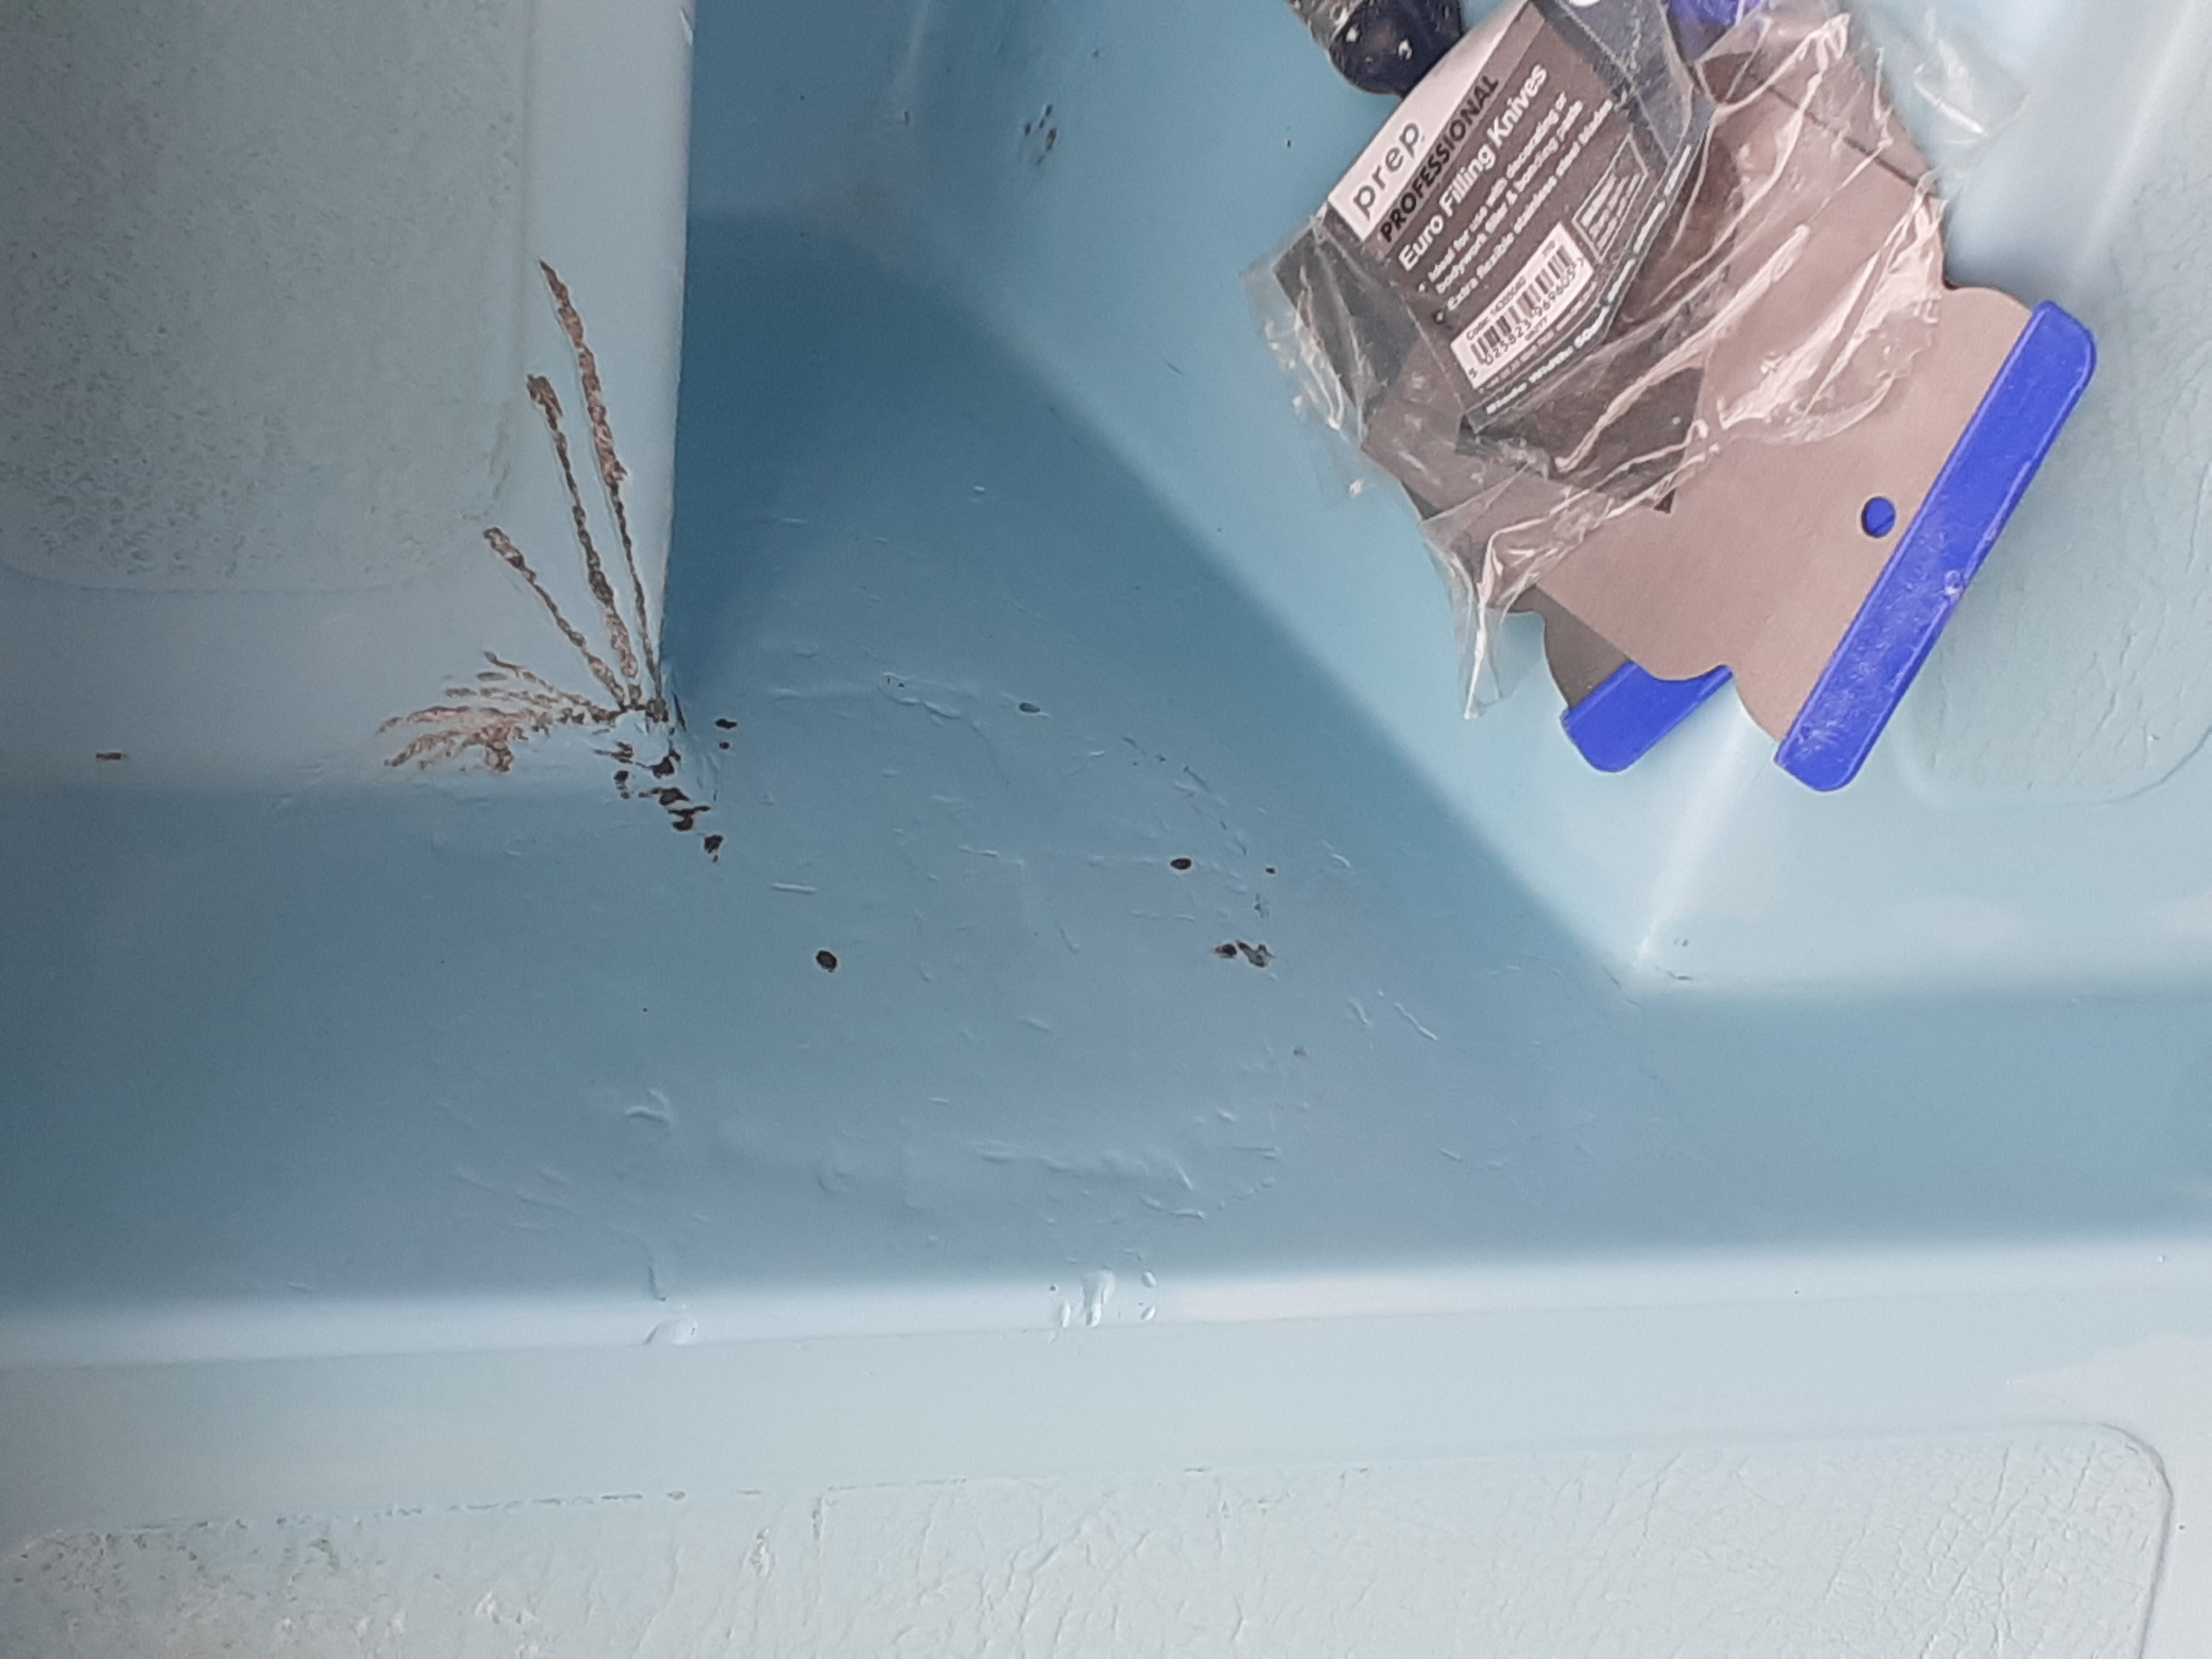
Whatever happens, it'll be better than before - except the leather effect areas... I have no idea how to re-skim these and keep the pattern, but sadly reskimming them is needed. I might try scrunching up kitchen foil or baking paper - it'll look different, but may be haphazard enough it looks okay. My only other idea is a Fimo leather texture sheet (mould), but this is 15 * 16 cm in size so it'd take ages to do the whole unless I buy a few, plus, I think it'll look like there are seams.... may have to go this route though.
Here are some initial pictures, followed by a group that shows the boat after almost 400g has been applied.
I do have a (very large!) pot of colloidal silica, and, if I had less to balance I might try adding some to make a thicker paste, but I've been a little overwhelmed with everything else to remember. I'll definitely add some for the repairs on the bottom - these are deep cracks and wide. I'll be able to put some tape either side to avoid collateral damage.


It's looking a little more complete now.... I sanded some of the earlier work back already to check before making another batch of coloured gelcoat. This was a LOT easier - I had some wet gelcoat ready mixed still that I was colour matching the same to. Just a quick test on the boat with hardener ensured it was close enough.