Blue Peter Dinghy - Lots of sanding and routing later

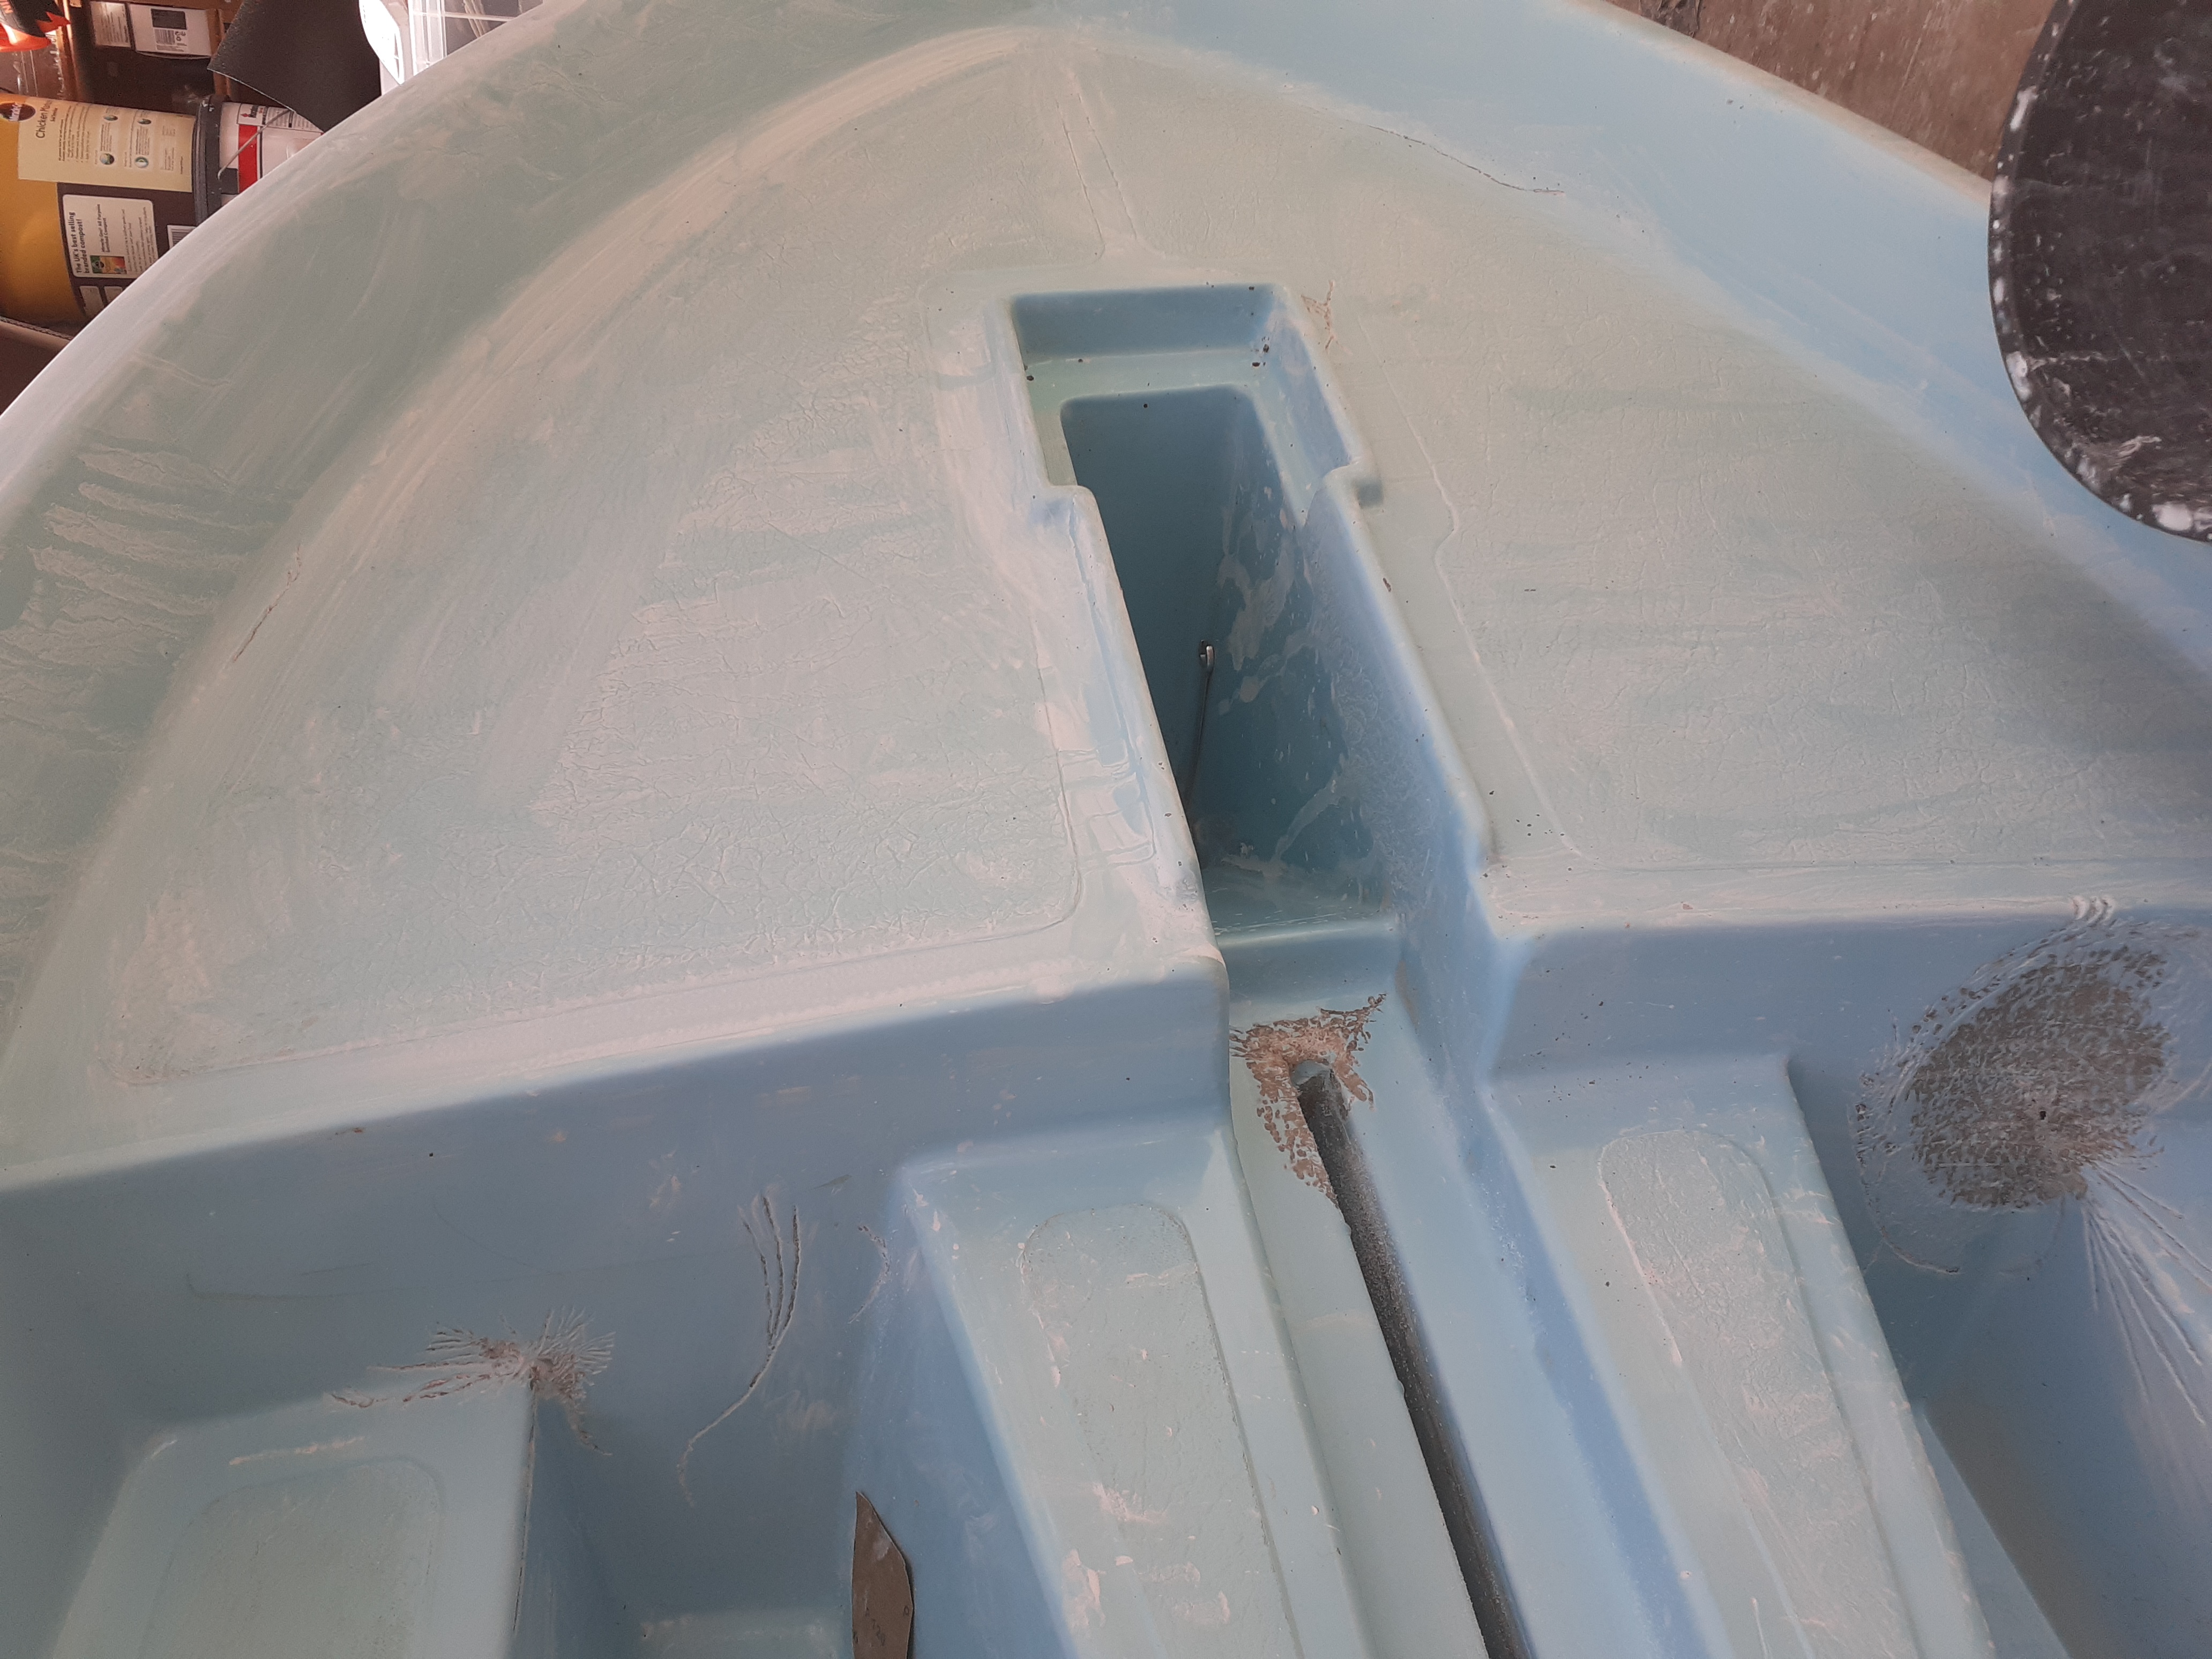
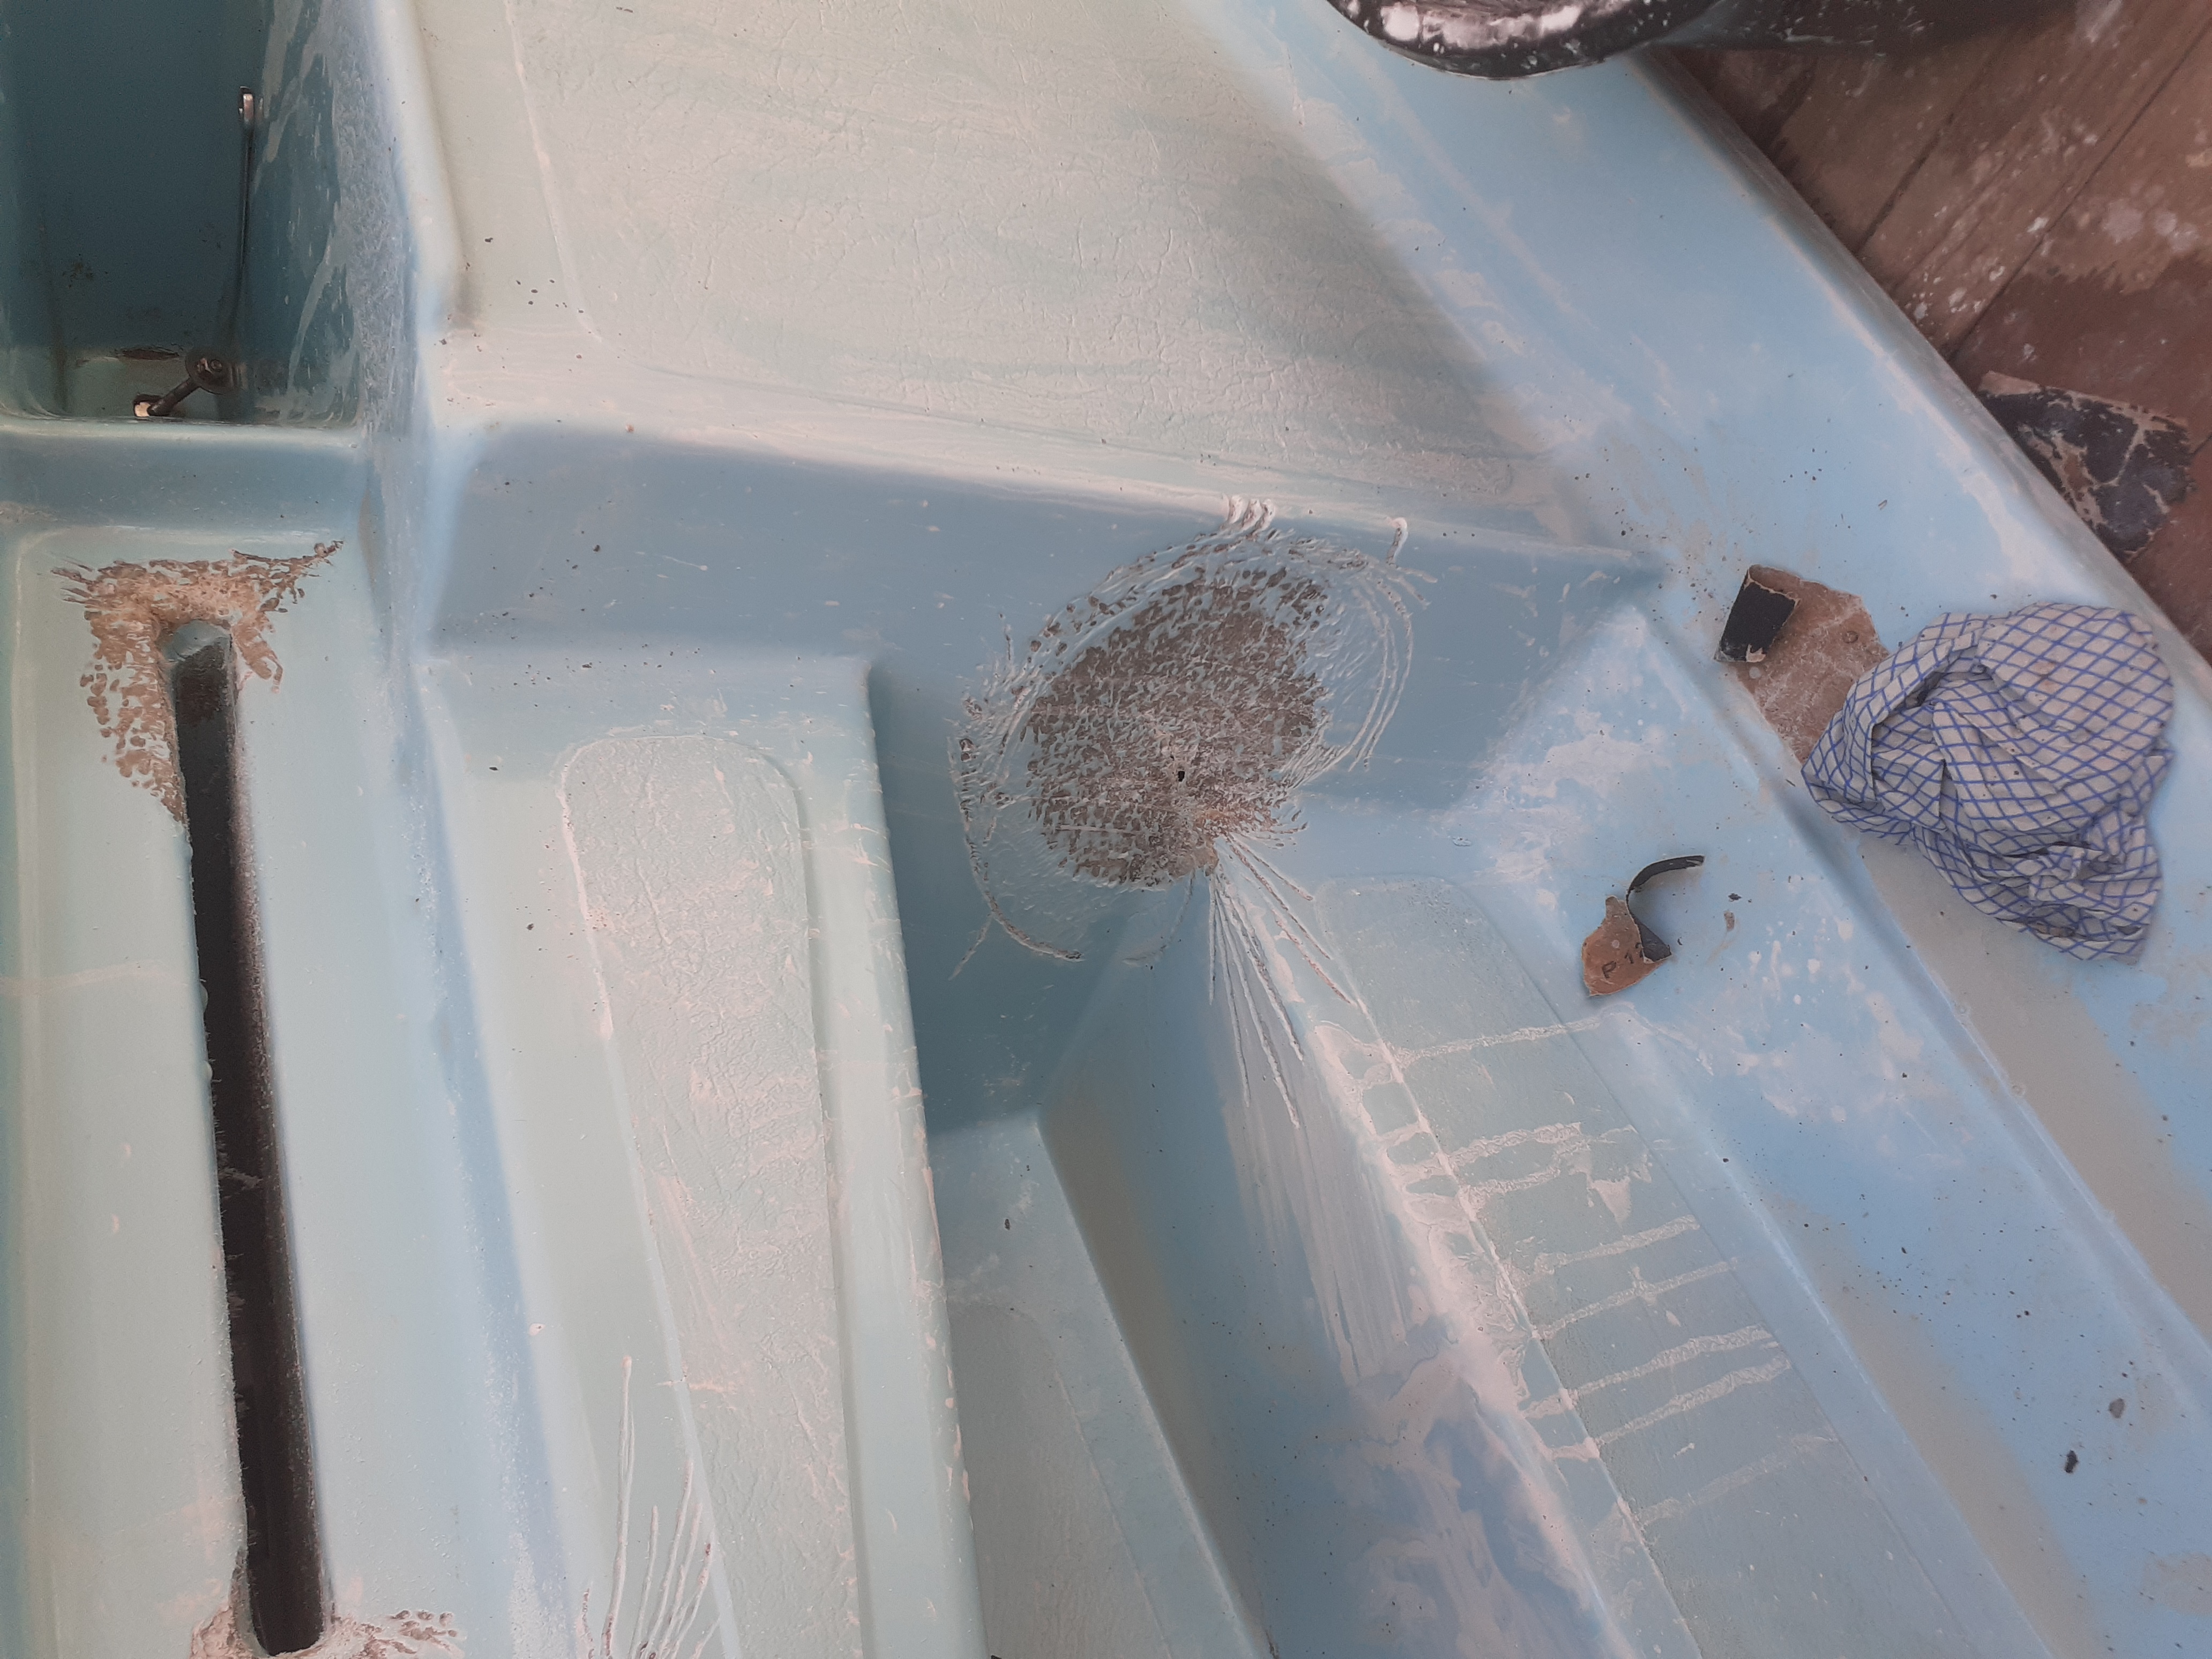
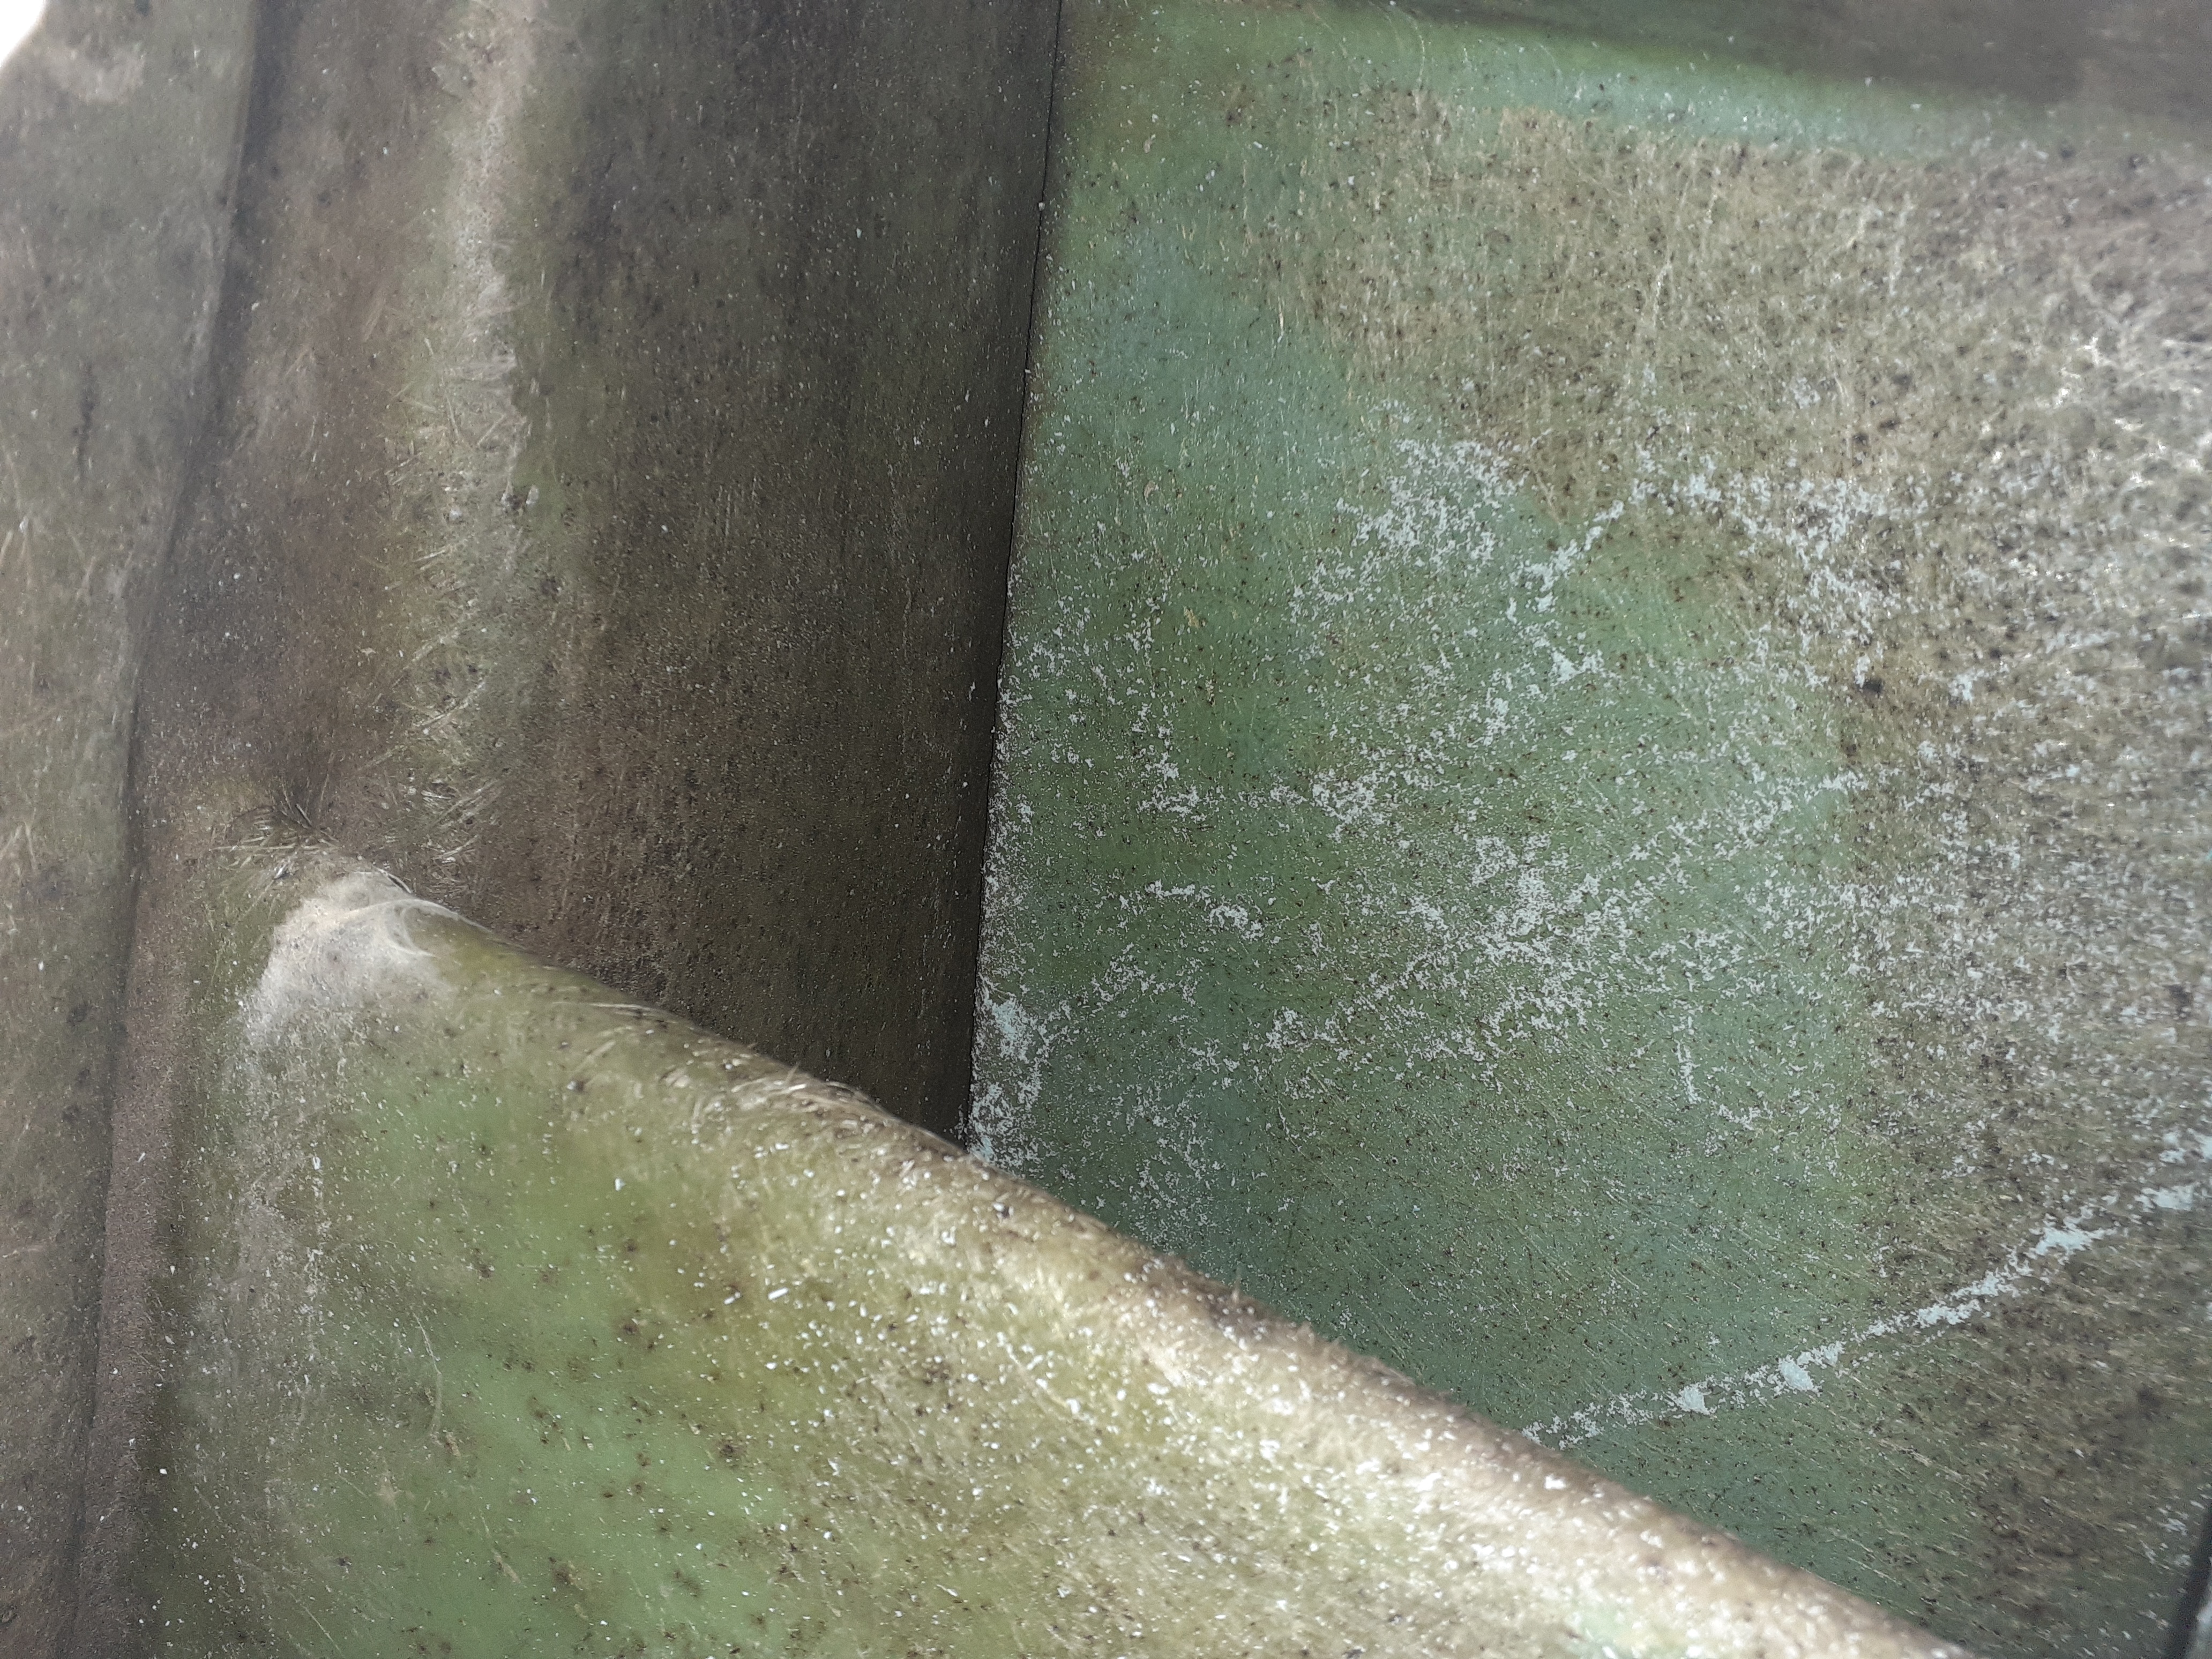
At this point, I've spent about 9hrs sanding with 120grit and routing with a Dremel with a grinding bit to remove all UV damaged gelcoat and open up all the cracks. In most if not all cases, cracks went right back to the fibreglass. The presumed UV damage (my guess) was severe, giving a very yellow green tint to areas of the gelcoat. This has almost all been removed on the inside of the cockpit area, but I still need to do around the gunnels. Removing the aged gelcoat has exposed a lovely clean blue colour, so the aim now is to get that across the entire boat so it looks one colour.
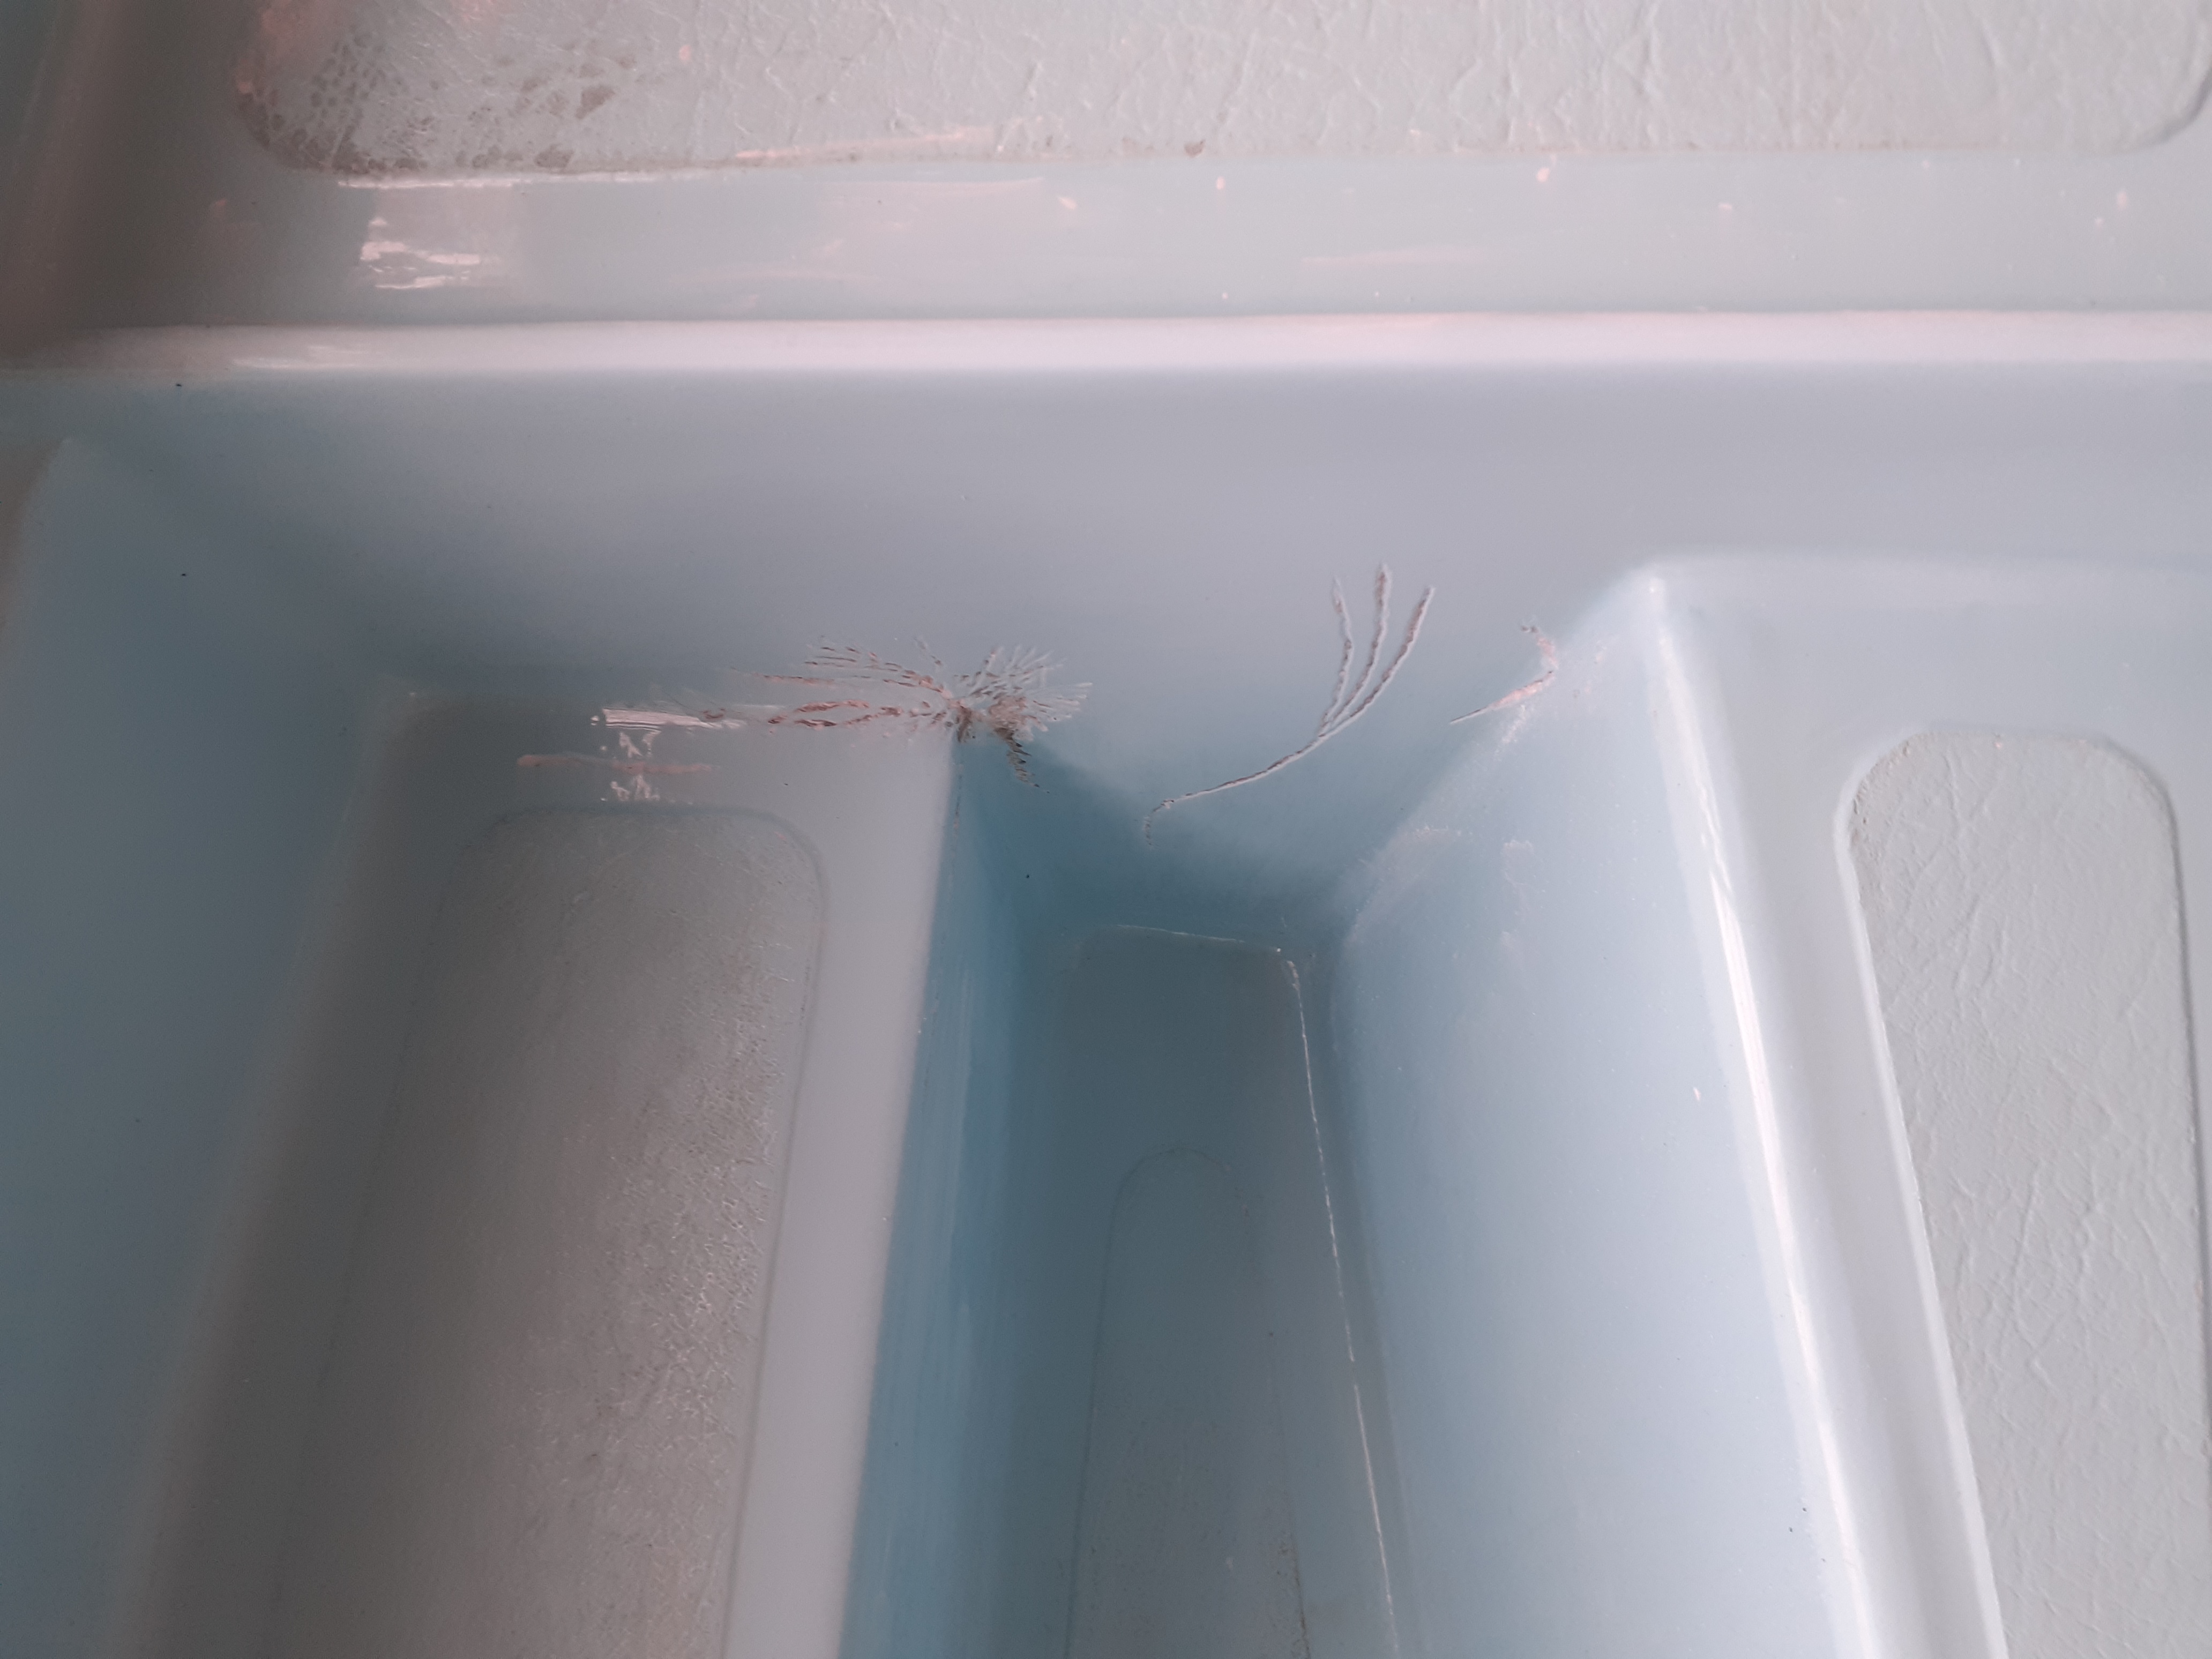
For now, in the interest of not making even more work, I've left the brown tainted corners and some deep brown circular stains. These appear (from experience of removing others) to be always linked to a small sealed empty cavern in the gelcoat below them, so will likely have to remove them at some point. If the gelcoat colour matching and replacement goes relatively painlessly, I'll do this work before polishing it back up for the water.

To get the textured area clean, I'm going to need a pressure washer or similar I think. In a large number of areas, the gelcoat is actually incomplete in these areas which is presumably why the colour is so embedded. I'll hopefully skim all of these with a fresh coat of gelcoat.
The interior of the hull was pretty wet, and my gelcoat was due to arrive any minute, so I thought I'd hurry the drying process. With this in mind, I emptied a car load of stuff cluttering the shed, and employed a method I'd read on the internet to get a draught - namely to rig an old computer fan to suck air through the drain bung hole and out through an access panel. I made the plywood frame to ensure a reasonable air seal.

Here it is in my 'workshop' (just about enough space to work - bonus). Really it's predominantly here just so its in the warmer air and will dry out quicker since its raining what feels like non stop every week at the moment.

Here's a selection of photos showing progress


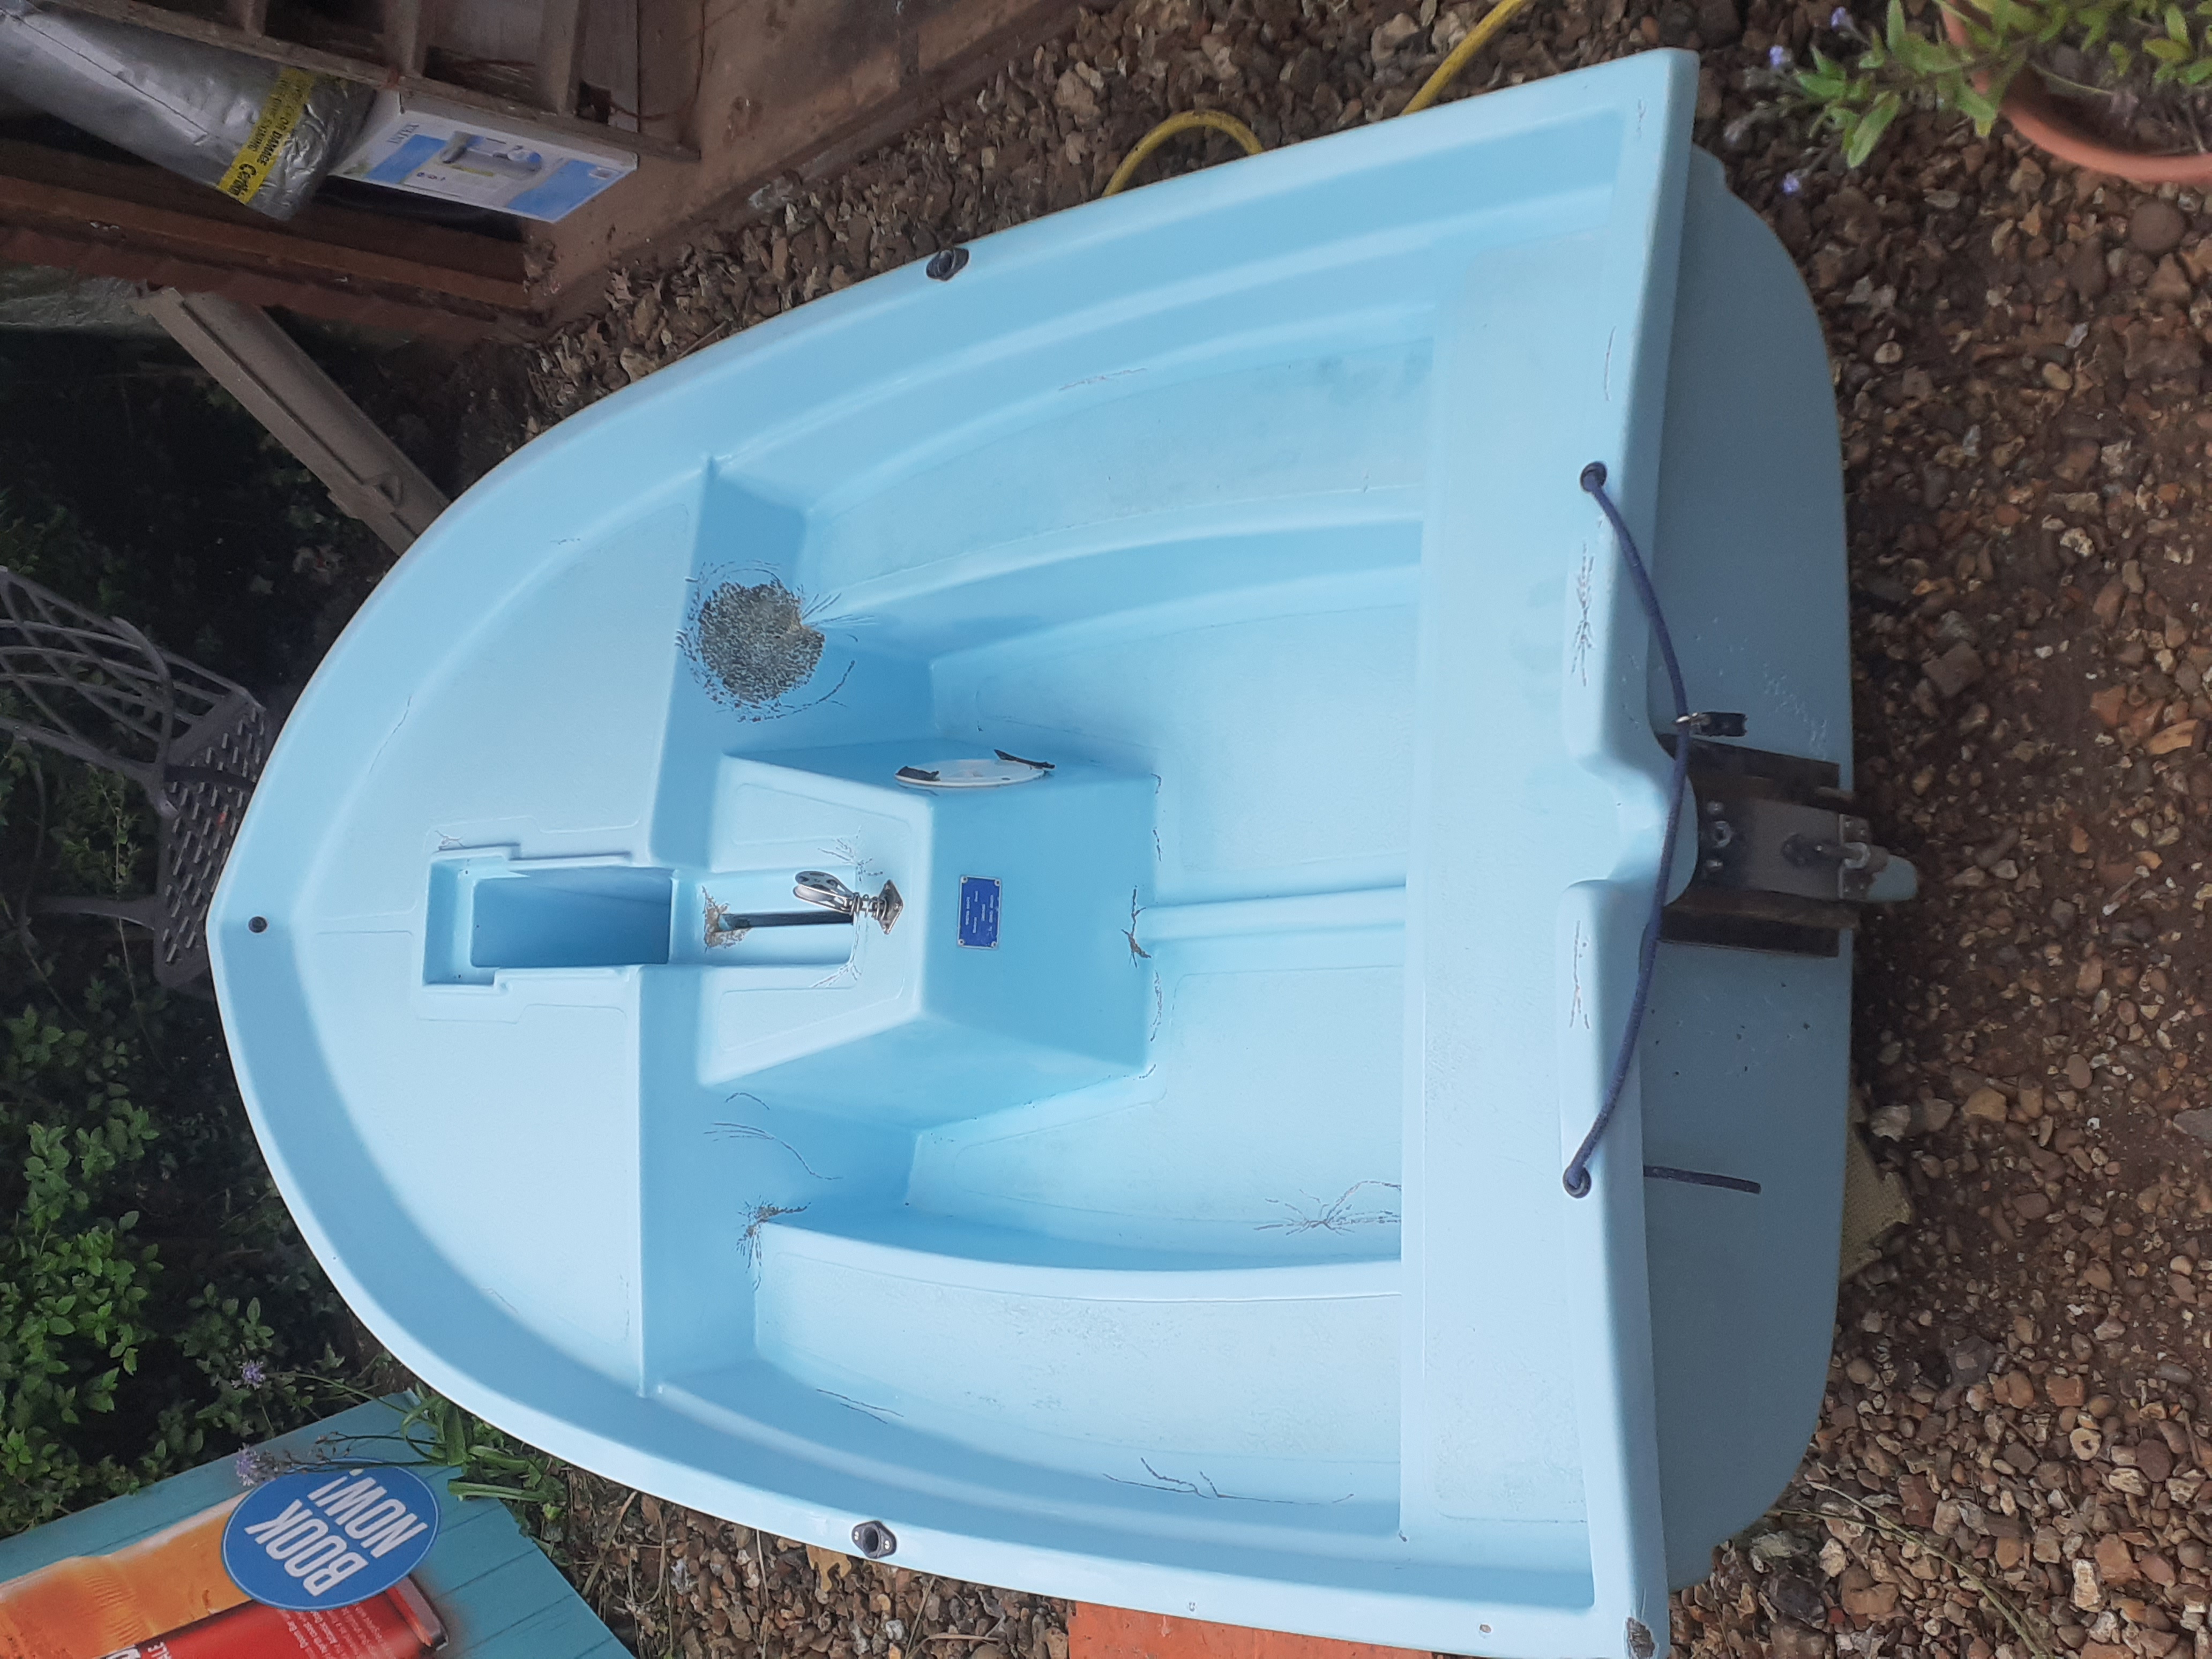
So, today I continued the sanding process, continuing across the entire upper half of the boat (built in two halves). I then washed the boat down with a hose spray. Sadly this then highlighted all the cracks that I'd almost but not quite routed out with the Dremel, so I had to finish that.
Here's the end result. I think I'm happy enough with this now that tomorrow I'm going to start fibreglass repairs - likely the cockpit bulkhead area first since that is the flattest simplest place to do. If it goes well I might get the mast step sorted too.