Blue Peter Sailing Dinghy - Tiller Extension Mk2
After the previous failure, I was desperate to get this right. What the first tiller extension proved was that having one was really useful to make things easier.
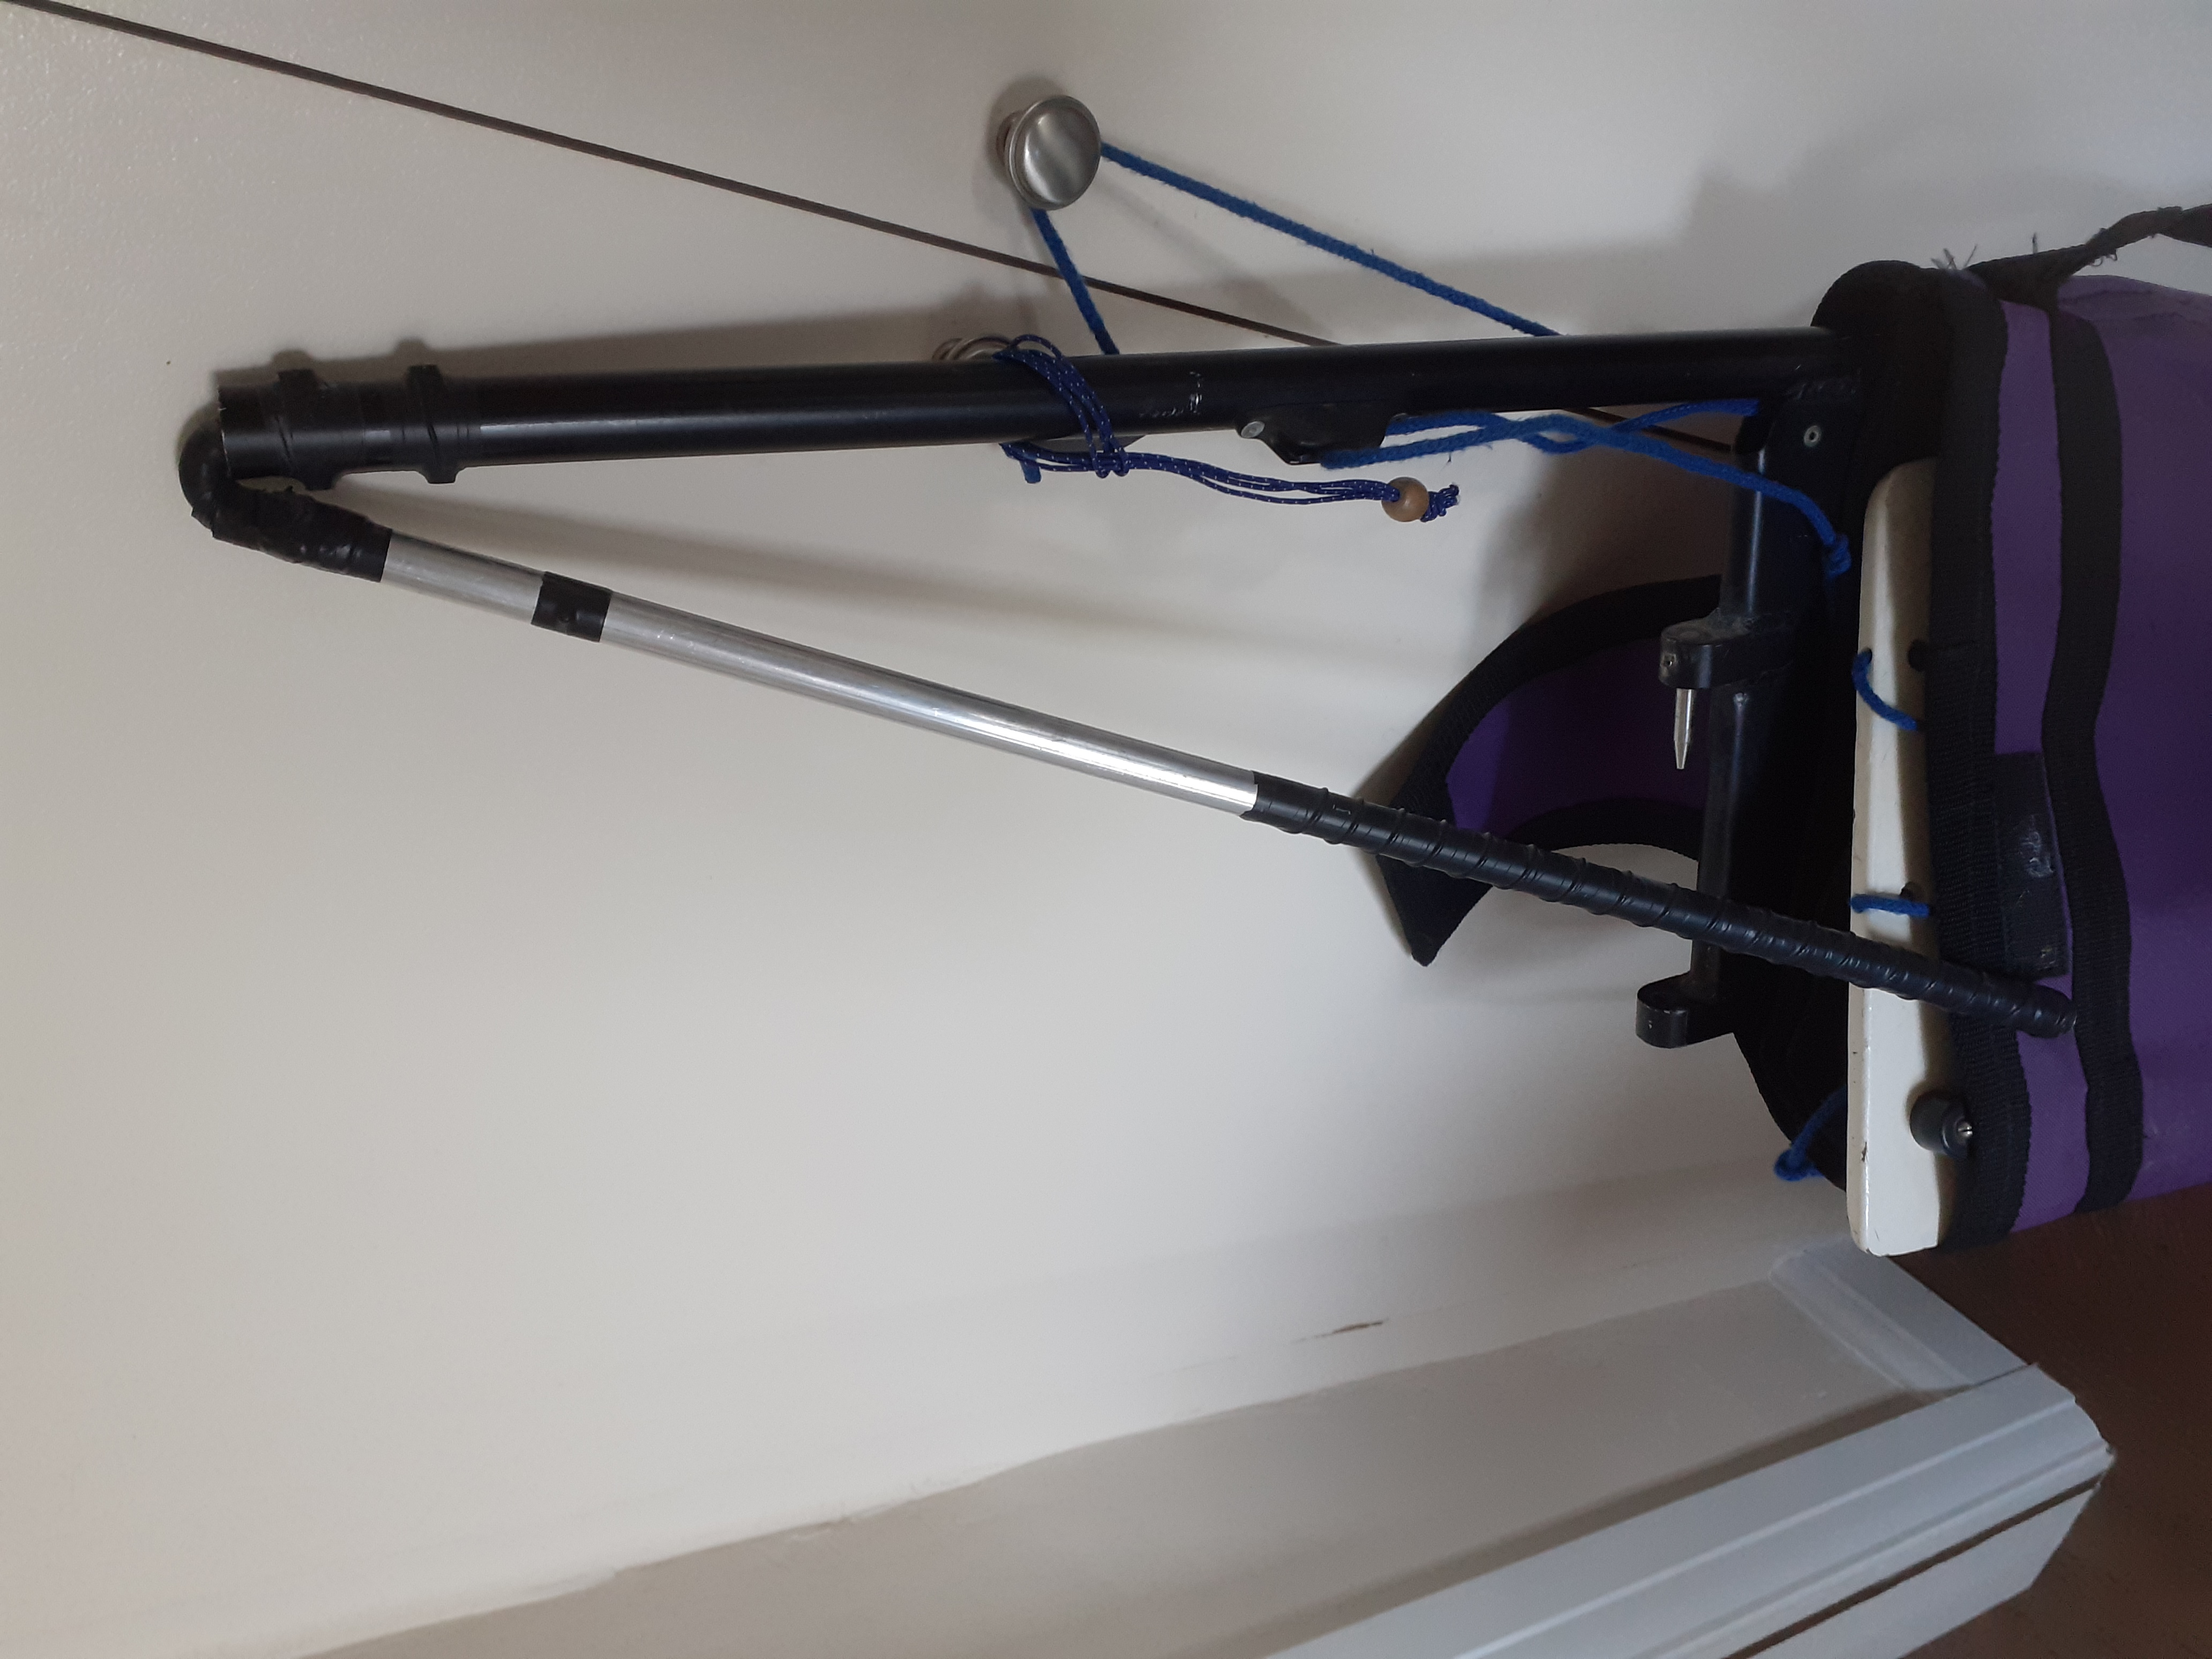
This time, I used a longer piece of aluminium for the tiller extension and a solid rubber insert as the universal joint. This is much better.
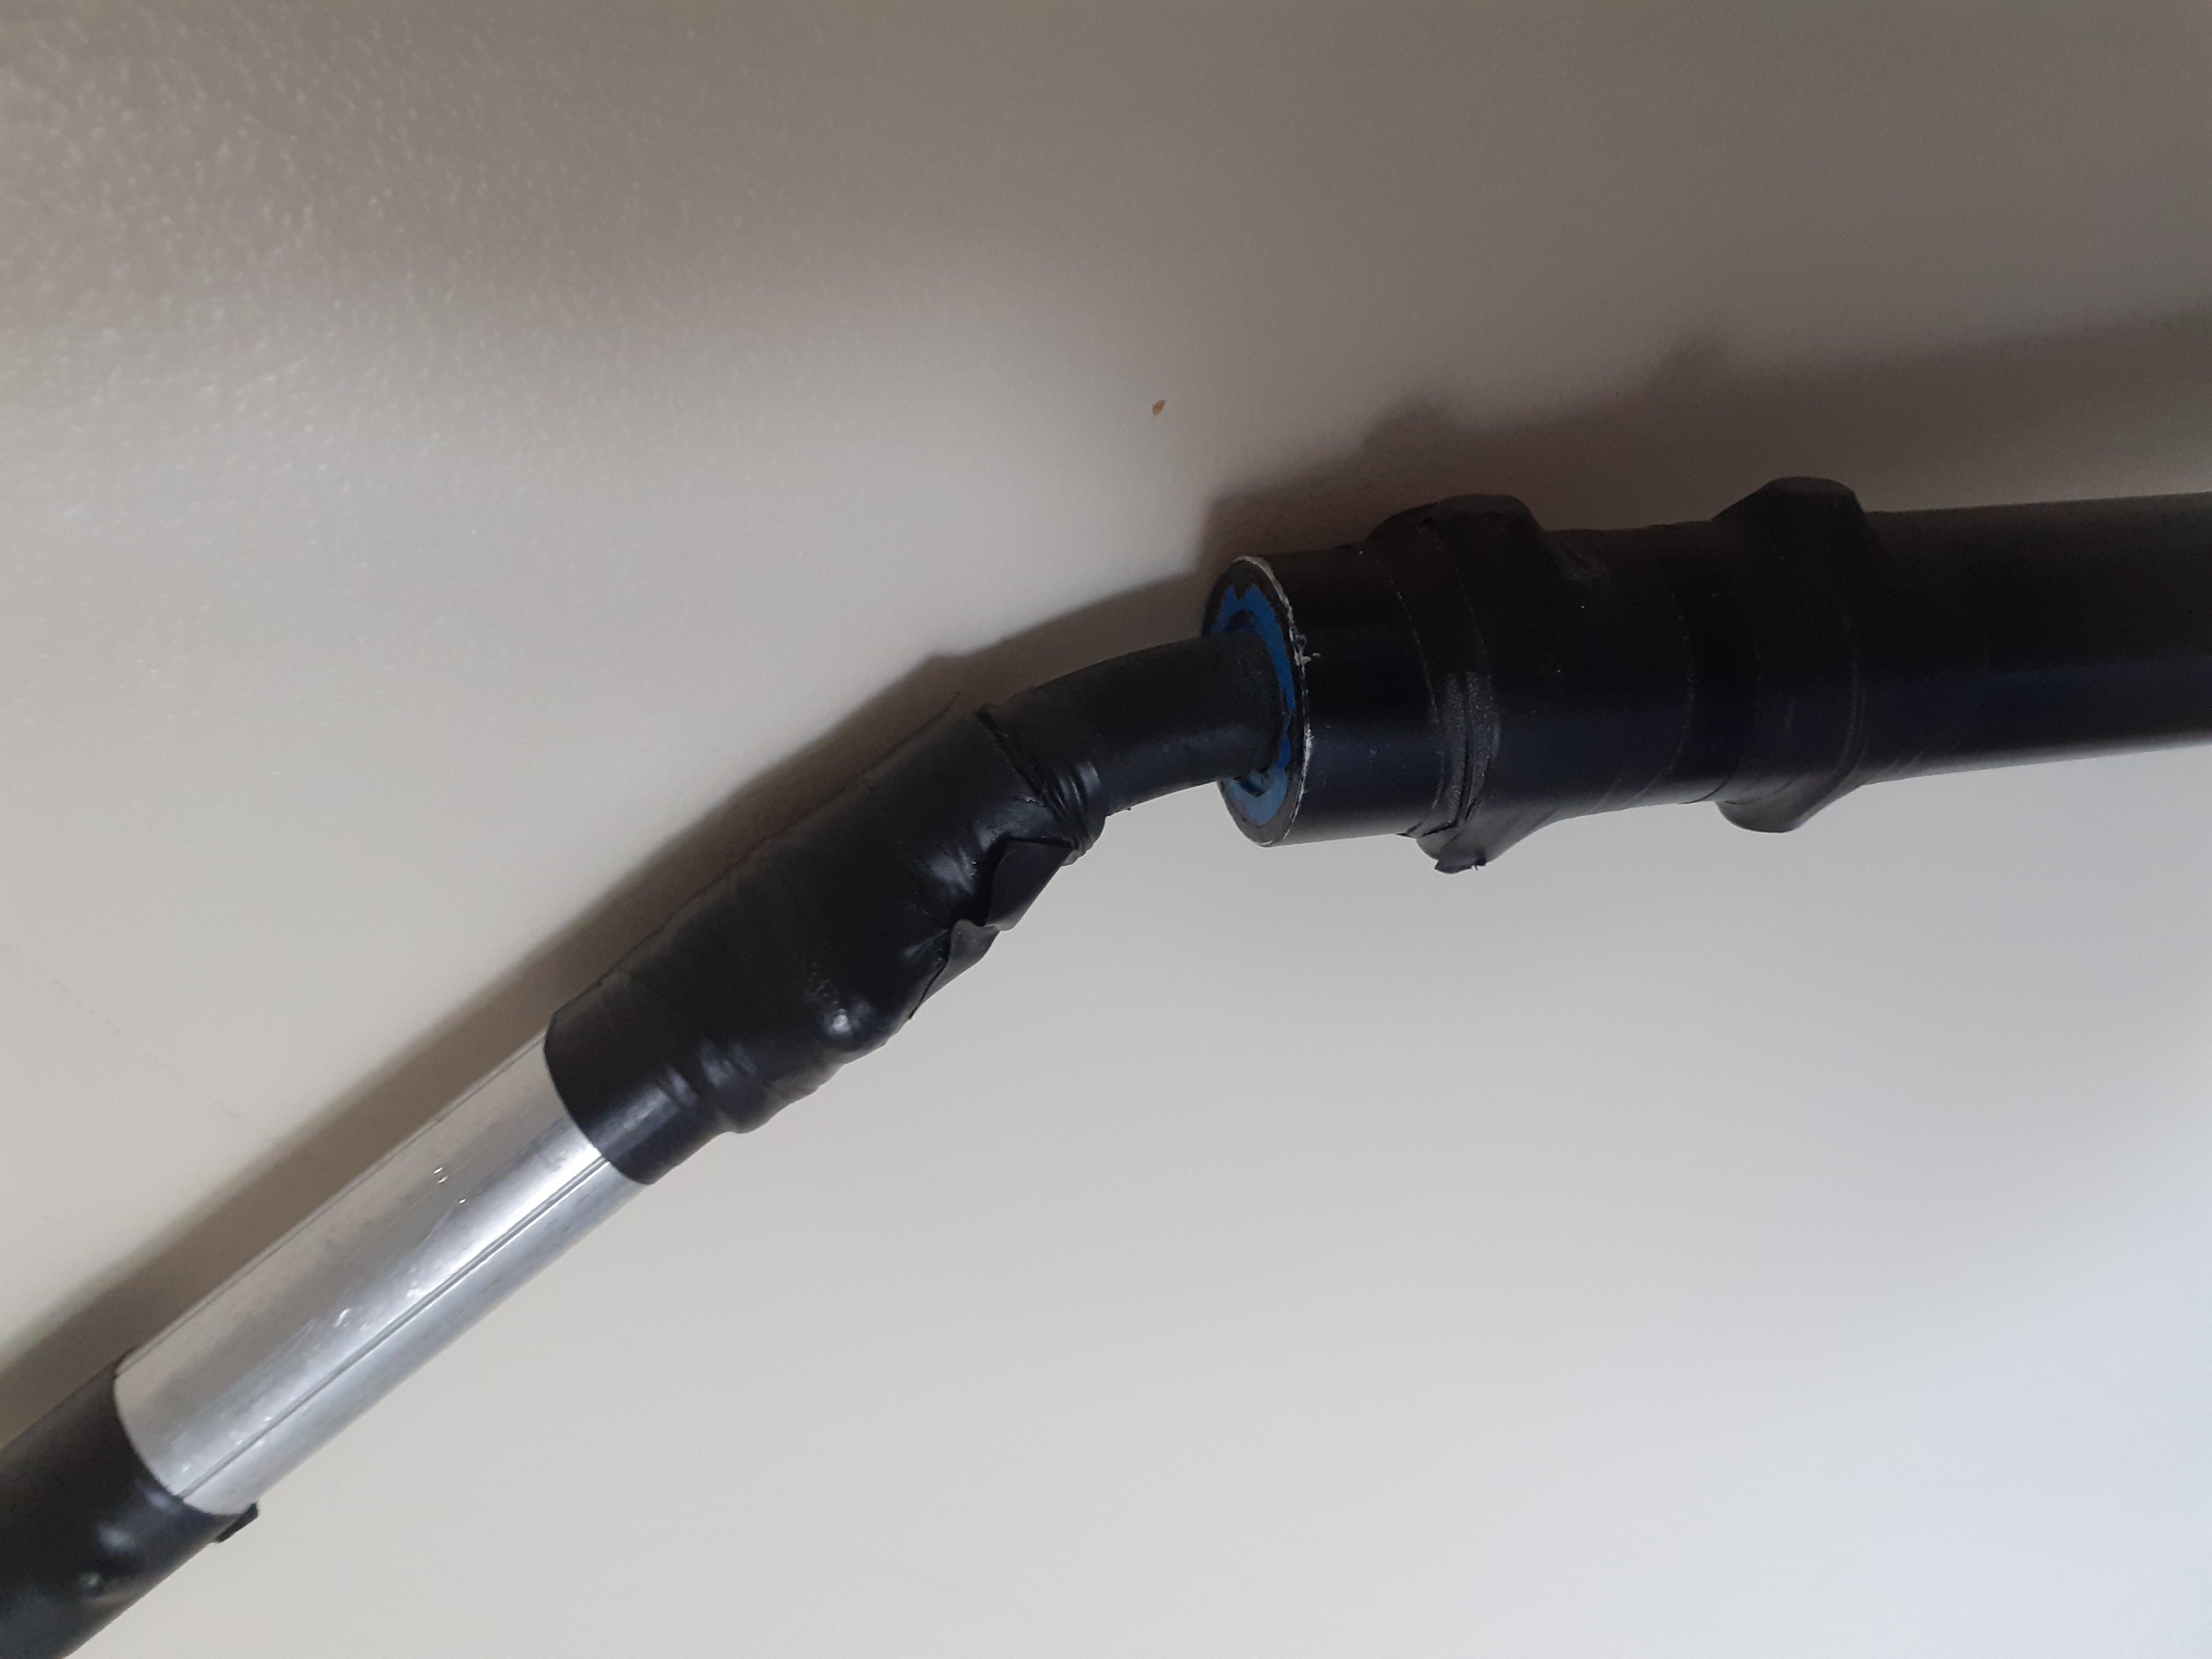
So, firstly, I got some MDPE water pipe and cut this along its length, cutting a section out so that I could squeeze it together into a smaller piece that would slide into the tiller end. I did this a couple of times so there was an incomplete plug of plastic in the end of the tiller. I then drilled the centre to 13mm which was a snug fit on my solid rubber pipe.
Finally, I inserted the rubber tube and drilled through my original bolt holes I made in the tiller for extension Mk1. The bolts go right through the rubber holding it in place.
To attach the rubber tube to the tiller extension, this was a little trickier as it was a perfect fit and I struggled to pull it through the extension. What I did was screw an eyelet into the end of the rubber tube and drilled a tiny hole slightly further up the tiller extension through which I fed a thin wire. I took the wire out the end of the tiller extension, tied it to my eyelet and then pulled the rubber hose into the extension by the wire (using a pair of pliars). Once in place, I inserted a couple of M4 bolts to ensure it wouldn't come out.
I've added black insulation tape over the bolts to ensure that they cannot catch on water softened skin causing damage, though this is likely overkill.
