Laser 154701 - Gelcoat repairs
This project was necessitated by having capsized my boat and cut my hand on the gunwales as I tried to keep hold of the boat as it capsized.... for the 3rd time. Clearly it was going to be an ongoing issue, so needed rectification.
Day 1
I started by giving the boat a thorough clean with water and a cloth / scrubbing brush as needed. I then flipped the boat and applied Y10 to the white yellow hull below the waterline. The Y10 is amazing, it turned a very very yellowed hull to white again without a hint of yellow - just by waiting (though it started working visibly immediately). I was impressed by the change.
Day 2
Not knowing quite how much gelcoat I was going to need, I had purchased a 1kg pot. This I knew would be considerably more than necessary. I used the Dremel with burr bit to remove the damaged gelcoat that was making the delightful serrated edge. next I mixed up a batch of gelcoat, attempting to blend it with the colour. I thought this would be easy, but I'm really disappointed with at least one of the batches I made - it looks way too yellow to me (after curing and sanding back etc). I think my mistake was that I used the Dremel to remove the damage, but after matching to the surrounding area, filling, and sanding - actually sanded a bit of the area around - thus removing some of the aging. If I did this again, I'd accept that I am able to sand it to a shine again thus bite the bullet and sand it back to the base colour (below solar aging damage) before performing a colour match.
Day 3
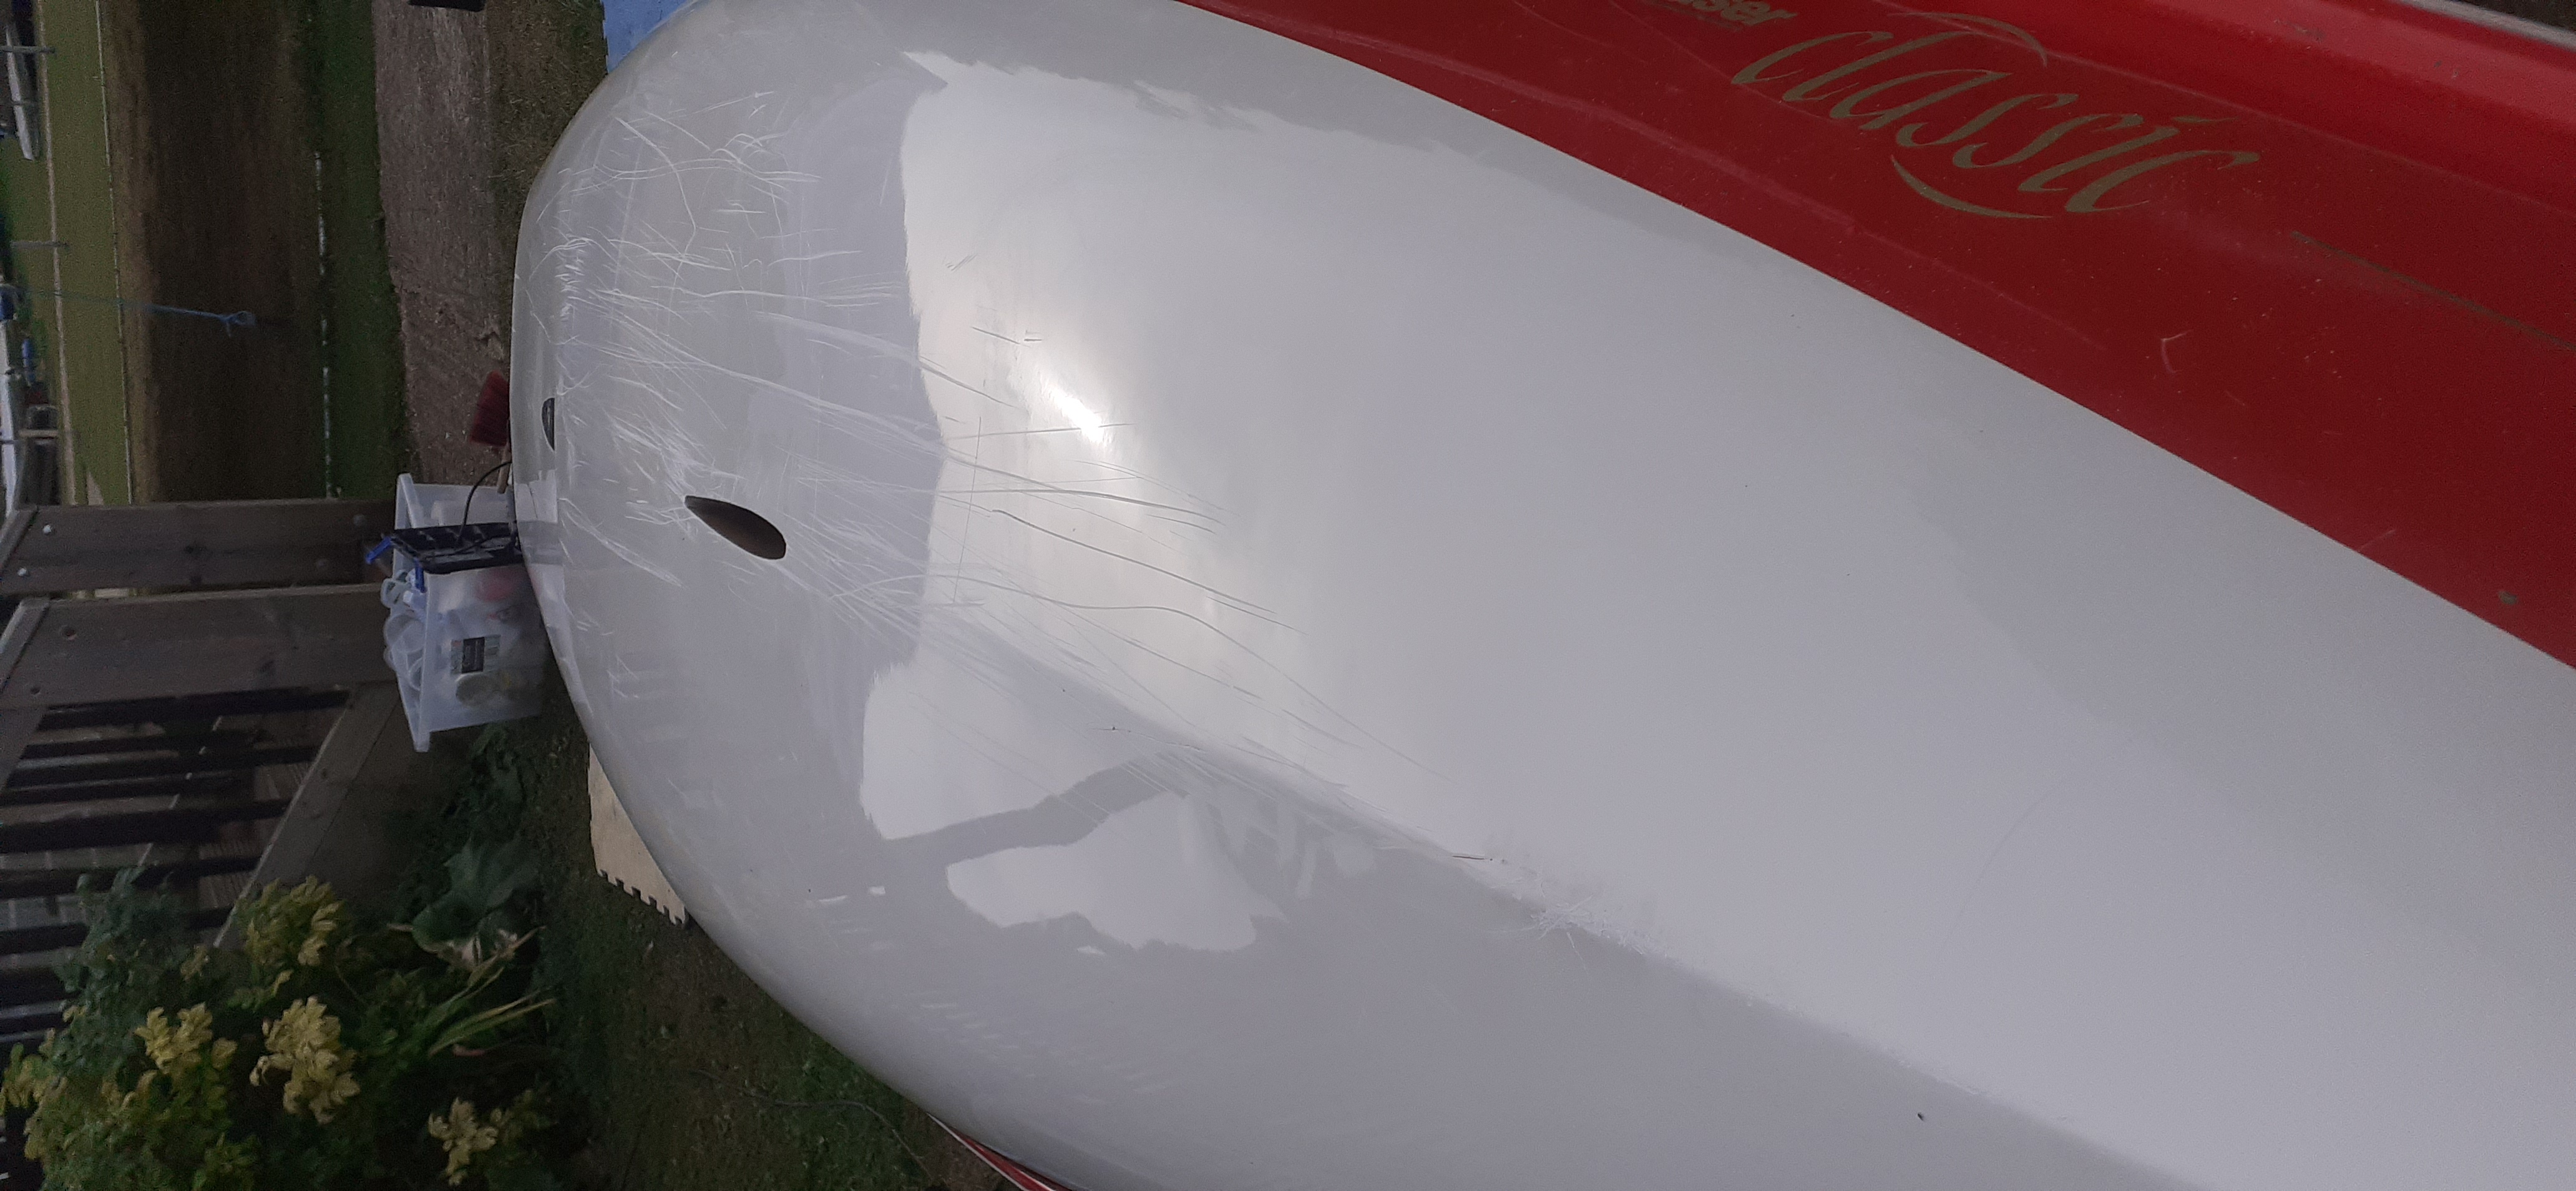
After the gunwales repairs, I had a lot of gelcoat left in my 1kg tin, so I flipped the boat, chased a few deeper scratches with the Dremel, then skimmed those and the rest with gelcoat. A couple of hours later, this was touch dry, but definitely impressionable by fingernail, so I flipped the boat on the grass, then put it back on the trolley for the next day.
Day 4
The boat was removed from trolley, flipped again, and I then laboriously by hand (yes, I must be a nut case), sanded the whole lot back to the original finish. What I hoped would happen, and did, was that the original shiny surface would not act as a good adhesive base for the new gelcoat, so that came off easily whereas the bits in the scratches was left behind.... I didn't want to take too much of the original surface away though, so I started with 180grit..... It still took about 4hrs of sanding to get it all off, so perhaps I was overcautious, but, in just a couple of areas (near the end of the day - patience gave out to "must get this done today else I'll go mad tomorrow", I can now see the fibreglass shadow behind (#%$*#* oh dear!). I was now done for the day (literally!). I actually started with 240 grit, but this was just taking too long for my patience to keep up, so after a couple of hours I went down. NOTE however that the sandpaper grit essentially increases with use, and this was some pretty cheap sandpaper, so the 240 grit was likely 300+ pretty quickly, and then later, the 180 grit was likely almost immediately 240 grit.
Day 5
After sanding the boat back to a smooth surface on the previous day, I was now ready to start getting the boat shiny again. I hand sanded (using a sanding block or foam) the whole hull below the waterline through the grades - 320, 400, 600, 1200.... and then, because I discovered something in Halfords, 1500, 2000, and 2500. I won't lie, it looked pretty shiny to me then, though it was still a bit damp from the water. With this in mind, I opted to skip the Roar910 that I used on the Blue Peter and go straight to the Roar 950 finishing compound..... Well, it worked great, it definitely brought up the shine. That said, there are some circular scratches now (very fine) so I think maybe some old grit got under the polishing wool preventing a perfect finish - whoops! I opted to just continue - the boat will have a LOT less drag from surface imperfections now, and I can always improve in the future by re-doing the 950 compound. Using the finishing polish really took it to a shine, and I think it is at least as shiny now as it was before I started sanding, which good to know!
Day 7
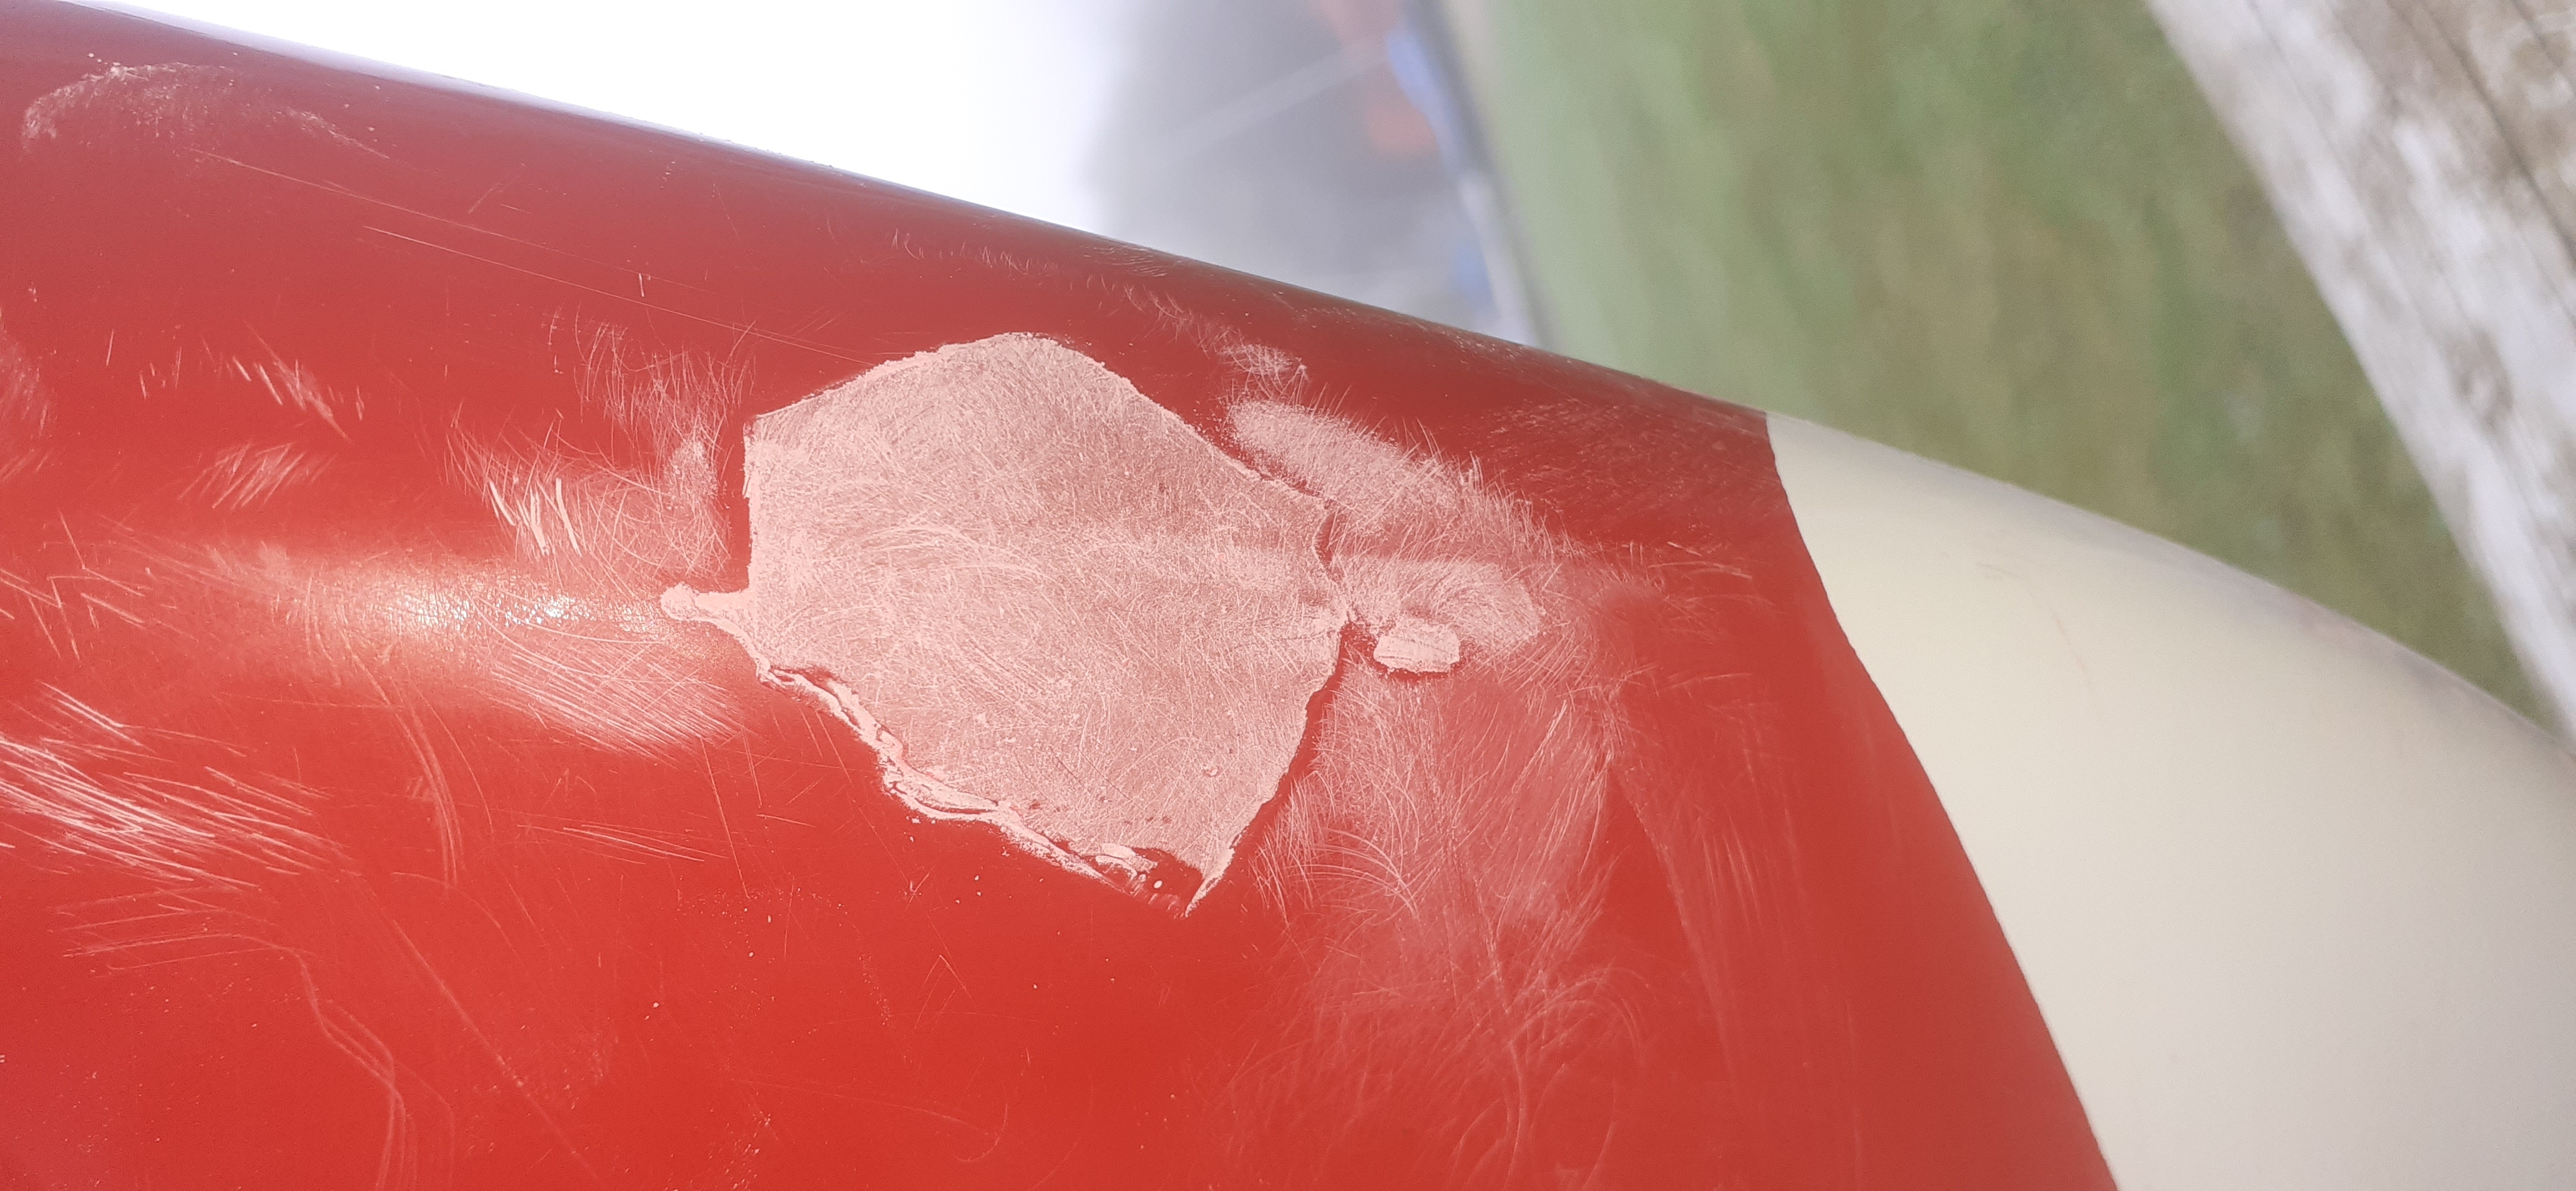
Rather irritatingly, during the polishing process, I discovered a very small impact crazing on the bow - I've no idea how long this has been there for, but it wasn't serious, maybe a couple of centimetres across... that said, when I'd gone to the effort I had already, this was NOT going to be left.... Cue the Dremel again, followed by some colour matching (in red this time). Now, I thought I had a really good match - it looked identical to me. I started with a pure red, then added a bit of black until it looked perfect. It wasn't (more later).

Because the damage was on a compound curve on the bow, after cleaning with acetone, I decided to use masking tape to build a 3 layer wall around the hole I'd made with the Dremel. Next I overfilled this hole using a lolly stick, being sure to push it into the fibreglass at the bottom to ensure a good adhesion. Finally, I wiped this flush with (and over as needed) the masking tape. This gave me a very accurate looking curve which I figured would be easier to sand to shape.
Incidentally, on the Blue Peter, I avoided adding anything to the gelcoat, I didn't want to affect it in any way - here, I opted to add colloidal silica. I didn't want the gelcoat to move after I'd applied it (remember it's below the waterline on the bow of the laser... that's on it's trolley). Personally, if I was to repeat the exercise of the Blue Peter boat, I'd have used a lot of colloidal silica - it just made things so much nicer - no sagging at all - which was the bane of my life on that job!
Day 8
So, I expected it to take a few hours to sand back and polish, but actually, I think it was well under 2 hours. I simply raised the nose of the boat (and trolley) by resting on a large log, then went through the sandpaper grades 80,120,180,240,320,400,600,1200,1500,2000,2500 before using Roar 950, then Roar finishing polish. The repair would be entirely invisible, were it not for the fact it's subtly too dark..... Argh!!!!!!!!!!!!!!!! I presume that the strong red colour darkens slightly when it dries - or is perceived to have because I was certain this repair would be invisible. To be fair, you cannot see the repair unless looking for it and very close up, but, to a perfectionist.... I will NOT be re-doing this. I refuse!


Day 9
When at Halfords looking about discovering high grit sandpaper, I also noticed Araldite (which is basically epoxy as I understand it)... so I got some. My daggerboard has been missing its tip since I got it and I though that might do the trick. I've used the Dremel to sand away the ?oxygen? aged foam and also to provide some keying points. I've mixed up the standard Araldite, then added colloidal silica to thicken it and allow it to be sculpted into a new tip. After sculpting, I placed a piece of flat plastic ice cream tub lid either side to help support it, the left. In retrospect, I should have used masking tape to stop the epoxy forming a fillet on the existing dagger board surface as this would have made sanding it back slightly easier.
Day 10
I sanded back the roughly shaped tip using a combination of a file then sandpaper. It took quite a while, but I wanted it right. After, I looked at the sides of the dagger board and saw some very light scratching, which set me to thinking... what if I skim some epoxy over these - maybe it'll work like the polyester resin on the hull... Well, it has filled the scratches nicely. Tomorrow I find out if I'm able to sand it back easily (I may have set myself a few hours of sanding as a task).
Day 11
Sanding back the epoxy to the original surface was fairly easy using 240 grit, the moving up to 400 grit. At this point, I sprayed with a white acrylic primer, then sanded any areas highlighted by the colour being constant. I bought a 400ml can of Hycote white primer and to be honest, I wasn't that impressed with the coverage. A lot of the base colours were still visible after finishing the can. Next time I'll try either the Hycote white primer specific to plastic, or some other brand (Plasticote perhaps).


Day 12
I spray painted them with white gloss, this was a Plasticote spray can and it seemed to cover much better than the Hycote primer - which was relieving. It hasn't completely brought the foils to a single colour, but it's significantly better.
Day13
I sanded the dagger board with 1200 grit. This was to both remove the orange peel effect left by the acrylic paint, but also to provide a bit of traction for when the boat needs to be righted after a capsize.
The rudder I sanded with 2500 grit to remove the orange peel. Next I used the Roar 910 and Roar 950 compounds to polish to a shine again before finishing with the Roar finishing wax. I found it tricky to see how well I was doing the job in the daylight, but it's okay. There are a few areas I'm not happy with, but they'll do for now. I'll be sure to bring the whole thing to a mirror finish next time.
Here's some pictures


